
Grout Joint for Stone: Width, Grout Type and Sealing

For natural stone tile, the grout joint should never be narrower than 1/16 inch, and in most real projects it should be 1/8 inch or more. The right width depends on how much your tiles vary in size, how the edges are finished and how large the tiles are. The grout itself matters just as much: marble and other polished stone can be stained or scratched by the wrong formula. This guide gives you the numbers, the reasoning behind them and a grouting routine for marble, travertine and limestone.
TL;DR
- The floor under every U.S. standard is 1/16 inch. Most stone work needs more: at least three times the tile’s size variation under ANSI A108.02.
- Tiles with a side over 15 inches laid in a running bond need at least 1/8 inch (rectified) or 3/16 inch (calibrated), plus edge warpage.
- Cushion-edge (beveled) and tumbled stone need wider, more recessed joints than a sharp, gauged edge.
- Pre-seal porous or polished stone, choose a grout formula that will not scratch or stain it, and let it cure fully before regular cleaning.
- Tighter joints show every tile-to-tile difference. Pick the width at the design stage, not on the day of installation.
Table of Contents
- What the standards say about minimum joint width
- Large tiles and running bond need wider joints
- How stone type and edge finish change the joint
- Choosing grout for marble, travertine and limestone
- Seal before you grout
- Installing consistent joints in stone
- Where we fit in
- Our perspective
- FAQ
- Sources
What the standards say about minimum joint width
There is a hard floor and a calculated minimum. The hard floor comes from ANSI A108.02, the American National Standard for general tile installation workmanship. According to the Ceramic Tile Foundation’s summary of Section 4.3.8, the grout joint may never be less than 1/16 inch, and it must be at least three times the actual variation in the tile’s facial dimensions.
That second rule does the real work. Facial dimension means the length and width of the tile face. If your tile varies by 1/16 inch from the smallest to the largest piece, you need a joint of at least 3/16 inch. Custom Building Products’ technical bulletin on joint width gives the same arithmetic with a larger example: a 1/8-inch variance calls for a 3/16-inch joint.
The Natural Stone Institute, the trade body for stone, takes a similar line. Its Dimensional Design manual, as cited by the Ceramic Tile and Stone Consultants, says a stone joint should never be under 1/16 inch and preferably 1/8 inch, wider where the facial dimensions are inconsistent.
The Tile Council of North America (TCNA) frames it differently. It says there is no single standard for joint size, and advises a joint at least two times the average difference between the largest and smallest tiles. It also points out that a 1/16-inch size difference on a 12-inch tile is easy to see against a 1/8-inch joint.

The practical reading: 1/16 inch is a limit for the most precisely cut stone and a skilled installer. It is not a design target.
A worked example
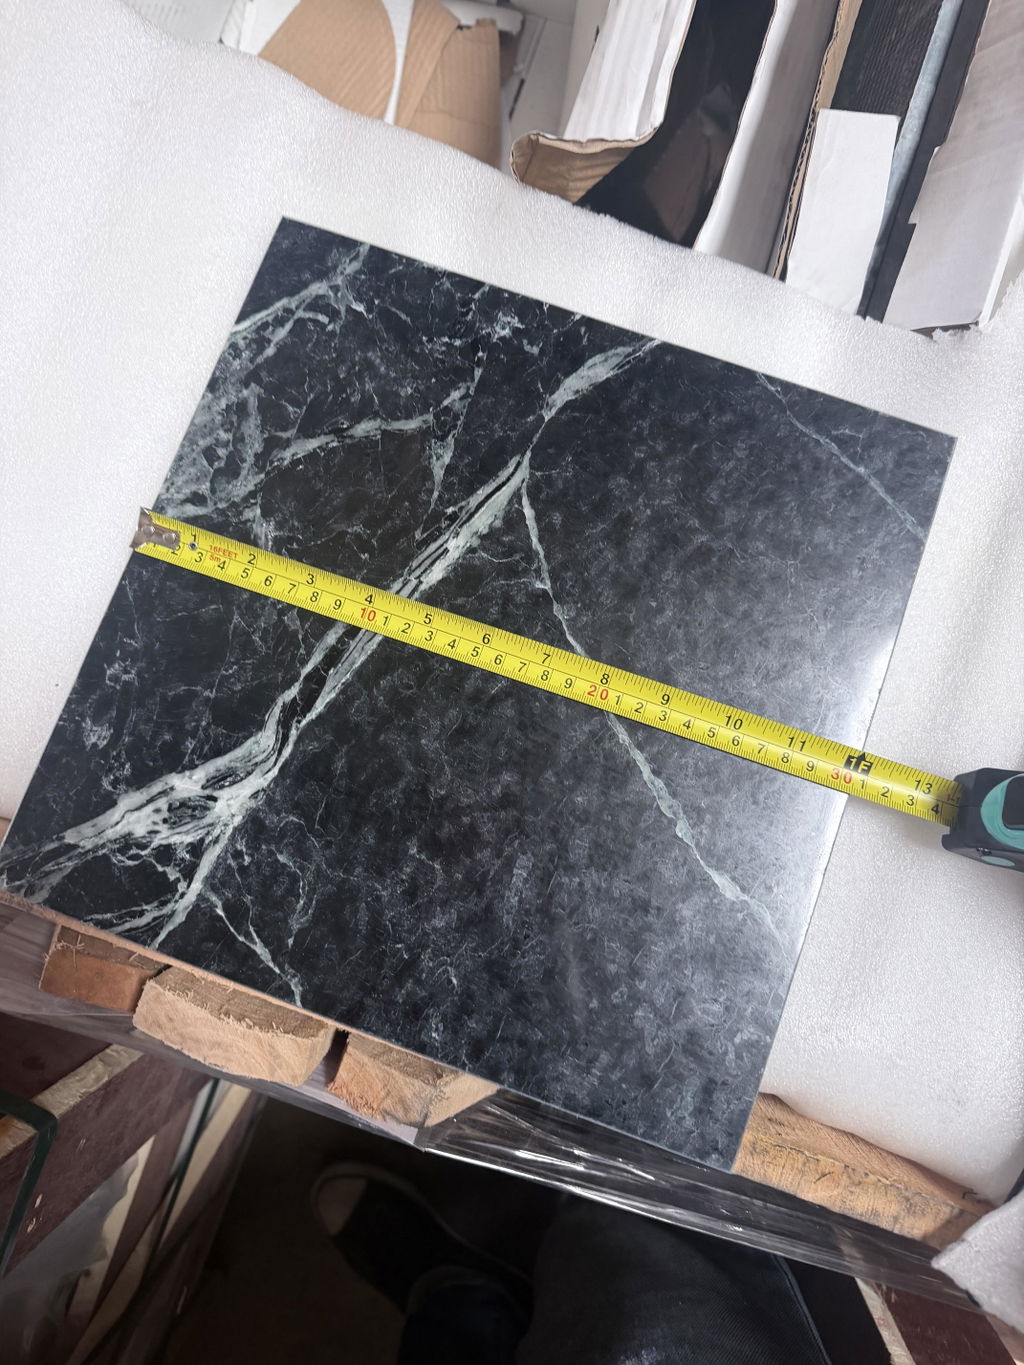
Say you order 12x12 honed limestone and measure a handful of tiles from different boxes. The largest is 12 1/16 inches and the smallest is 11 15/16 inches, so the variation is 1/8 inch.
- ANSI A108.02 rule: 3 x 1/8 = 3/8 inch minimum joint.
- TCNA advice: 2 x 1/8 = 1/4 inch minimum joint.
- A 1/16-inch joint would make every size difference obvious.
Tile that varies this much is a candidate for a wider, more rustic joint, which suits tumbled stone well. If you want a tight, modern look, you need stone that is gauged and calibrated to a small variation. Decide that before you order, because it changes which product you buy.
Large tiles and running bond need wider joints
Size changes the numbers. ANSI A108.02 Section 4.3.8.1 covers running bond or brick patterns using tiles with any side longer than 15 inches. The average joint must be at least 1/8 inch for rectified tile (mechanically cut to a precise size) and at least 3/16 inch for calibrated tile (sorted to a size range but not cut), plus the amount of edge warpage on the longest edge.
Custom Building Products works this through: a 1/8-inch minimum plus 1/32 inch of warpage gives a 5/32-inch minimum joint, per its bulletin.
Why do narrow joints cause trouble on large tiles? Laticrete’s lippage technical data sheet explains that joints of 1/8 inch or less greatly exaggerate lippage, the height difference between neighboring tile edges. Joints that are too narrow also make it harder to fill with grout and harder to clean, and they leave no room where movement joints need to be wider.
Stone has its own lippage tolerance. Build-Construct reports that the Natural Stone Institute’s design manual limits natural stone lippage to 1 mm (about 1/32 inch), except for ungauged or hand-molded tiles where variation is part of the look. It also notes that running-bond layouts make lippage worse, because warpage from two adjacent tiles adds up at the offset joint.
If you are planning large-format stone, our large format stone installation guide covers layout, setting bed and handling in more depth.
How stone type and edge finish change the joint
Stone is not ceramic. It is cut from a natural block, and the finish you pick affects how the joint should be built.
| Stone and finish | What it means for the joint |
|---|---|
| Honed or polished marble, gauged edge | Can take a narrower joint when the size variation is small. Polished faces scratch easily, so grout choice matters most here. |
| Marble or limestone with a cushion (beveled) edge | The Natural Stone Institute guidance, as cited by CTASC, calls for a wider joint with grout recessed more. |
| Tumbled travertine or limestone | Softened edges and slight size variation suit a wider joint. The rustic look is part of the appeal. |
| Large-format tiles over 15 inches | 1/8 inch minimum for rectified, 3/16 inch for calibrated, plus warpage, per ANSI A108.02. |
| Mosaic sheets | Joint spacing is set by the sheet itself. Match your field-tile joint visually so the transition looks deliberate. |
Cushion-edge tiles
A cushion edge is a slightly rounded or beveled edge. ANSI A108.10 Section 5.3, as described in the Custom Building Products bulletin, requires joints between cushion-edge tiles to be finished evenly at the depth of the cushion. That means the 1/16-inch minimum is measured at the base of the bevel, not at the top face. Visually the joint looks wider than the number you specified, so plan for it when you pick the grout color.
Why “just use 1/16 inch” is a trap
TCNA lists several factors that should set joint width: tile variation, edge straightness, tile size, how easily the surface scratches, location and how level the surface is. A tight joint is unforgiving. Every wobble in a tile edge, every 1/32 inch of difference, shows up as a crooked line. A wider joint hides the differences and gives the grout room to bond properly.
Choosing grout for marble, travertine and limestone
Not every grout belongs on every stone. Mapei’s data sheet for its KeraColor S grout warns that marble, granite and marble agglomerates can be permanently stained, scratched, dulled or damaged by pigmented or sanded grout formulas. It adds that white grout is the safest choice for white or light-colored marble and granite.
The World Floor Covering Association suggests that non-sanded grout suits finer, more polished stone, while sanded grout suits tumbled stone or slate where a rustic look is wanted. In short:
- Polished or honed marble: non-sanded or a stone-safe formula, light color. Our guide to unsanded grout for marble explains when it works and how to use it.
- Tumbled travertine and limestone: wider joints, usually with sanded grout, but check the manufacturer’s data sheet for the stone you are using.
- Light marble: white or very light grout, to avoid pigment migrating into the stone.
For the full marble routine, our marble tile grout guide walks through grout choice and finishing.
Matching grout color to the stone
The same WFCA guidance says you can pick a grout close in color to the stone for a quiet look, or a contrasting color to emphasize the grid. A close match makes slight tile-size variation less obvious. A contrasting color turns every joint into a drawn line, so it only looks right when the tile is straight and the joint width is consistent. Our guide on matching grout color helps you pick a shade before you commit.
Newer product options
Premixed grout is now part of the standards framework. TileLetter reported in September 2024 that ANSI A118.19 (product specification) and ANSI A108.22 (installation) were added for premixed grouts, a change driven partly by large-format tile and narrower joints. TCNA’s standards page lists ANSI A108.10, covering grout installation, as a 2026 edition and A108.22 as a 2023 standard. Whatever you choose, confirm on the manufacturer’s data sheet that it is rated for natural stone.
Seal before you grout
Porous stone drinks up grout pigment. Fine Homebuilding says porous natural stone must be sealed before grouting to prevent staining, and recommends two coats: one before grouting and one after, to protect both grout and tile. The exception is when you want grout to fill the stone’s natural cavities.
Mapei’s data sheet adds that high-absorption, porous or rough-surfaced tiles may need sealing before grouting. On textured stone, where fine pores can trap cement particles or pigment, it says a grout release may help, with a mock-up test first. Its consumer guidance also says some natural stone, such as marble, should be pre-sealed and recommends testing in an inconspicuous area before grouting polished tile.

Our article on pre-sealing stone before grouting covers when and how.
Installing consistent joints in stone
The joint width you specify is only as good as the setting work behind it. This routine applies to stone tile and pavers.
- Check the variation first. Open several boxes and measure tiles from different cartons. Compare the largest and smallest to the three-times rule above. If the variation is bigger than expected, widen the joint or change the tile before you start setting.
- Dry-lay the pattern. Blend tiles from multiple boxes so natural color variation spreads across the floor or wall. This also shows you where cuts will fall.
- Set with a flat bed. Lippage comes from the substrate and the mortar bed as much as from the tile. The Laticrete data sheet ties narrow joints to exaggerated lippage, so a flat surface and full mortar coverage count. A skilled setter, such as a crew offering tile installation in Tucson, Arizona, will treat flatness and joint spacing as part of the same job.
- Use spacers that match the plan. Use a consistent spacer size and check the line every few tiles with a straightedge. Keep running-bond offsets modest on large tiles: Build-Construct notes the offset should not exceed 33 percent of tile length when the side is over 15 inches, unless the manufacturer says otherwise.
- Clean mortar out of the joints. Grout needs open joint depth. Remove spacers and any squeeze-out before it cures.
- Seal, then grout. Pre-seal as above, then test your grout on a spare tile or hidden corner.
- Fill fully and clean gently. Pack the joint so it is full, wipe haze before it hardens, and avoid harsh abrasive pads on polished faces. For cleanup technique, see our guide to cleaning grout on marble without damaging it.
- Wait for the cure. Mapei’s data sheet says grout needs 21 days to fully cure before regular cleaning.
Movement joints are separate from grout joints. They are required at changes of plane and at perimeters, and they must be wider than the surrounding grout joints, which is one more reason Laticrete says very narrow joints cause problems. The 2025 TCNA Handbook, a completely revised edition, includes a Natural Stone Selection Guide and guidance on grout joint size and pattern, and is the reference to check for your assembly.
Where we fit in
We are a direct importer of marble, travertine and limestone tiles, mosaics, moldings, pavers and pool coping, shipping nationwide from Anaheim, California. Our inventory is premium only, and we offer free sample shipping and custom project support. The sample step matters for exactly the reason in this article: you can see and measure the edge finish and size consistency of the stone in your hands before you settle on a joint width.
Browse marble tiles, mosaics, travertine and more to find the format and finish that fits your joint plan, or look at the natural stone collection for the full range. A tumbled option such as the Seagrass Limestone 1x1 mosaic suits softer, wider joints, while a larger honed format like the Greyhaven 18x18 limestone is the kind of tile where joint width and flatness deserve attention.

If you are a designer, contractor or builder with a larger quantity in mind, ask us about bulk quotes and custom orders through our main site.
Our perspective
Most grout problems on stone start before the first bag of grout is opened. They start when a joint width gets picked from a photo, and the stone that arrives has a different edge, a different size variation or a different surface.
That is why we think of joint width as a product decision. Gauged, honed marble can hold a tight, clean line. Tumbled travertine and limestone look better with a generous joint that celebrates the stone’s character. Neither is wrong, but they are not interchangeable.
We import premium natural stone directly, and our inventory is premium only. That gives you stone with the kind of consistency the standards assume when they talk about size variation and lippage. Seeing it in person through a sample helps you decide the joint before you order a full job.
Our advice for any stone project: choose the tile, measure the variation, set the joint width, pre-seal, then pick the grout. Do it in that order and the grout line becomes a quiet part of the design instead of the first thing people notice.
John | Surfaces Galore
FAQ
What is the minimum grout joint width for natural stone?
The absolute minimum is 1/16 inch under ANSI A108.02, and the joint must also be at least three times the variation in the tile’s facial dimensions. The Natural Stone Institute prefers 1/8 inch for stone. For tiles with a side over 15 inches in a running bond, the minimum is 1/8 inch for rectified or 3/16 inch for calibrated tile, plus edge warpage.
Should grout be lighter or darker than the stone?
Both work, and the choice is about the look. A grout close to the stone’s color is subtle and hides small size differences, while a contrasting grout highlights the grid and shows every irregularity. On white or light marble, a white or very light grout is the safest option, because pigmented formulas can stain the stone.
Do I need to seal stone before grouting?
For porous stone, yes. Fine Homebuilding says porous natural stone should be sealed before grouting to prevent staining, with a second coat after grouting. Marble in particular should be pre-sealed, and it is wise to test the grout on a spare tile or hidden spot first.
Can I use sanded grout on polished marble?
Use caution. Mapei’s data sheet warns that sanded or pigmented grout can scratch, dull or stain marble. Non-sanded or a stone-safe formula in a light color is the usual choice for polished and honed stone. Confirm with the grout manufacturer’s data sheet for your specific stone.
How long before I can clean newly grouted stone?
Mapei’s data sheet says grout should cure for 21 days before regular cleaning. Until then, remove haze with gentle methods only, and avoid harsh or abrasive cleaners on the stone.
Sources
- ANSI Standards: A Tile Installer’s Best Friend, Ceramic Tile Foundation
- Grout Joint Width: What Is the Right Size? Custom Building Products
- Grout FAQ, Tile Council of North America
- Lippage: Causes and Prevention, Laticrete TDS 164
- Tile and Stone Lippage: Acceptable Tolerances, Build-Construct
- KeraColor S data sheet, Mapei
- KeraColor S data sheet (2024), Mapei
- Natural Stone FAQ, Mapei Home
- Stone Flooring, World Floor Covering Association
- Sealing Natural Stone, Fine Homebuilding
- ANSI Standards, Tile Council of North America
- TCNA Handbook, Ceramic Tile Distributors Association
- Specifying today’s grouts by design, TileLetter
Recommended
- Pre-Sealing Stone Before Grouting: When and How
- Marble Tile Grout Guide for a Cleaner Finish
- Grout marble plus travertine stone tiles correctly
- How to grout stone tiles: marble & travertine guide
This article is provided for general informational guidance only. Natural stone varies in color, veining, texture and performance. For installation, sealing, cleaning and maintenance, follow the product manufacturer’s instructions and consult a qualified installer or stone-care professional. Always test cleaning and sealing products in an inconspicuous area first. Surfaces Galore is not responsible for damage, discoloration, etching, staining, installation issues or other problems resulting from

Leave a comment