
The essential guide to selecting and using a marble tile cutter

Key Takeaways
Transitioning from inspiration to installation requires the right approach to handling your natural stone. These points outline how to master the process for a flawless finish.
- Natural stone like marble requires specialized equipment to prevent fracturing.
- Wet saws are the industry standard for high-volume or heavy-duty cutting projects.
- The correct diamond blade quality dictates the clean appearance of your tile edges.
- Proper workspace preparation, including vibration management, prevents costly mistakes during the cut.
- Regular tool maintenance preserves both your blade lifespan and the visual consistency of the material.
Understanding the specific needs of natural stone
Selecting the right tools for your home renovation starts with respecting the material itself. Because marble is a natural product, it possesses unique structural characteristics that differ significantly from mass-produced ceramics. When you shop for marble tiles from a supplier like Surfaces Galore, you are investing in an authentic material that demands a thoughtful, measured approach during the cutting process to highlight its natural veining and beauty.
Factors influencing marble cutting density and hardness
Marble generally falls mid-range on the Mohs scale, though its density fluctuates depending on the mineral impurities present during its formation. This variance means that a static pressure setting on a saw might work perfectly for a soft, breathable tile but could cause vibration in a denser variety. When you handle premium Calacatta Gold 2x4 CNC Wavy Mosaic Marble tile, the saw must cut slowly to accommodate the material's specific density profile.
Risks of chipping and fracture in luxury stone
Luxury stones are undeniably porous and reactive to mechanical stress. Without the appropriate cooling and blade selection, you risk micro-fractures that only become visible after the tile is installed and grouted. Avoiding these hazards requires using tools that provide smooth, consistent pressure rather than the snapping force typically used on man-made porcelain or ceramic products.
Why specialized equipment outperforms standard tools
Standard DIY cutters often lack the depth control and water-management systems required for high-end stone. Professionals know that using a specialized marble tile cutter is the only way to avoid the "trail of destruction" common with improper tools. Surfaces Galore often recommends professional-grade machinery to ensure that your investment in premium marble maintains its integrity from the first trim to the final corner setting.
Comparing types of marble tile cutters
Finding the right cutting solution depends on the scale of your design and the specific shape of your selected marble. Whether you are aiming for a classic herringbone or a standard subway layout, understanding your equipment options ensures safety and precision.
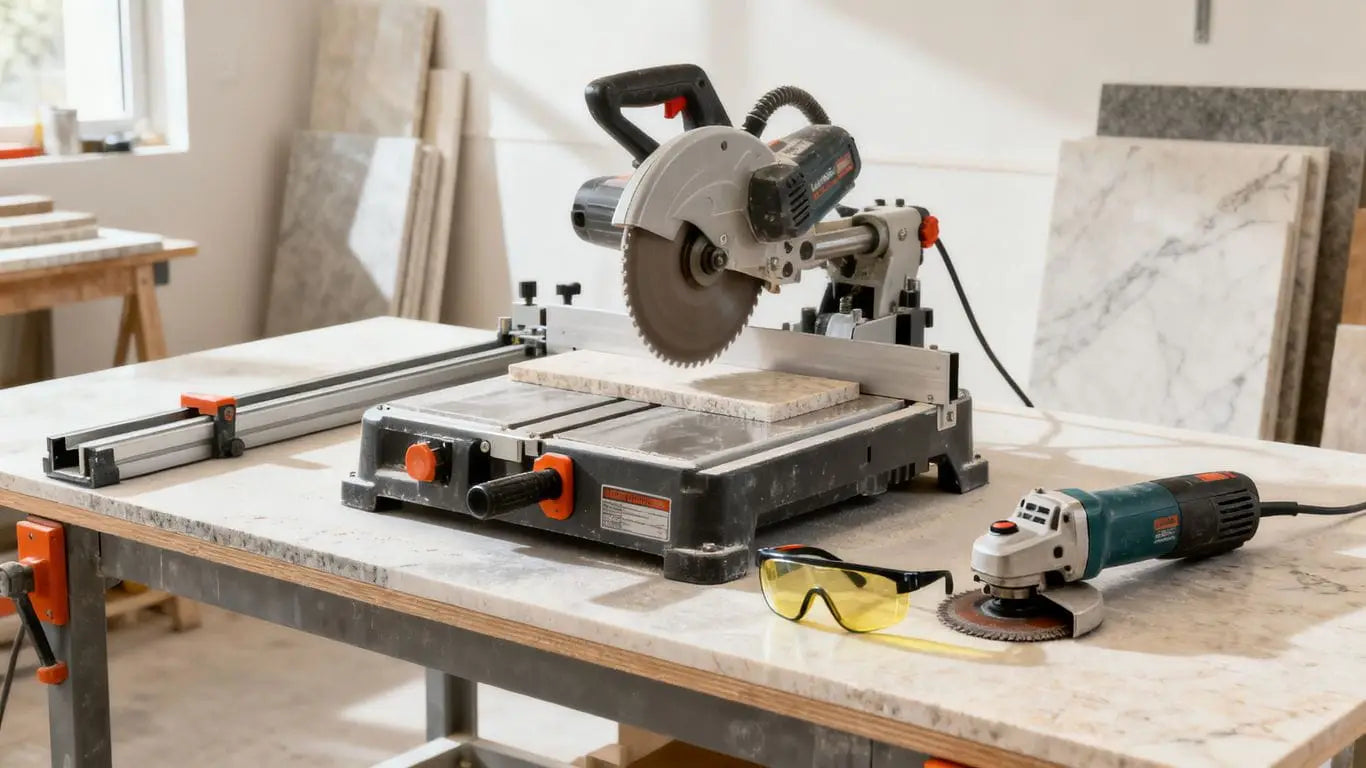
Manual rail cutters for straight-line precision
For thin tiles, manual rail cutters rely on a high-pressure scoring wheel to create a clean line. This method is excellent for simple, straight cuts where you want to avoid the dust of a wet saw. Consider these factors when choosing a manual rail model:
- Maximum length capacity to accommodate large format marble
- Blade quality for consistent scoring depth
- Stability of the support wings for wide tile pieces
- Overall mechanical weight for vibration damping during scores
Wet saws for high-volume and intricate projects
Wet saws are unrivaled for complex projects where multiple cuts are required across varied tile sizes. By constantly bathing the blade in water, these tools prevent overheating and significantly reduce the presence of airborne stone dust. Utilizing a reliable wet saw setup allows for much cleaner edges on denser, high-traffic marble pieces.
Angle grinders for custom shaping and edge detailing
Angle grinders offer the flexibility needed for curves, notches, and custom edge beveling that rail cutters cannot touch. Because these are hand-held, they require a steady hand and a specialized continuous rim blade to prevent splintering the stone edge. It is advisable to draw your cut patterns clearly on the stone surface before turning the device on.
Choosing the perfect blade for your marble tile cutter
Blade selection is arguably the most critical technical decision you will make for your project. A quality blade determines the difference between a pristine edge and one that requires extensive grinding to fix.

Advantages of high-quality diamond-tipped blades
High-quality diamond-tipped blades provide the necessary hardness to slice through dense marble without bogging down. They maintain their shape under the high heat generated by natural stone, ensuring that your cutting lines remain straight and true across every piece in your Carrara White Mini Versailles Marble Tile mosaic.
Selection of continuous rim blades for chip-free edges
Always opt for continuous rim blades when working with polishable stones. Because there are no jagged segments interrupting the rim, the contact with the marble is smooth and uninterrupted. This continuous contact force is the primary defense against the chipping that typically ruins luxury stone edges.
Matching blade thickness to specific tile dimensions
Thin stones can vibrate if the blade is too thick, leading to unsightly stress lines. Use a thinner, high-quality diamond disc for delicate subway tiles, preserving the structural strength of the marble. For thicker floor slabs, a more robust blade will prevent flexing during the cutting pass.
Preparing your site and workspace for installation
Precision work demands a stable environment free from clutter. When installing premium stone from Surfaces Galore, professional results are often a direct reflection of how well the staging area was organized before the work began.
Establishing a vibration-free cutting platform
Your cutting table must be rock-solid. Even slight movement in the platform can lead to wavy cuts or accidental tile cracking. Using a heavy-duty frame or mounting your wet saw to a permanent workstation eliminates the sway that often ruins high-end marble installations.
Managing lubrication and water flow for wet saws
Water serves as a coolant, lubricant, and dust suppressant. Before starting, check your reservoir levels and hose positioning. Consistent water flow is your best friend when you have a significant volume of stone to process in a single day.
Essential safety protocols for handling heavy stone
Safety is non-negotiable. Marble slabs can be heavy and prone to slipping, so always keep your workspace clear. Wearing protective gear and utilizing proper lifting mechanics will help you manage the physical weight of natural stone with ease.
Best practices for achieving professional cut results
Preparation translates into speed and accuracy. Many of the most successful installations we see involve careful planning before the machine is ever turned on.

Advanced measuring and marking techniques
Using high-visibility markers ensures that your cuts align with the grout lines specified in your layout plan. Measuring twice is not just a cliché; it is a vital step given that marble is a one-of-a-kind natural product with unique grain patterns you will want to match strategically.
| Process Step | Best Practice | Goal |
|---|---|---|
| Inspection | Check for natural fissures | Prevent breakage |
| Marking | Use water-soluble pencil | Maintain stone finish |
| Feed Speed | Keep constant pressure | Prevent stress chipping |
The table above underscores that careful handling during the initial inspection pays off later. By maintaining constant pressure throughout the cut, you ensure that the stone remains cool and stable.
Controlling feed speed to prevent material stress
Force is the enemy of stone. Let the diamond blade do the heavy lifting by maintaining a steady, slow feed speed. Pressing too hard creates unnecessary friction that burns the blade and weakens the marble’s underlying structure, potentially leading to future cracks in your home renovation project.
Smoothing and beveling edges after the initial cut
Regardless of the blade quality, most stone edges require a light hand-sanding or beveling. Using a diamond-grit hand pad allows you to remove sharp edges and soften the cut line, making it easier to grout. This final touch provides the high-end feel that makes marble interiors so desirable.
Maintaining your tools for long-term project success
Tools are an investment that should last well beyond a single room renovation. Proper daily care ensures that your equipment stays ready for the next phase of your design progression.
Cleaning blades to prevent overheating and dulling
Stone dust can harden in the gaps of a blade, creating hot spots. Regularly clean your blade with a dressing stone to keep the diamond grit sharp and exposed. This simple habit keeps the tool cutting efficiently, preserving the lifespan of both the motor and the stone.
Checking alignment for rails and motor assemblies
Periodic checks of your saw's rail alignment prevent the blade from drifting. If your cuts start appearing slightly angled, stop work immediately and re-calibrate the saw guide. Maintaining perfect 90-degree alignment is essential for modern tile layouts.
Knowing when to replace diamond-grit blades
If you find yourself needing to use more force to complete a standard cut, the blade has reached the end of its effective life. Replacing a worn blade not only makes your work easier, but it also protects the marble from the stress of a strained motor. Surfaces Galore partners often focus on this level of detail, knowing that professional tools produce professional aesthetics.
Conclusion
Mastering the art of marble cutting requires a blend of quality equipment, disciplined workspace habits, and a genuine appreciation for the stone’s physical needs. By selecting the right blade and maintaining a steady pace, you ensure that your premium Nero Marquina Black Marble Tile 12x12 or other natural stone pieces retain their beauty and structural integrity for years to come.
Frequently Asked Questions
Can you cut marble tile with a hand-held tile cutter?
While manual rail cutters can handle thin marble, they are often less effective than wet saws for thicker or more decorative tile, as they rely on a scoring technique that might not be suitable for all types of natural stone.
Why does marble chip when being cut?
Chipping often occurs due to excessive feed speed, a dull blade, or a lack of continuous lubrication while cutting, which allows the natural structure of the material to get stressed beyond its limit.
Do I need a special blade for marble?
Yes, a continuous-rim diamond-tipped blade is essential to achieve the clean, chip-free result expected in luxury stone installations, as segmented blades can catch on the surface of the stone.
How do I prevent dust while cutting marble?
Using a wet saw with a dedicated water-feed system is the most effective way to eliminate airborne particles while simultaneously cooling the blade for better results.
Should I always use a professional for marble cutting?
While DIY enthusiasts can achieve great results with the right planning, larger or more complex projects often benefit from professional equipment and expertise to ensure that expensive materials are not wasted.
Is it normal for my marble to have slight variations?
Yes, because marble is a 100% natural material, variations in veining, density, and color are expected and considered part of the unique, high-end charm of the product.
How much extra marble should I buy for a project?
It is standard practice to purchase 10% to 20% more material than your measured surface area to account for cuts, potential breakage, and matching the specific natural grain patterns of the stone.


Leave a comment