
How to Order Mosaic Tile for a Backsplash in 2026

What are the essential steps to order mosaic tile for a backsplash?
Getting your mosaic tile order right comes down to accurate measurement, smart quantity math, and confirming product details before you click “buy.” Skip any of these and you risk running short mid-install, or worse, receiving a second batch that doesn’t match the first.
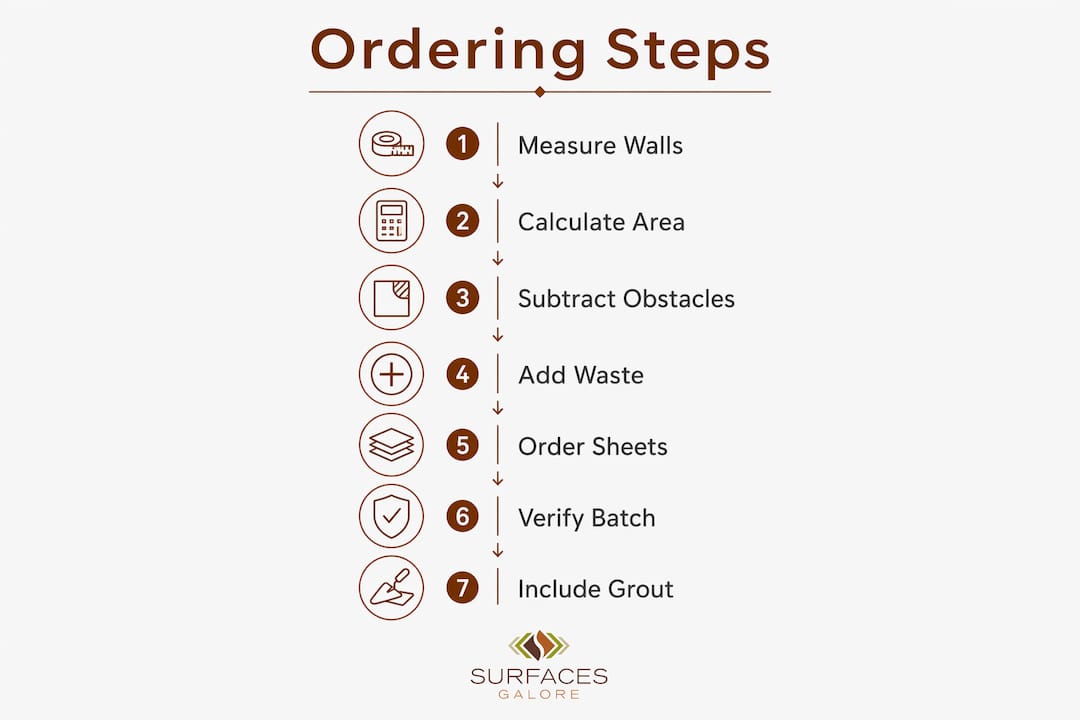
- Measure your backsplash area. Use a measuring tape to record width and height in inches for each wall section. Multiply them together, then divide by 144 to convert square inches to square feet.
- Subtract large openings. Deduct windows and range hoods from your total. Leave outlets in — the waste factor covers those small cuts.
- Add the right waste factor. Use 10% for straight lay, 15% for natural stone or diagonal patterns, and up to 20% for complex designs like herringbone.
- Calculate sheet quantity. Most mosaic sheets cover roughly one square foot. Divide your adjusted square footage by the sheet coverage, then round up to whole sheets.
- Confirm availability and dye lot. Verify stock levels, lead times, and that all sheets come from the same dye lot before placing your order.
- Order grout and adhesive together. Smaller mosaic tiles require more grout per square foot than larger tiles, so calculate those quantities at the same time.
How do you measure and calculate mosaic tile quantities step by step?
Step 1: Measure each wall section
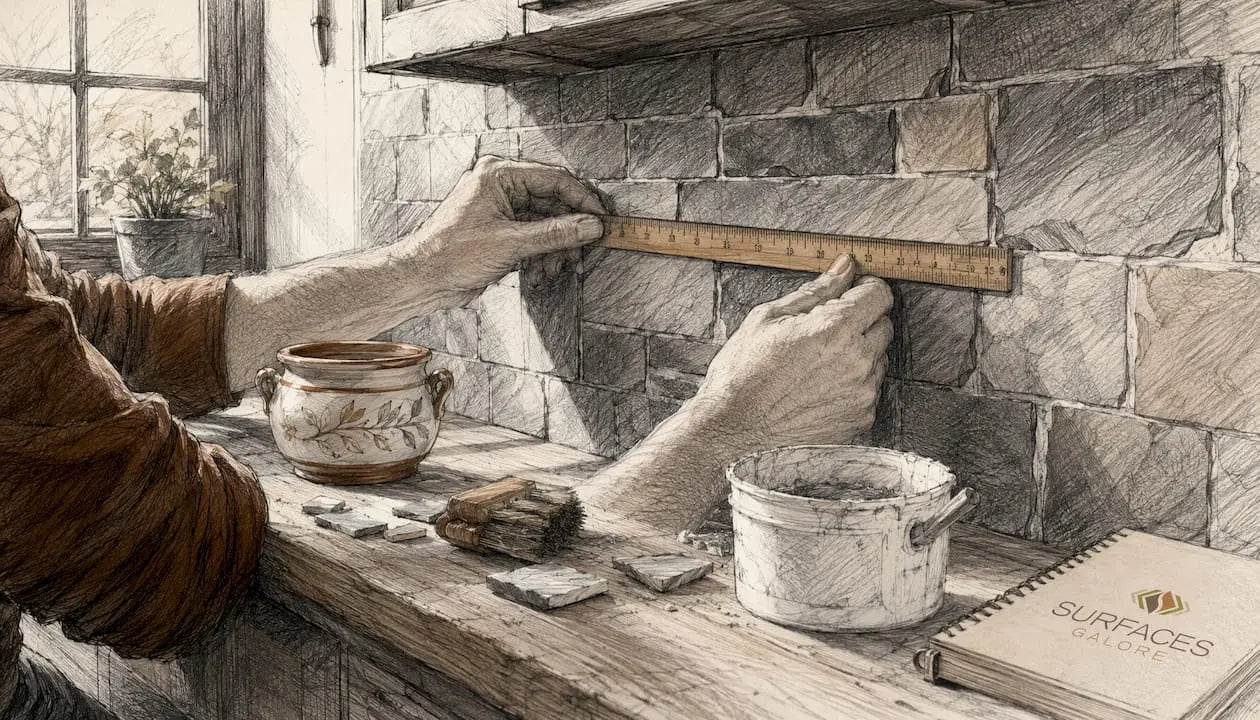
Use a measuring tape and a level. Record the width and height of every section in inches. For a standard kitchen run, the countertop-to-cabinet gap is typically around 18 inches, while the area behind a range often runs taller.
Step 2: Calculate area and convert to square feet
Multiply width by height for each section, add the sections together, then apply this formula: (Width in inches × Height in inches) ÷ 144 = Total Square Feet. For irregular shapes, break the area into rectangles, calculate each one separately, and add them up.
Step 3: Subtract large obstacles
Deduct windows and range hoods. A window measuring 24 inches wide by 18 inches tall, for example, removes 3 square feet from your total. Small outlets don’t need to be subtracted — the waste allowance absorbs those cuts.
Step 4: Apply the correct waste factor
Natural stone mosaics have higher breakage and cutting complexity, so a waste factor of 15%–20% is the right call. For a straightforward grid layout with ceramic or glass, 10% is sufficient.
- Straight lay: 10%
- Natural stone or diagonal: 15%
- Herringbone or complex patterns: up to 20%
Step 5: Convert to sheet count
Mosaic tiles are sold on mesh-mounted sheets, typically covering about one square foot per 12-inch sheet. Divide your adjusted square footage by the coverage per sheet, then round up. Never round down at this step.
Step 6: Verify tile specs and dye lot
Check that every sheet in your order shares the same batch number. Tile is fired in batches, and two boxes of the “same” tile bought weeks apart can look noticeably different once installed.
Step 7: Add grout and adhesive to your order
Grout coverage varies with tile size — a 1×1 inch mosaic needs roughly six times more grout per square foot than a 12×12 tile. Calculate grout and adhesive quantities based on your total adjusted area, and order everything at once.
Professional tips for ordering and installing a mosaic tile backsplash
Ordering the right quantity is only half the job. These tips help you avoid the mistakes that show up after the tiles are on the wall.
- Order all tiles at once. Buying from a single dye lot is the single most effective way to prevent visible shade differences across your backsplash. Keep 2–3 spare sheets after installation for future repairs.
- Request samples before committing. Viewing tile samples in person or ordering a sample pack lets you evaluate color, texture, and pattern under your actual kitchen or bathroom lighting before placing a bulk order.
- Account for grout line width. Wider grout joints reduce the number of tiles needed but change the finished look significantly. Decide on grout joint width before calculating quantities.
- Choose natural stone with extra overage. Marble, limestone, and travertine are more fragile during cutting than ceramic or porcelain. Budget toward the higher end of the 15%–20% range.
- Dry-lay tiles before setting. Laying sheets out on the floor first lets you plan where patterns start and end, especially around outlets, windows, and range hoods.
- Check lead times early. Natural stone mosaics sometimes require longer lead times than in-stock ceramic options. Confirm availability before finalizing your installation schedule.
Pro Tip: Work with a specialist like Surfacesgalore for custom mosaic design support. Their team can help you select the right natural stone, confirm quantities, and source matching grout and adhesive for your specific project.
Why does substrate preparation matter so much for mosaic backsplashes?
Uneven walls magnify imperfections in mosaic installations because the mesh backing conforms to whatever surface it meets. Once grout fills the joints, every bump and dip in the wall becomes permanent. A non-level substrate is the most common installation pitfall for mosaic backsplashes, and it’s entirely preventable.
Before ordering, inspect your wall for high spots, low spots, and any areas where old paint or adhesive has built up. Sand down high points, fill low spots with a leveling compound, and let everything cure fully before tiling. For bathroom applications, cement backer board adds moisture resistance and a flatter surface. The time you spend on prep directly determines how professional the finished result looks.
What types of mosaic tiles work best for backsplashes?
The material you choose shapes everything from how you order to how you install.
Natural stone mosaics — marble, limestone, and travertine — deliver a depth and variation that manufactured tiles can’t replicate. Each piece carries its own veining and texture, making every backsplash genuinely one of a kind. They require sealing and a higher waste allowance, but the longevity and visual richness justify both. Surfacesgalore specializes in these materials and carries curated collections suited to kitchen and bathroom applications.
Glass mosaics reflect light and work well in smaller spaces where you want to add brightness. They’re less porous than stone, which simplifies maintenance, but they show fingerprints and water spots more readily.
Ceramic and porcelain mosaics are the most forgiving for first-time DIY installers. They’re consistent in size and thickness, cut cleanly, and tolerate a standard 10% waste factor. The tradeoff is that they lack the character of natural stone.
For 2026 backsplash design trends, natural materials are clearly dominant. Marble and travertine mosaics in warm, earthy tones are appearing in both kitchens and bathrooms as homeowners move away from the uniform look of large-format porcelain.
How do you choose colors and patterns for a mosaic backsplash?
Start with what’s already in the room. Your countertops, cabinetry, and flooring set the palette — the backsplash either echoes those tones or provides deliberate contrast. A marble mosaic with warm cream and gray veining, for example, ties naturally to both white and wood-toned cabinetry.
Pattern choice affects more than aesthetics. Linear patterns like stacked or herringbone layouts feel architectural and contemporary. Penny rounds and scallop shapes read softer and more traditional. The pattern also directly affects your waste factor, so settle on a layout before calculating your order quantity. For creative mosaic tile applications, mixing field tiles with a mosaic accent band is a practical way to add visual interest without committing to a full mosaic installation.
Natural stone offers one advantage no manufactured tile can match: no two pieces are identical. That variation is the point. Embrace it rather than trying to sort tiles for uniformity.
How do you read product specs and evaluate samples before ordering?
A product listing tells you sheet size, individual tile size, material, finish, and coverage per sheet. The coverage figure is what drives your quantity calculation, so confirm it rather than assuming every 12-inch sheet covers exactly one square foot — some materials and formats vary.
Finish matters for both appearance and maintenance. Polished marble reflects light beautifully but shows etching from acidic foods over time. Honed or tumbled finishes are more forgiving in a kitchen setting. Travertine often comes in a filled-and-honed version that works well for backsplashes without requiring the same level of sealing as an unfilled surface.
Always order a sample before committing to a full quantity. Screen colors shift significantly between a product photo and the actual tile under incandescent or natural light. A sample pack lets you hold the tile against your cabinets and countertop, which is the only reliable way to confirm the match.
Natural stone mosaics are worth the extra planning
The conventional wisdom in DIY circles is to keep it simple: ceramic tile, straight lay, minimal waste. That advice makes sense for floors, but it undersells what a backsplash can do for a kitchen or bathroom.
A backsplash is the one surface in a kitchen that sits at eye level, gets seen every day, and rarely needs replacing. Spending an extra hour on measurement accuracy and an extra 5% on waste allowance to get natural stone right is a better investment than saving time and settling for something generic. Marble and travertine mosaics age well. They develop character rather than looking dated. The 2026 shift toward natural materials in interior design isn’t a trend — it’s a correction back to materials that have worked for centuries.
The ordering process for natural stone is more involved than for ceramic, but the steps are the same ones covered here. Measure carefully, add the right overage, confirm your dye lot, and order everything at once. The extra care at the ordering stage is what separates a backsplash that looks custom from one that looks installed.
Surfacesgalore brings premium natural stone mosaics to your project
Surfacesgalore is a direct importer of authentic marble, limestone, and travertine mosaics, which means you get natural stone quality without the retail markup. Based in Anaheim, California, Surfacesgalore ships nationwide to homeowners and designers who want materials that last.
Their natural stone mosaic collections include options suited to both kitchen and bathroom backsplashes, with educational resources to help you measure, calculate, and install with confidence. Whether you’re planning a classic marble herringbone or a tumbled travertine field tile, the team can help you confirm quantities, match grout, and source everything in one order. Shop natural stone mosaic tiles today at Surfacesgalore and take the next step in your backsplash project.
FAQ
How do I calculate how many mosaic tiles I need for a backsplash?
Multiply the width and height of each wall section in inches, divide by 144 to get square feet, add your sections together, then apply a 10%–20% waste factor depending on pattern complexity. Divide the adjusted total by the coverage per sheet and round up to whole sheets.
What waste factor should I use for natural stone mosaic tiles?
Use 15% for natural stone in a standard layout and up to 20% for complex patterns like herringbone. Natural stone has higher breakage during cutting than ceramic or glass, so the extra allowance prevents running short.
Why does dye lot matter when ordering mosaic tiles?
Tile is fired in batches, and color can vary between production runs even for the same product. Ordering all sheets from the same dye lot ensures consistent color across your entire backsplash.
Do I need to order grout and adhesive separately?
Yes, and calculate quantities before placing your order. Small mosaic tiles require significantly more grout per square foot than larger tiles, so standard grout estimates for 12×12 tiles will leave you short.
Where can I find premium natural stone mosaic tiles for a backsplash?
Surfacesgalore carries curated marble, limestone, and travertine mosaic collections with nationwide shipping. Their team provides ordering guidance and educational resources to support your project from measurement through installation.
Key Takeaways
Ordering mosaic tile for a backsplash requires accurate measurement, the right waste factor for your material and pattern, and a single dye lot order that includes grout and adhesive.
| Point | Details |
|---|---|
| Measurement formula | Multiply width × height in inches, divide by 144 to get square feet for each wall section. |
| Waste factor for natural stone | Use 15% for standard layouts and up to 20% for complex patterns like herringbone. |
| Sheet quantity calculation | Divide adjusted square footage by coverage per sheet (typically 1 sq ft per 12-inch sheet) and round up. |
| Dye lot consistency | Order all sheets at once from the same batch to prevent visible color variation across the finished backsplash. |
| Surfacesgalore | Direct importer of marble, limestone, and travertine mosaics with nationwide shipping and ordering support. |


Leave a comment