
Marble Countertop Installation: Achieve Elegant Results Easily

Did you know that marble countertops can add up to 25 percent resale value to your home when installed properly? Every detail matters when working with this luxurious material, from the first cabinet check to the final polish. Taking a careful, step-by-step approach saves you headaches and costly repairs down the road. Learn how the right preparation and expert techniques can turn your marble countertop project into a showpiece built to last.
Quick Summary
| Key Point | Explanation |
| 1. Ensure Cabinets are Level | Cabinets must be level within 1/8 inch over 10 feet to support the marble properly. Uneven surfaces risk cracking the marble later. |
| 2. Create a Precise Template | Use cardboard or MDF to trace the exact shape of your countertop. Accurate templates ensure proper cuts and fitting. |
| 3. Perform a Dry Fit First | Test the fit of marble pieces before permanent installation. This helps identify and correct alignment or measurement issues early. |
| 4. Use Structural Adhesives | Select high-quality adhesives specifically for natural stone to ensure strong bonds and seamless seams. Follow instructions precisely for best results. |
| 5. Seal the Marble Thoroughly | Apply a penetrating sealer after installation to protect against stains and wear. Use multiple thin coats for optimal protection. |
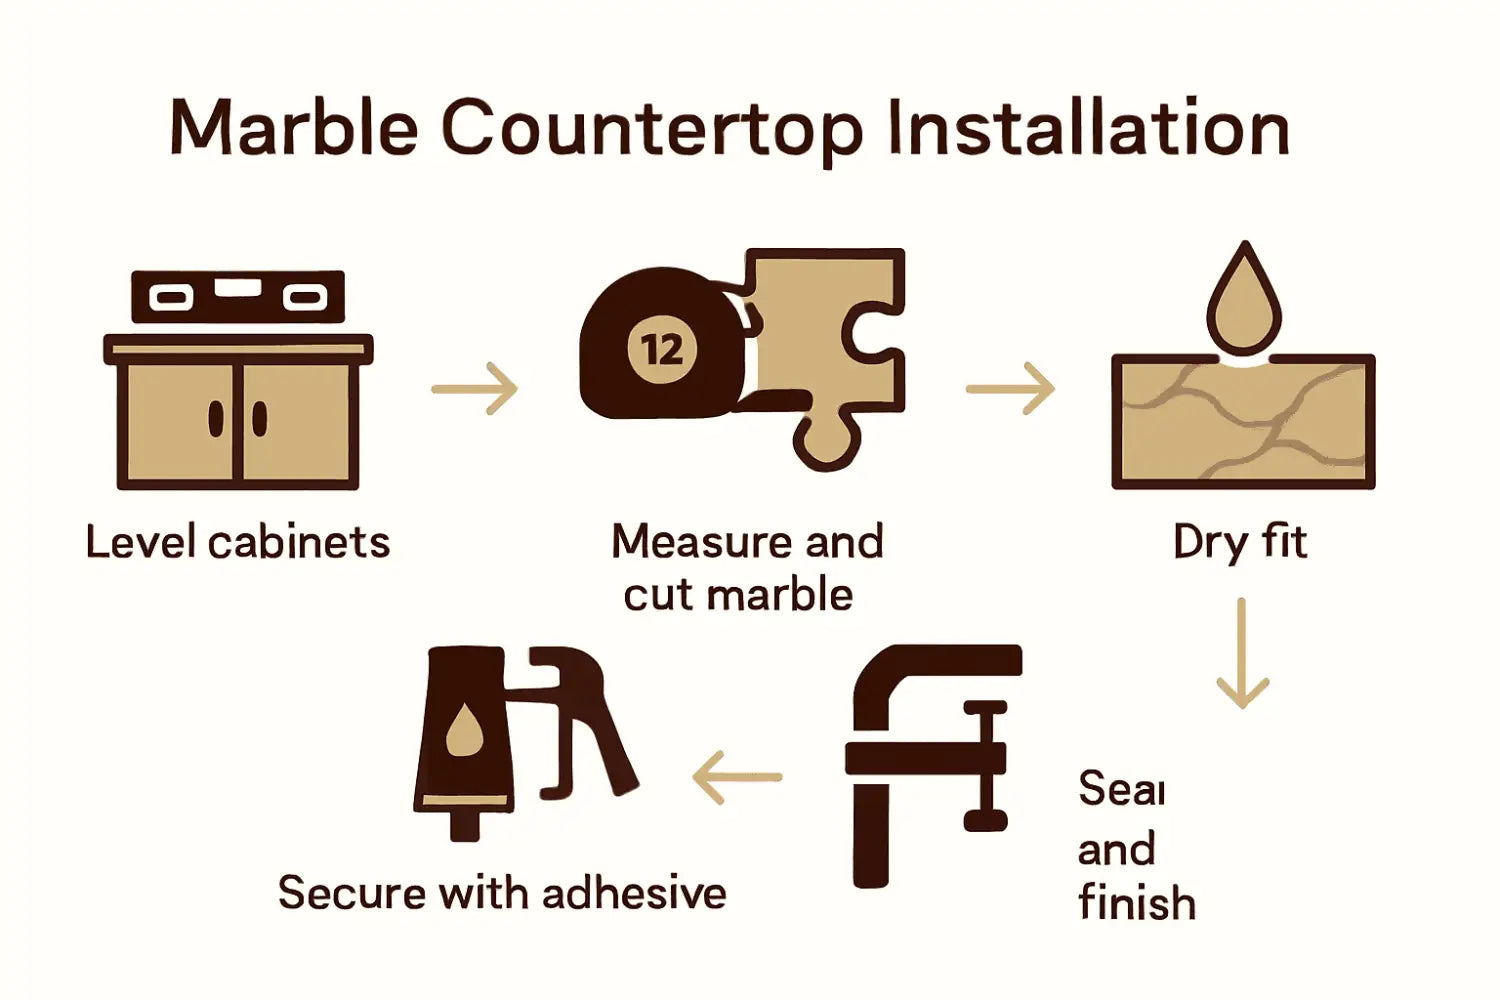
Table of Contents
Step 1: Assess Space and Prepare Surfaces
Before dropping a beautiful marble slab into your kitchen, you’ll need to create the perfect foundation. This crucial preparation step ensures your countertop looks stunning and performs flawlessly for years.
Start by thoroughly examining your base cabinets. According to home renovation experts, marble requires an incredibly precise surface. Your cabinets must be perfectly level within 1/8 inch over a 10 foot span. That might sound technical, but think of it like creating a smooth canvas before painting a masterpiece.
Grab a professional carpenter’s level and systematically check each cabinet section. You might discover some areas need reinforcement or strategic shimming. Do not skip this step. Uneven surfaces can create stress points that potentially crack your expensive marble later.
Next, focus on structural integrity. Your cabinets should feel rock solid without any wobbling or flex. If you notice any weakness, consider adding plywood subtops or additional bracing especially around sink or appliance cutouts. This extra support prevents future damage and ensures your marble countertop sits securely.
Pro Tip: Walk around your kitchen and apply gentle pressure to different cabinet sections. Any noticeable movement means you need reinforcement before installation.
Once leveling and reinforcement are complete, clean your surfaces thoroughly. Remove all dust debris and ensure the area is completely dry. This prepares an ideal base for your marble installation and helps adhesives bond perfectly.
You’re now ready to move forward with the exciting next steps of bringing your marble countertop dream to life. Proper preparation means smoother installation and a result that will make you proud.
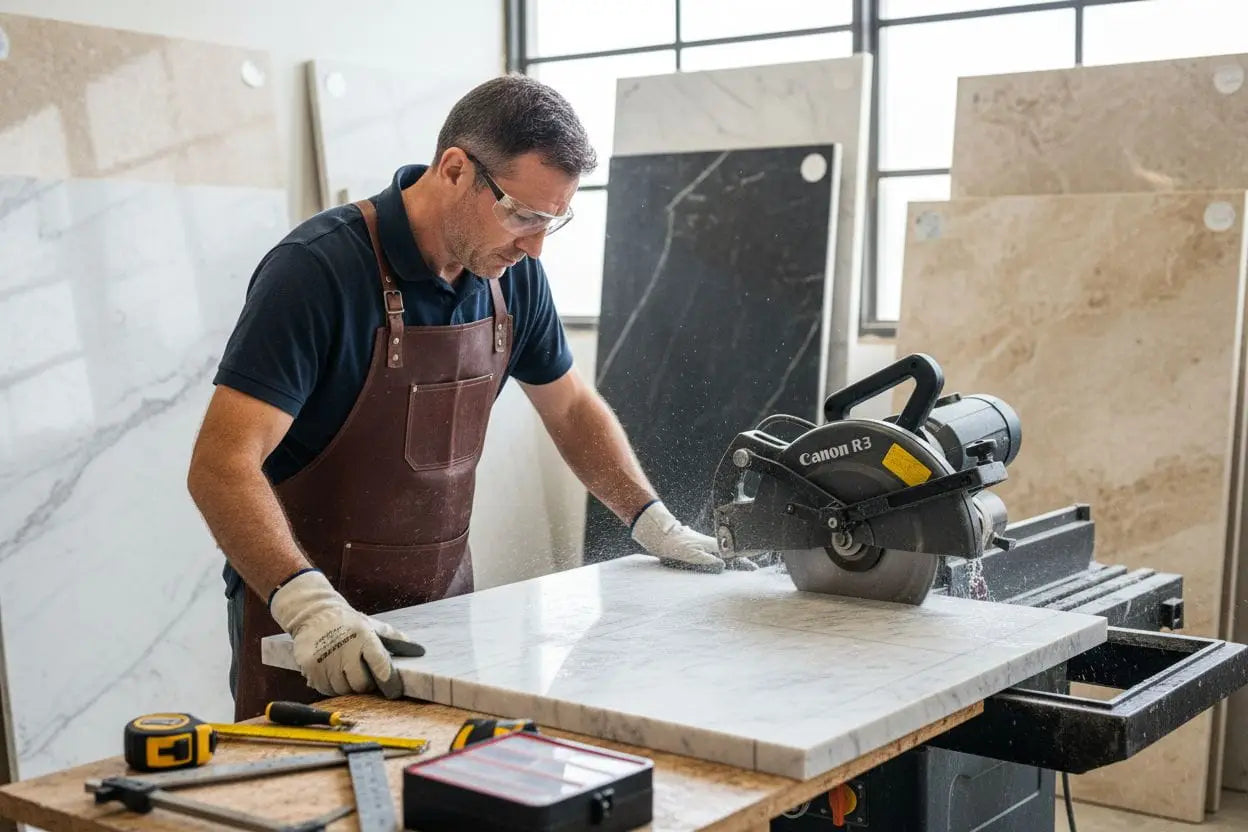
Step 2: Measure and Cut Marble Accurately
With your space prepared, it is time to transform that gorgeous marble slab into your perfect countertop. Measuring and cutting marble requires precision technical skill and the right approach. You will create a template, transfer measurements, and execute clean professional cuts that make your installation look seamless.
Begin by creating a precise template. Professional installers recommend using cardboard or medium density fiberboard (MDF) to trace your exact countertop layout. Place your template directly on the marble slab and mark your cutting lines carefully. According to cutting experts, always include slight allowances for polishing and final adjustments.
For cutting, you will need specialized tools. A wet tile saw with a diamond blade becomes your primary instrument for straight cuts. According to industrial tool research, these saws provide the most accurate and smooth cuts when used with proper technique. Water cooling prevents overheating and reduces potential chipping.
Pro Tip: Always wear safety glasses and work gloves during marble cutting. Small marble fragments can be incredibly sharp.
For curved sections or more complex cuts, consider using an angle grinder with a diamond blade. Move slowly and steadily. Your goal is smooth consistent cuts that look professionally executed. Check our guide on marble installation tools for more detailed equipment recommendations.
Take your time during cutting. Rush this step and you risk expensive mistakes. Each cut should be deliberate and controlled. Use water consistently to cool your blade and prevent potential cracking or chipping.
With precise cuts complete, you are now ready to move forward with fitting your marble countertop. Your careful preparation will ensure a stunning result that looks professionally installed.
Here’s a summary of tools and techniques required for accurate marble cutting:
| Cutting Task | Recommended Tool | Technique Tips |
| Straight Cuts | Wet tile saw Diamond blade |
Use water cooling Work slowly for smooth edges |
| Curved/Complex Cuts | Angle grinder Diamond blade |
Move steadily Check cut accuracy often |
| Template Creation | Cardboard MDF board |
Trace layout precisely Include allowance for adjustments |
| Safety Precautions | Safety glasses Work gloves |
Always wear during cutting |
Step 3: Dry Fit and Adjust Countertop Pieces
Now comes the exciting moment where your marble transforms from raw material to custom countertop. Think of the dry fit as a dress rehearsal for your kitchen renovation. According to professional installers, this critical step lets you test the fit and catch potential issues before permanent installation.
Begin by carefully placing each marble piece into position. Treat these pieces like delicate puzzle sections. You want to check alignment with cabinetry, ensure precise positioning around sink cutouts, and verify how different sections meet. According to installation experts, this process allows you to make critical adjustments before applying permanent adhesives.
Check every seam meticulously. Run your hands along the edges feeling for any uneven spots or misalignments. Small gaps or slight variations that seem minor now can become significant problems after installation. Look at the countertop from multiple angles and perspectives.
Pro Tip: Use blue painter’s tape to temporarily mark potential adjustment areas during your dry fit. This helps track where minor trimming or repositioning might be necessary.
Pay special attention to fixtures like sink openings and appliance spaces. Understanding precise tile dimensions can help you make more accurate assessments during this stage. Measure twice and confirm that each cutout matches your original template exactly.
If you discover any discrepancies during dry fitting, do not panic. This is precisely why professionals recommend this step. Small trimming or minor adjustments now can prevent expensive mistakes later.
With careful dry fitting complete, you are now ready to move toward the final installation. Your patience and attention to detail will result in a stunning marble countertop that looks professionally crafted.
Step 4: Secure Marble Using Professional Adhesives
You have arrived at the critical moment of transforming your marble pieces into a stunning countertop. Securing marble requires precision professional-grade adhesives and techniques that ensure your investment looks flawless and remains stable for years.
Professional installers recommend using structural epoxies specifically designed for natural stone applications. According to industry research, these specialized adhesives offer extraordinary bonding strength and create virtually invisible seams. Your goal is to achieve a connection so seamless that it looks like one continuous marble surface.
Begin by thoroughly cleaning and preparing your surface. Any dust or debris can compromise the adhesive bond. Select a stone specific adhesive with neutral chemistry that matches your marble’s color tone. Mix the adhesive carefully following manufacturer instructions. Precision matters more than speed during this stage.
Pro Tip: Work in small sections and maintain consistent pressure during application to prevent air bubbles or uneven bonding.
Apply the adhesive evenly using professional tools. Move methodically and check alignment constantly. According to installation experts, positioning is everything. Take your time and verify each section sits perfectly before the adhesive begins to set. Learn more about installing natural stone materials for additional insights.
Once positioned, use temporary clamps or supports to hold marble pieces in place. Avoid placing heavy objects on the surface for at least 24 hours to allow proper curing. Patience during this stage prevents potential shifting or misalignment.
With careful adhesive application complete, you are now one step closer to your dream marble countertop. Your meticulous approach ensures a professional result that will impress for years to come.
Step 5: Seal Seams and Inspect for Quality Finish
Congratulations. You have successfully installed your marble countertop. Now it is time to protect your investment and ensure a stunning finish that will last for years. Sealing your marble is not just a final step it is your ongoing defense against stains and wear.
Begin by thoroughly cleaning the entire surface using a pH neutral stone cleaner. According to professional marble restoration experts, this step removes any installation residue and prepares the surface for sealing. Work carefully and ensure you clean every inch of the marble including those tricky seam areas.
Select a high quality penetrating sealer specifically designed for natural marble. These specialized sealers will protect your stone without changing its beautiful natural appearance. Apply the sealer in small sections using a soft clean cloth. Work methodically and avoid oversaturating the surface.
Pro Tip: Test the sealer’s effectiveness using the classic water drop test. If water beads up and does not absorb within 15 minutes you have successfully sealed your marble.
Apply two to three thin coats of sealer for maximum protection. Allow each coat to dry completely before applying the next. According to marble maintenance research, this approach provides comprehensive coverage and long lasting protection. Learn more about protecting your stone surfaces for additional insights.
Once sealed allow your countertop to cure for 24 to 48 hours before regular use. Avoid placing heavy objects or using harsh cleaning products during this initial curing period. Regular maintenance every six to twelve months will keep your marble looking pristine.
With careful sealing complete your marble countertop is now ready to become the stunning centerpiece of your kitchen. Your attention to detail ensures a beautiful surface that will impress for years to come.
Elevate Your Marble Countertop Installation With Surfaces Galore
You have seen how essential precision, quality materials, and expert handling are at every stage of marble countertop installation. The challenge of finding authentic, perfectly cut marble that complements your vision is real. Many homeowners and professionals worry about structural integrity, perfect seams, and a flawless finish. Achieving an elegant result begins with sourcing the right stone and having support you can trust throughout your project.
Imagine skipping mistakes and delays by working with specialists who understand how much a beautiful kitchen means to you. Our comprehensive selection of natural marble empowers you to plan and install with confidence. From exact slab measurements to durable adhesives and expert guidance, Surfaces Galore delivers everything you need.

Ready to transform your kitchen into an elegant showcase? Start your countertop journey with Surfaces Galore. Visit our installation resources for expert tips or contact our team for direct support. Do not wait – your dream kitchen deserves genuine marble surfaces that last. Visit us today for authentic quality and dependable service, nationwide.
Frequently Asked Questions
How do I properly prepare my cabinets for marble countertop installation?
To prepare your cabinets, ensure they are level within 1/8 inch over a 10-foot span. Use a professional carpenter’s level to check for accuracy and reinforce any weak areas before moving forward with the installation.
What tools do I need for accurate marble cutting during installation?
You’ll need a wet tile saw with a diamond blade for straight cuts and an angle grinder for complex curves. Ensure you work methodically and use water to cool the blade, preventing damage and ensuring smooth cuts.
How can I effectively dry fit my marble countertop pieces?
Place each marble piece carefully in its intended position and check alignment with cabinetry and fixtures. Use blue painter’s tape to mark areas where adjustments are needed before making any permanent changes.
What type of adhesive should I use to secure my marble countertop?
Use a structural epoxy specifically designed for natural stone applications, as it provides strong bonding and creates nearly invisible seams. Mix the adhesive according to the manufacturer’s instructions and apply it evenly for the best results.
How often should I seal my marble countertop after installation?
It’s recommended to seal your marble countertop every six to twelve months to protect it from stains and wear. Clean the surface thoroughly before applying sealer to ensure optimal bonding and protection.
Leave a comment