
Natural Stone Tile Sample Process: 2026 Homeowner Guide

The natural stone tile sample process is the single most reliable way to avoid an expensive mistake. Order physical samples, test them in your actual space, run a few simple checks, then commit. Skipping any step is how homeowners end up with marble that looks gray under their kitchen LEDs but read as warm cream in the showroom.
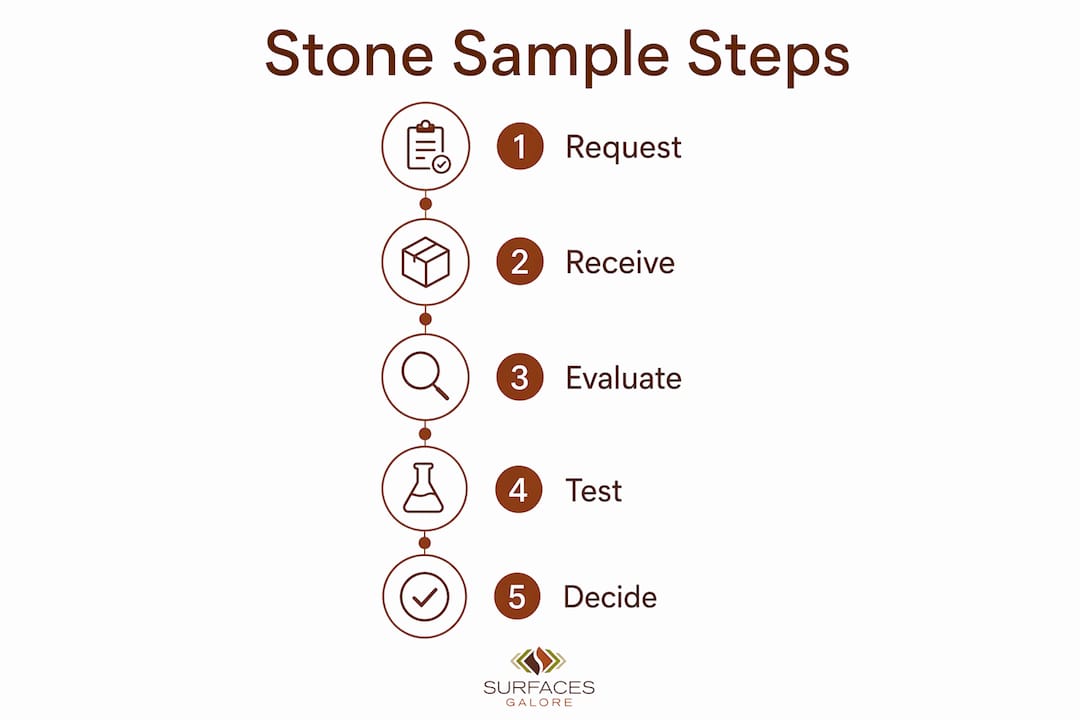
Here is what the full process covers:
- Order samples that match the finish, size, and edge treatment of your intended tile
- Test samples in your space under daylight and evening lighting before deciding
- Run simple home tests for porosity and hardness to predict real-world performance
- Compare samples against cabinetry, flooring, and fixtures as a complete palette
- Finalize your selection with batch consistency and substrate compatibility confirmed
Natural stone tiles, including marble, limestone, and travertine, vary in color, veining, and texture from batch to batch. A sample is a guide, not a guarantee of exact appearance. That is precisely why the process matters.
How to request natural stone tile samples the right way
Getting the right samples starts with knowing exactly what to ask for. A single 4x4 inch reference tile rarely tells the full story.
- Request multiple sample types: small reference tiles (roughly 4x4 or 6x6 inches) for quick comparisons, plus project-size pieces in your final tile dimensions and thickness
- Specify your finish: polished, honed, brushed, tumbled, or sandblasted surfaces each look and perform differently; request the exact finish you plan to install
- Ask about edge treatments: beveled, eased, or sharp edges affect the final look, especially on floor tile
- Source from current production: ask your supplier to pull samples from current blocks or geologically similar quarry material so the sample reflects what you will actually receive
- Order all related samples together: if your project combines tile, mosaic, and trim, evaluate them as a coordinated set rather than separately
- Confirm lead times and shipping: sample lead times vary by supplier and stone origin; plan for this before your installation window
Surfacesgalore ships natural stone samples nationwide from Anaheim, California, with direct import access to marble, limestone, and travertine collections. When you order natural stone through a direct importer, you reduce the risk of receiving samples that do not reflect the actual production stock.
How to evaluate natural stone tile samples at home
Placing samples correctly in your space reveals far more than any product photo can.
- Put samples on the floor at standing height: viewing a floor tile sample on a table is misleading; floor placement under varied lighting shows the true color and tone shifts you will live with
- Check under both daylight and evening light: natural stone looks different under warm LEDs versus afternoon sun; check the sample at multiple times of day
- View from multiple angles: polished marble and honed limestone both shift in sheen and depth depending on your viewing angle and the direction of light
- Compare against adjacent materials: hold the sample next to your cabinetry, flooring, countertop, and fixtures; stone that reads as neutral in isolation can pull warm or cool against other finishes
- Handle samples carefully: natural stone chips at edges; wrap samples when moving them and avoid stacking without padding
- Compare several pieces: request at least two or three tiles from different areas of the block to understand the natural variation range you can expect across a full installation
- Document your observations: photograph each sample in place, note the lighting conditions, and write down your reactions; this record is useful when discussing options with your installer or designer
Pro Tip: For wall tile applications, hold the sample vertically against the wall rather than laying it flat. Light catches a vertical surface differently, and veining that looks subtle on a table can become a strong visual feature at eye level.
Simple home tests professionals recommend for natural stone
Geologist Karin Kirk, writing for Use Natural Stone, endorses a set of simple home tests that reveal a stone’s hardness and acid sensitivity before you buy. These tests take under 20 minutes and require only basic household items.
- Porosity test with dyed water: place the sample edge-wise in a shallow bowl of water mixed with food dye; leave it for 10–15 minutes, then remove and dry it. If color has wicked above the waterline, the stone is porous and will need sealing before and after installation
- Hardness scratch test: use the tip of a pocketknife or awl and drag it firmly across the surface. A true scratch leaves a visible indentation and powdered stone; a metal rub-off wipes clean with no indentation. Repeat across different mineral areas of the sample since hardness can vary within a single tile
- Glass tile hardness check: press a sharp corner of your stone sample against a glass tile. If the stone scratches the glass, it is harder than glass and generally more durable underfoot
- Acid sensitivity test: place a few drops of lemon juice or vinegar on the surface and wait 60 seconds. Marble and limestone will etch or dull at the contact point, confirming calcium carbonate content and indicating that acidic cleaners must be avoided
- Water darkening observation: after the porosity test, note whether the stone darkened below the waterline. Moderate darkening means moderate porosity; no darkening means low porosity and less frequent sealing
Pro Tip: Always run these tests on an unsealed sample. A factory sealer masks the stone’s true porosity and will give you a false read on how the material actually behaves.
Professional masons consistently flag one additional concern: natural stone is significantly heavier and denser than ceramic or porcelain tile. Before finalizing any stone selection, confirm with your installer that your subfloor can handle the load, particularly for large-format tiles in upper-story bathrooms or kitchens.
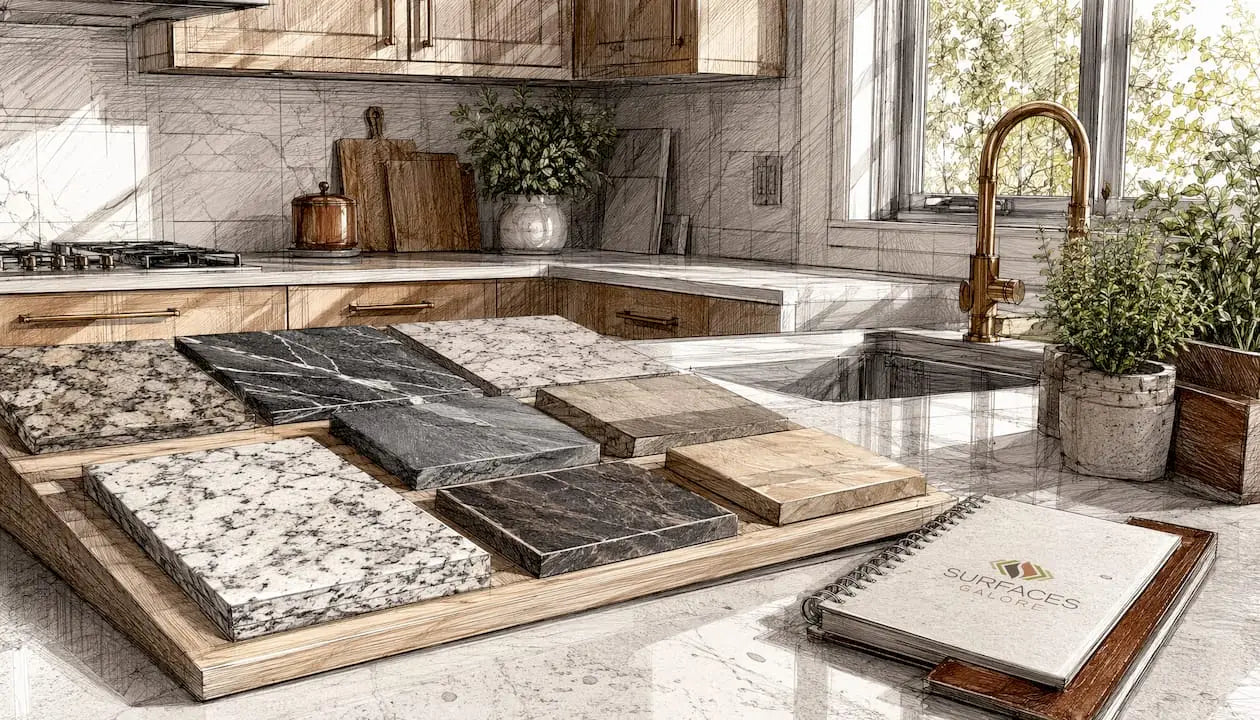
Making your final decision using natural stone tile samples
With testing done and observations documented, the final selection comes down to a few practical factors.
- Account for color variation across the batch: a single approved sample cannot guarantee every tile in your order will match exactly; order enough material from the same production run to cover your full project
- Calculate your overage correctly: for most tile projects, allow 10–15% extra material for cuts, waste, breakage, and future repairs; complex layouts like herringbone or diagonal patterns may require more
- Use the 3-4-5 rule for layout accuracy: before installation begins, apply this geometry method to square your room corners, which prevents awkward cuts and wasted tile at the perimeter
- Confirm substrate suitability with your installer: natural stone requires a structurally sound substrate; get written confirmation before purchasing, especially for floors
- Review the full sample palette together: lay your tile sample, mosaic, trim, and any accent pieces side by side in the actual room before approving the combination
- Label and document your approved samples: note the product name, finish, batch or block reference, and approval date; share this with your supplier to reduce the chance of a mismatch on delivery
- Order promptly after sampling: stock changes, batches sell through, and a later order may not match your approved sample as closely; ordering early protects batch consistency
For floor versus wall applications, the decision criteria differ. Floor tiles need higher hardness scores and lower porosity to handle foot traffic and moisture. Wall tiles can tolerate softer, more porous stones like certain limestones, provided they are properly sealed. Your porosity and hardness test results from the previous step feed directly into this call.
Why Surfacesgalore is a trusted source for natural stone samples
Surfacesgalore operates as a direct importer of premium marble, limestone, and travertine tiles, mosaics, and decorative pieces, which means fewer intermediaries between the quarry and your home.
- Authentic natural stone, direct from source: direct import access means the samples you receive reflect the actual production material, not a showroom approximation
- Nationwide shipping from Anaheim, California: homeowners and remodelers across the country can request and receive samples without visiting a physical showroom
- Full product range for coordinated evaluation: marble tiles, travertine mosaics, limestone field tiles, moldings, and decorative pieces are available together, so you can assess a complete palette in one order
- Educational support for confident decisions: Surfacesgalore publishes practical guides covering everything from choosing stone for bathrooms to kitchen floor selection, helping homeowners make informed choices before they commit
- Affordable pricing without sacrificing quality: direct import pricing makes premium natural stone accessible for renovation budgets that would otherwise default to ceramic or porcelain
Ready to start your stone tile selection process? Explore marble, limestone, and travertine collections at Surfacesgalore and request samples that reflect your actual project finish and size.
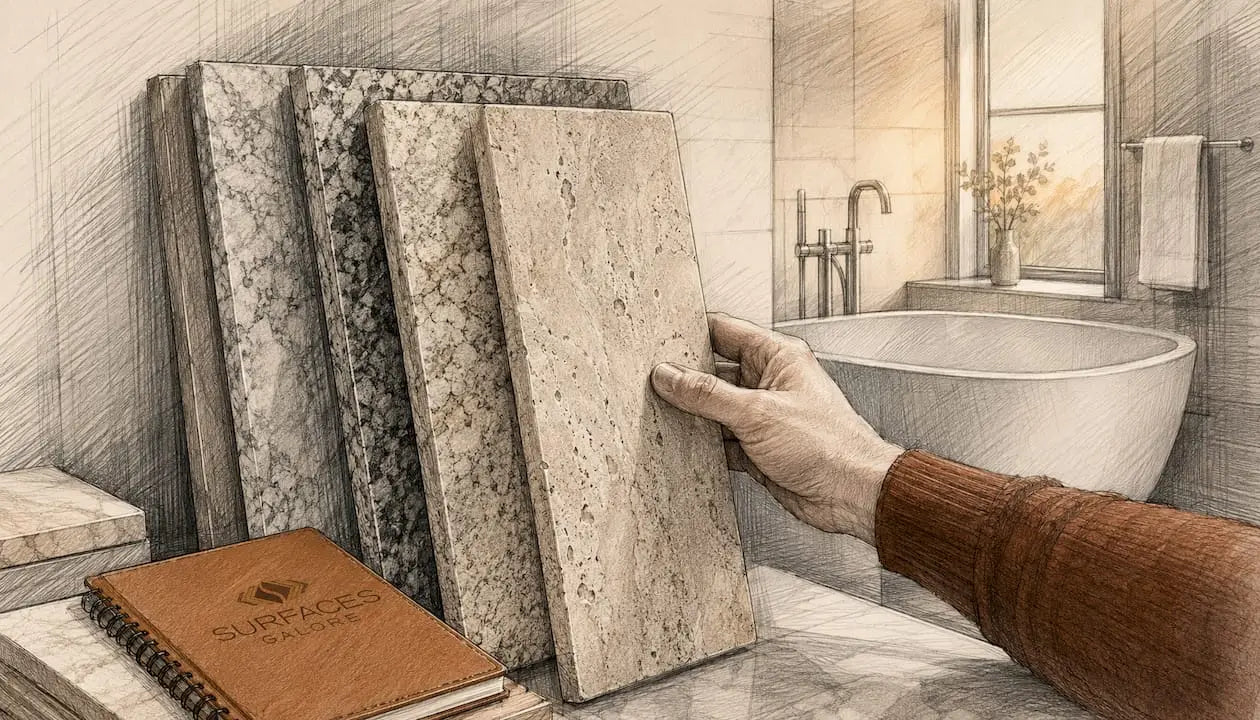
Key Takeaways
Ordering representative samples and testing them in your space is the most reliable way to avoid color, texture, and performance surprises with natural stone tile.
| Point | Details |
|---|---|
| Order the right sample types | Request reference tiles, project-size pieces, and finish variants from blocks currently in production or geologically similar material. |
| Test under real lighting | View samples on the floor at standing height under both daylight and evening LED light. |
| Run porosity and hardness tests | Use a dyed-water porosity test lasting 10–15 minutes and a pocketknife scratch test before committing. |
| Allow extra material for cuts, waste, and future repairs; complex layouts may require additional allowance. | |
| Confirm substrate suitability | Have your installer verify the subfloor can support natural stone weight before purchasing. |
FAQ
How do you identify natural stone tile?
Natural stone tiles have unique, non-repeating patterns on every piece. A water drop test will usually darken the surface within a few minutes, confirming the stone’s porosity, and a scratch test with a metal tool can reveal hardness and mineral composition.
What is the 3-4-5 rule for tile?
The 3-4-5 rule is a geometry method used to create accurate 90-degree corners before laying tile. Measuring 3 feet along one wall, 4 feet along the adjacent wall, and confirming a 5-foot diagonal confirms a true square, preventing crooked layouts and wasted cuts.
What are the main cons of natural stone tile?
Natural stone requires periodic sealing, specialized pH-neutral cleaners, and a structurally sound substrate to support its weight. It also varies in color and veining between batches, so exact matching across separate orders is not guaranteed.
How long does it take to receive natural stone tile samples?
Lead times vary by supplier and stone origin. Ordering samples from a domestic direct importer like Surfacesgalore typically shortens the wait compared to sourcing internationally, but confirming the timeline with your supplier before your installation window is always the right move.


Leave a comment