
Small Bathroom Tiles Design: Ideas That Add Space

The fastest way to make a small bathroom feel bigger is continuity: run one large-format tile across the floor and walls, match your grout to the tile, and keep sightlines open with a glass panel or curbless shower. That single move does more than any paint color or mirror trick.
Before you order anything, work through this checklist:
- Tile size: choose tiles sized at least 12 inches by 24 inches for floors and walls
- Grout strategy: match grout color to tile, keep joints narrow
- Orientation: stack vertically or run planks lengthwise to stretch the room
- Installation note: confirm your substrate is flat before large-format tile goes down
Key Takeaways
Continuity, achieved through large-format tile, matched grout, and a single material carried across surfaces, is the fastest way to make a small bathroom feel larger.
| Point | Details |
|---|---|
| Prioritize continuity | Use one tile or stone type across floor, walls, and shower to remove visual breaks. |
| Go large-format | Choose 12"×24" or bigger to cut grout lines and open up the room. |
| Match grout to tile | Narrow, color-matched joints keep the surface reading as one plane. |
| Limit pattern and mosaics | Save bold pattern and small-format mosaics for one surface or a niche. |
| Consider natural stone | Surfacesgalore’s marble, travertine, and limestone samples support the drenched 2026 look with real veining and long-term resale value. |
Table of Contents
- Core Principles for Small Bathroom Tiles Design
- What Tile Sizes Make a Small Bathroom Feel Bigger?
- Using Pattern and Texture Without Shrinking the Room
- Porcelain, Ceramic, or Natural Stone: What Works Best?
- Where Should You Tile: Floor, Wall, or Shower?
- Grout Color and Tile Finish: The Details That Change Everything
- Smart Ways to Manage Budget and Installation
- What Are the Top Tile Color Trends for 2026?
- How Do You Maintain Small Bathroom Tiles Long Term?
- Planning Your Small Bathroom Tile Project Step by Step
- Why Continuity Beats Every Other Small-Bath Trick
- Get Natural Stone Samples for Your Small Bathroom
- Sources
- FAQ
Core Principles for Small Bathroom Tiles Design
Every trick in this guide traces back to one idea: fewer visual breaks equal a bigger-feeling room. That’s the logic behind “drenching,” 2026’s dominant small bathroom trend, where a single stone type or warm-neutral color wraps the floor, walls, and even the shower ceiling. No color changes, no trim breaks. Just one continuous surface.
Grout lines matter more than most homeowners realize. Every joint is a visual stop sign for the eye, and a small bathroom is already full of them. Large-format or rectified tiles cut the grid dramatically, which is why a 12"×24" floor tile reads as much more open than a 4"×4" version of the same material.
Orientation is your other lever. Vertical tile installation lifts the eye toward the ceiling and makes low ceilings feel taller, while lengthwise planks on the floor pull the room longer.
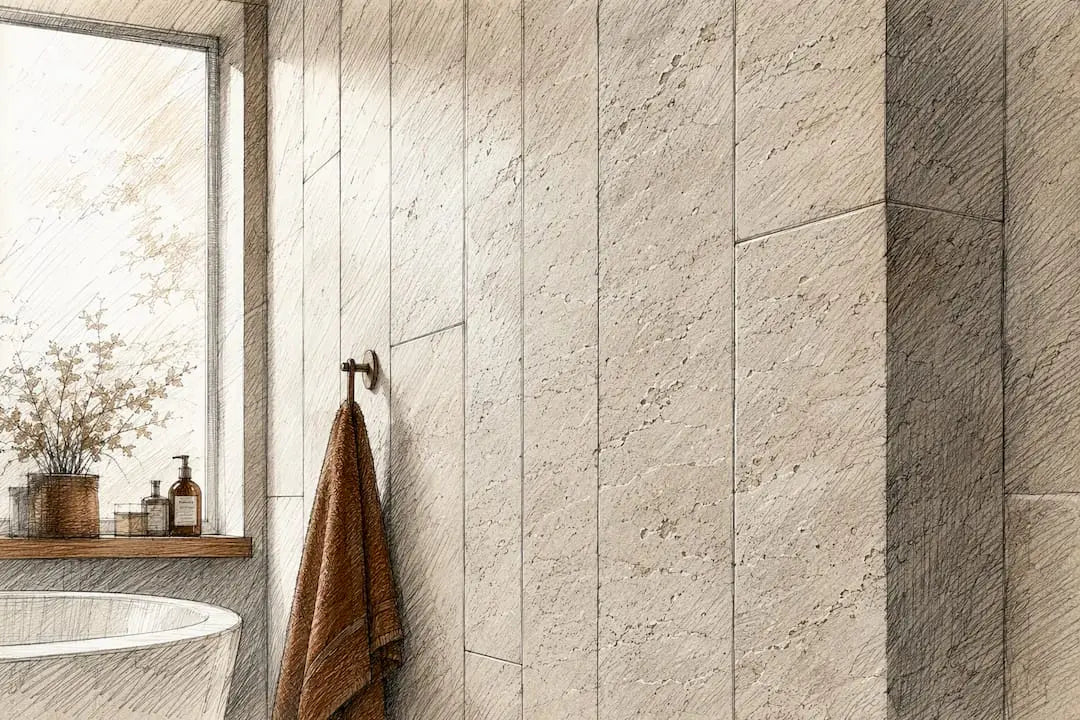
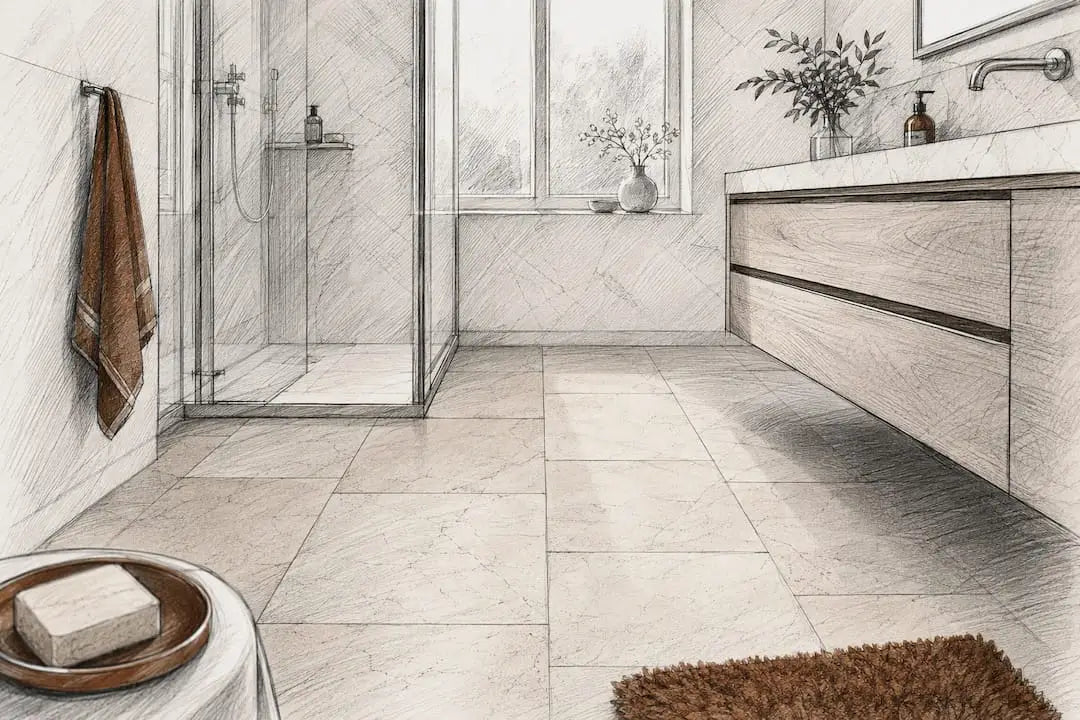
Pro Tip: Pair your tile choice with a frameless glass shower panel and a floating vanity. Removing a curb and lifting the vanity off the floor lets the tile run underneath uninterrupted, which reinforces the continuity effect more than any single tile decision.
What Tile Sizes Make a Small Bathroom Feel Bigger?
Size and layout do more heavy lifting than color in a cramped footprint. For floors, 12"×24" is the workhorse format in small bathrooms because it cuts grout lines roughly in half compared to standard 12"×12" tile. Go bigger, 24"×48", on a feature wall or full shower surround, and the effect gets even more dramatic.
Mosaic tiles are typically suitable for shower floors and niches where small pieces are practical for drainage slopes and selective texture, but using mosaics extensively across all surfaces can create visual clutter rather than a sleek look.
Picture a standard 5-by-8 bathroom tiled in 4-inch squares versus the same room in 24"×48" porcelain planks. The grid of small tiles chops the space into segments; the large-format version reads as one uninterrupted plane.
Layout options worth considering:
- Straight grid for a clean, calm baseline
- Vertical stack to emphasize height
- Lengthwise plank running the room’s longest dimension
- Diagonal layout, which works best in bathrooms that are close to square
Using Pattern and Texture Without Shrinking the Room
Pattern is not off-limits in a small bathroom. It just needs boundaries. Confine a bold pattern, checkerboard, encaustic-style porcelain, a herringbone accent, to one surface: the floor or a single feature wall, never both. Let every other surface stay tonal so the eye has somewhere to rest.
Texture works the same way. A band of fluted tile or zellige-inspired ceramic in a niche or on a half-wall adds depth without adding visual weight to the whole room.
Contrast is the real variable to watch. Low-contrast marble veining or a muted mosaic reads as texture from across the room; high-contrast pattern reads as clutter the moment you cross the threshold.
- Keep pattern to one surface, max
- Use texture in narrow bands or defined niches
- Favor tonal, low-contrast veining over sharp color breaks
Pro Tip: If you love a bold encaustic look, put it only on the floor and keep the walls in a plain, closely matched neutral. You get the personality without the visual noise.
Porcelain, Ceramic, or Natural Stone: What Works Best?
This is the decision that shapes your budget and your maintenance routine for years. Porcelain and ceramic are waterproof out of the box, consistent from tile to tile, and typically the more budget-friendly route. Natural stone, marble, travertine, limestone, brings something porcelain can’t fully replicate: unique veining and movement that reads as genuinely premium.
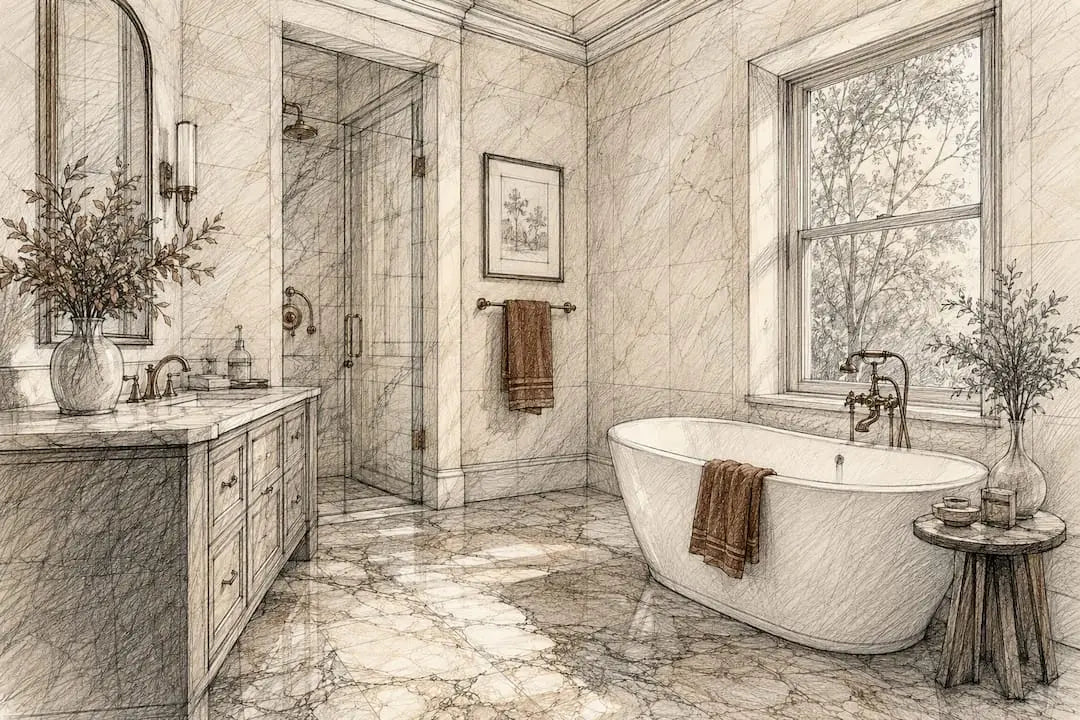
That authenticity has payoff beyond looks. Natural stone’s longevity and one-of-a-kind variation can justify the investment in guest baths and primary bathrooms that see frequent, higher-end use, and it supports the drenched, monochrome look that’s defining 2026 designs.
Before you commit, order samples. Veining and undertone shift more than people expect between batches, and dry-laying a few pieces on-site under your actual bathroom lighting beats guessing from a small swatch. Surfacesgalore’s natural stone bathroom tile guide walks through material differences in more depth if you’re weighing options for the first time.
Pro Tip: Honed stone finishes offer better slip resistance and a softer, more consistent color than polished finishes, which makes honed the safer default for small, frequently wet bathroom floors.
Where Should You Tile: Floor, Wall, or Shower?
Not every surface deserves the same tile budget. The single highest-return move in a small bathroom is running your floor tile straight into a curbless shower with no threshold break, which keeps the eye traveling uninterrupted across the entire footprint.
Full-height tile matters most on shower walls and on one feature wall; everywhere else, stopping at vanity height or a chair rail is fine and saves on material. Small, high-impact zones, a shower niche, a backsplash behind a floating vanity, are where a splurge tile earns its keep without inflating your total tile order.
A fixed glass panel paired with a curbless shower and matching floor-to-shower tile is close to the ideal small-bathroom layout for 2026.
- Extend floor tile into the shower whenever the layout allows
- Go floor-to-ceiling on shower walls and one feature wall only
- Reserve premium tile for niches and small accent zones
Grout Color and Tile Finish: The Details That Change Everything
Match your grout to your tile. It sounds minor, but a contrasting grout color redraws the entire tile grid, while a matched grout lets the surface disappear into one plane. Where budget allows rectified tile, you can drop joint widths to about 1/16" to 1/8", tightening that grid even further.
Finish matters too: glossy tile on walls bounces light around a small room, while matte tile on floors keeps slip resistance in check. Combining the two, gloss above, matte below, gives you both benefits.
- Match grout color to tile for a seamless read
- Use narrow joints (1/16" to 1/8") with rectified tile
- Choose matte or textured finishes for wet floor areas, save gloss for walls
Smart Ways to Manage Budget and Installation
Large-format porcelain that mimics marble or travertine costs less than the real stone and installs faster, since fewer, bigger pieces mean less labor. Complex patterns like herringbone add labor hours regardless of material, so if budget is tight, confine that pattern to one surface.
- Order samples and dry-lay them under your bathroom’s actual lighting
- Confirm subfloor and wall flatness before ordering large-format tile
- Budget extra material for waste and edge cuts, small rooms generate more cuts per square foot than large ones
- Ask your installer about substrate prep and adhesive type upfront
- Save labor dollars by reserving pattern work for a single feature surface
What Are the Top Tile Color Trends for 2026?
Stark white is losing ground. The 2026 palette leans toward warm neutrals, mushroom, greige, warm taupe, along with limestone and travertine-inspired soft beiges and subtle marble veining. These tones support the drenched, monochrome approach without feeling clinical.
Beyond the neutral base, expect muted zellige-inspired ceramic, gentle veining in place of heavy contrast, and small, deliberate pops of color, rust red or burnt yellow, used in a niche or on a single floating vanity rather than across an entire room. It’s worth checking current color pairings for millwork and doors too, since your grout, tile, and trim colors all read together.
- Warm neutrals over stark white for the main surfaces
- Muted zellige or soft veining for texture
- Bold color reserved for one small, swappable feature
How Do You Maintain Small Bathroom Tiles Long Term?
Porcelain and ceramic need little beyond regular cleaning. Natural stone needs a plan: reseal travertine and limestone roughly once a year, more often in a heavy-use bathroom, and skip acidic or abrasive cleaners that etch the surface.
The upside is real. Natural stone’s durability and one-of-a-kind veining can support higher resale value in a well-kept bathroom, and a honed finish helps hide minor wear between sealings.
- Wipe down tile and grout weekly with a pH-neutral cleaner
- Reseal natural stone annually, or every six months in high-traffic bathrooms
- Check grout lines each season for cracking or gaps
Planning Your Small Bathroom Tile Project Step by Step
Good tile decisions start with a tape measure, not a showroom visit. Measure your bathroom’s exact dimensions, including ceiling height if you’re considering vertical drenching, before you order a single sample.
- Measure floor, wall, and shower dimensions
- Order 2 to 3 tile samples and dry-lay them in the actual room
- Photograph the mockup in both daylight and evening light
- Confirm substrate flatness with your installer
- Ask about thinset type and recommended grout joint width for your tile format
- Schedule installation with buffer time for custom stone orders, which often carry longer lead times than in-stock porcelain
Ask your installer directly about substrate prep and rectified-edge tolerances. A floor tile selection workflow built around measurements first, style second, tends to prevent the most common reordering headaches.
Why Continuity Beats Every Other Small-Bath Trick
If I had to pick one lever for a small bathroom remodel, it’s continuity. Not the boldest tile, not the trendiest color, just one material carried across as many surfaces as the budget allows. Natural stone earns its cost here because no porcelain print fully replicates how light moves across real marble veining.
Order samples before you commit to anything, and let a tile professional walk the room with you. Surfacesgalore keeps a working stock of marble, travertine, and limestone samples built for exactly this kind of decision.
Get Natural Stone Samples for Your Small Bathroom
If you’ve been comparing big-box porcelain against the real thing, here’s the practical difference: Surfacesgalore ships authentic marble, travertine, and limestone tiles and mosaics direct from the importer, which means better pricing on the same veining and color depth you’d pay a showroom markup for elsewhere.
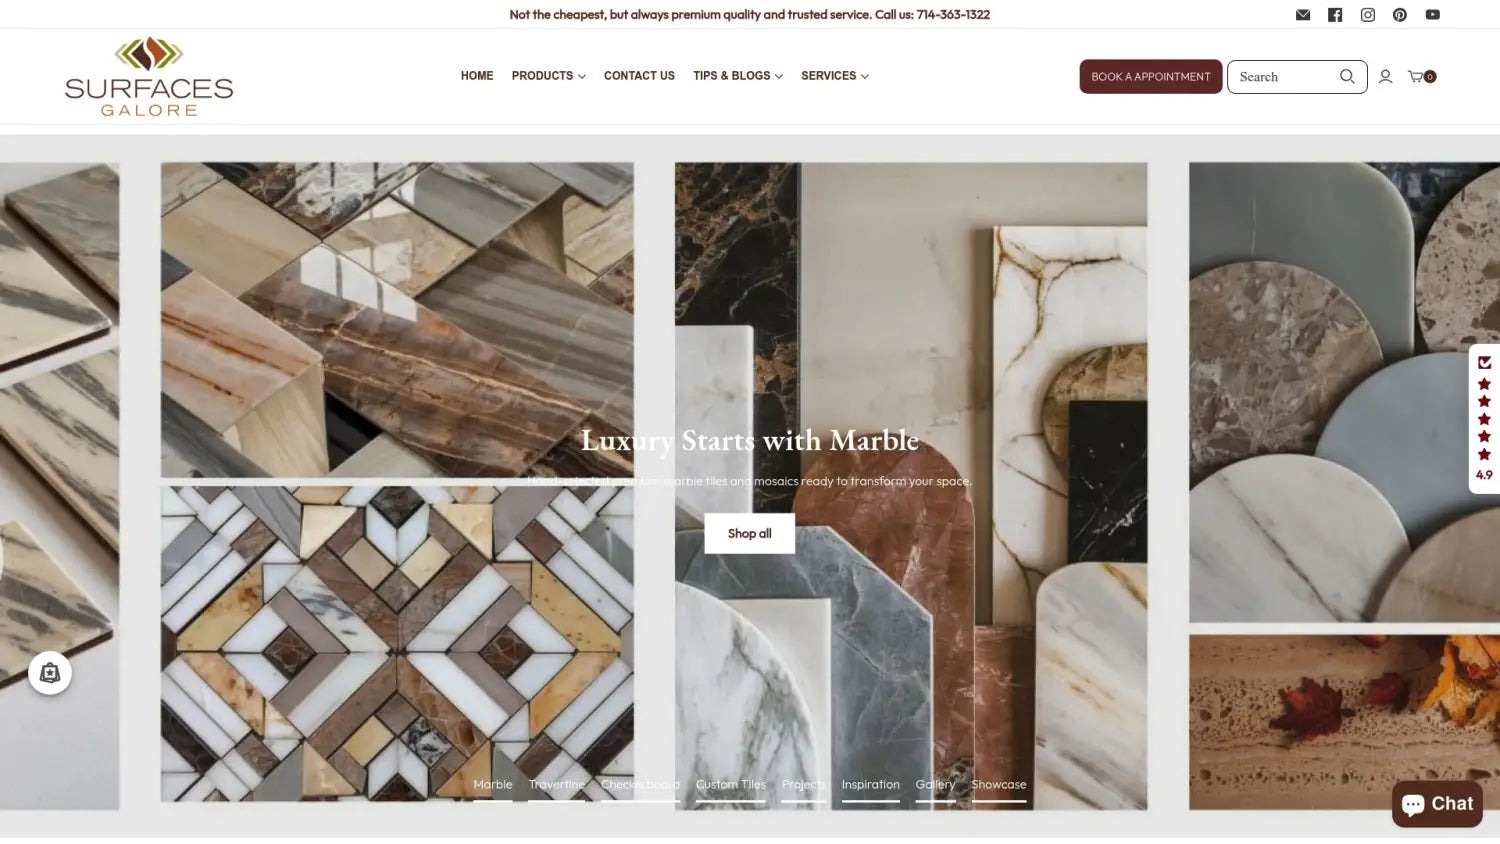
Custom cuts, bulk quotes, and sample orders are all available, whether you’re tiling one small guest bath or sourcing stone for a full renovation slate. Shop natural stone tiles today and order samples before you commit to a single square foot, or browse the luxury stone selection guide to narrow down finishes first. Nationwide shipping means your samples arrive regardless of where your project sits.
Sources
- Small Bathroom Trends 2026: Big Style for Tiny Spaces
- Bathroom color trends 2026
- Best Tile for Small Bathroom: Sizes, Colors & Design Tricks That Expand Space
- The benefits of using natural stone in your bathroom design
FAQ
What Is the Best Tile Size for a Small Bathroom?
Large-format tiles, 12"×24" for floors and up to 24"×48" for walls, work best because fewer grout lines make the room read as more open.
Should I Use the Same Tile on the Floor and Shower?
Yes, running the same tile from the floor into a curbless shower removes the visual break at the threshold and is one of the strongest space-expanding moves available.
Is Natural Stone Worth It in a Small Bathroom?
For guest and primary bathrooms with regular use, natural stone’s unique veining and durability can justify the cost and support long-term resale value; Surfacesgalore offers marble, travertine, and limestone samples for comparison before you order.
Should Grout Match the Tile Color?
In almost every case, yes. Matching grout to tile minimizes the visible grid and makes the surface feel continuous rather than segmented.
Where Can Mosaic Tile Still Be Used in a Small Bathroom?
Mosaics work well on shower floors and in niches, where smaller pieces handle drain slope and add detail without covering the whole room in grout lines.


Leave a comment