
Kitchen Backsplash Step Process for Elegant Stone

Selecting the right natural stone backsplash is a defining moment in a luxury California kitchen renovation. The sheer variety of materials like marble, granite, and quartzite can feel overwhelming, especially when each one shapes the style and value of your home. With expert advice grounded in industry standards and insight into natural stone durability and aesthetics, you will feel confident finding the perfect match for your space and lifestyle.
Table of Contents
- Step 2: Select The Best Backsplash Stones We Recommend
- Step 3: Measure, Plan Layout, And Order Exact Square Footage
- Step 4: Prepare Surface And Dry Fit Backsplash Tiles
- Step 5: Install Natural Stone Backsplash With Precision
- Step 6: Inspect, Clean, And Enjoy Your Stylish Upgrade
Quick Summary
| Important Insight | Explanation |
|---|---|
| 1. Select the Right Stone | Choose between Marble, Granite, Travertine, or Quartzite based on appearance, maintenance, and kitchen style. Each stone has unique benefits and aesthetic qualities. |
| 2. Accurate Measurement Matters | Measure your kitchen area carefully to order the correct square footage of stone. Include a buffer for mistakes and consider tile sizes for optimal layout. |
| 3. Proper Surface Preparation | Clean and smooth the wall surface thoroughly to ensure secure tile adherence and prevent future issues. Irregularities can impact the final result significantly. |
| 4. Dry Fitting is Essential | Arrange tiles without adhesive to check alignment and spacing, ensuring a visually appealing final setup. This helps avoid mistakes during actual installation. |
| 5. Regular Maintenance is Key | Clean and seal the backsplash periodically to preserve its beauty and longevity. Create a maintenance schedule based on your stone type and kitchen use. |
content here
Step 2: Select the Best Backsplash Stones We Recommend
Choosing the right stone transforms your kitchen from ordinary to stunning. This step guides you through understanding which natural stones perform best in backsplash applications and why they matter for your California home.
Marble brings timeless elegance and sophistication to any kitchen space. Its veined patterns create visual interest while offering a luxurious feel that appeals to upscale neighborhoods. However, marble requires regular sealing and careful maintenance since it’s sensitive to acidic substances. If you love the aesthetic but worry about durability, honed or brushed marble finishes hide fingerprints and water spots better than polished versions.
Granite offers superior durability and requires minimal maintenance, making it perfect for busy California kitchens. This dense stone resists staining, scratching, and heat damage exceptionally well. ASTM standards for natural stone ensure that granite meets safety and performance requirements for kitchen environments. Its speckled patterns hide dust and daily wear beautifully.
Travertine delivers warmth and natural character with its subtle color variations and rustic appeal. This softer stone suits kitchen backsplashes when properly sealed and installed correctly. Its porous nature means it needs protective treatment, but once sealed, travertine handles kitchen conditions admirably. The tumbled or brushed finishes work better than polished for backsplash applications.
Quartzite combines the best qualities of both marble and granite. It offers marble’s elegant appearance with granite’s strength and low maintenance requirements. This engineered natural stone performs reliably in kitchen environments and comes in stunning color palettes that complement modern or traditional designs.
When selecting stone, consider your kitchen’s lighting, cabinet colors, and countertop materials. The backsplash should complement, not compete with other elements. Samples in your actual space under your kitchen’s natural and artificial lighting reveal how colors truly appear throughout the day.
Pro tip: Order samples of your top three stone choices and live with them for a week, observing them under different lighting conditions and against your existing kitchen elements before making your final decision.
Here’s a quick comparison of popular natural stones for kitchen backsplashes:
| Stone Type | Visual Appeal | Maintenance Level | Best For |
|---|---|---|---|
| Marble | Elegant, veined | High, regular sealing | Upscale look |
| Granite | Speckled, varied | Low, easy care | Busy kitchens |
| Travertine | Warm, rustic | Medium, needs sealing | Casual, earthy styles |
| Quartzite | Bold, marble-like | Low, durable | Modern and classic schemes |
Step 3: Measure, Plan Layout, and Order Exact Square Footage
Accurate measurements determine whether your stone arrives in the correct quantity or creates costly shortages. This step walks you through measuring your kitchen backsplash area, planning the layout thoughtfully, and ordering precisely what you need.
Start by measuring the wall height from countertop to the bottom of your upper cabinets. Use a metal tape measure and write down the exact measurement in feet and inches. Next, measure the total horizontal distance across the entire backsplash area, accounting for any angles or irregularities in your kitchen walls. Many California homes have older layouts with slightly uneven surfaces, so measure multiple points along the height and width to catch variations.
Draw a scaled sketch of your backsplash area on graph paper, marking all openings including windows, electrical outlets, and any structural features like support columns. This visual guide helps you plan the stone layout before ordering materials. When planning tile layouts, account for how the pattern flows and whether cuts will be visible in prominent areas.
Calculate total square footage by multiplying height by width, then subtract any large openings like windows. Convert measurements to square feet by dividing inches by 12. Add 10 to 15 percent extra to your final order for breakage, cuts, and future repairs. This buffer prevents running short during installation.
Consider the size of individual tiles you selected in Step 2, as this influences how many pieces you’ll need and where cuts occur. Larger format tiles create fewer seams and a more seamless appearance, while smaller tiles offer design flexibility around outlets and edges.
Before placing your order, contact Surfaces Galore with your measurements and stone choice. Our team can verify your calculations and ensure you receive the exact square footage needed for your kitchen’s unique dimensions.
Pro tip: Photograph your wall with a measuring tape visible in the frame, then send these images along with your measurements to catch any details you might have missed during your in person survey.
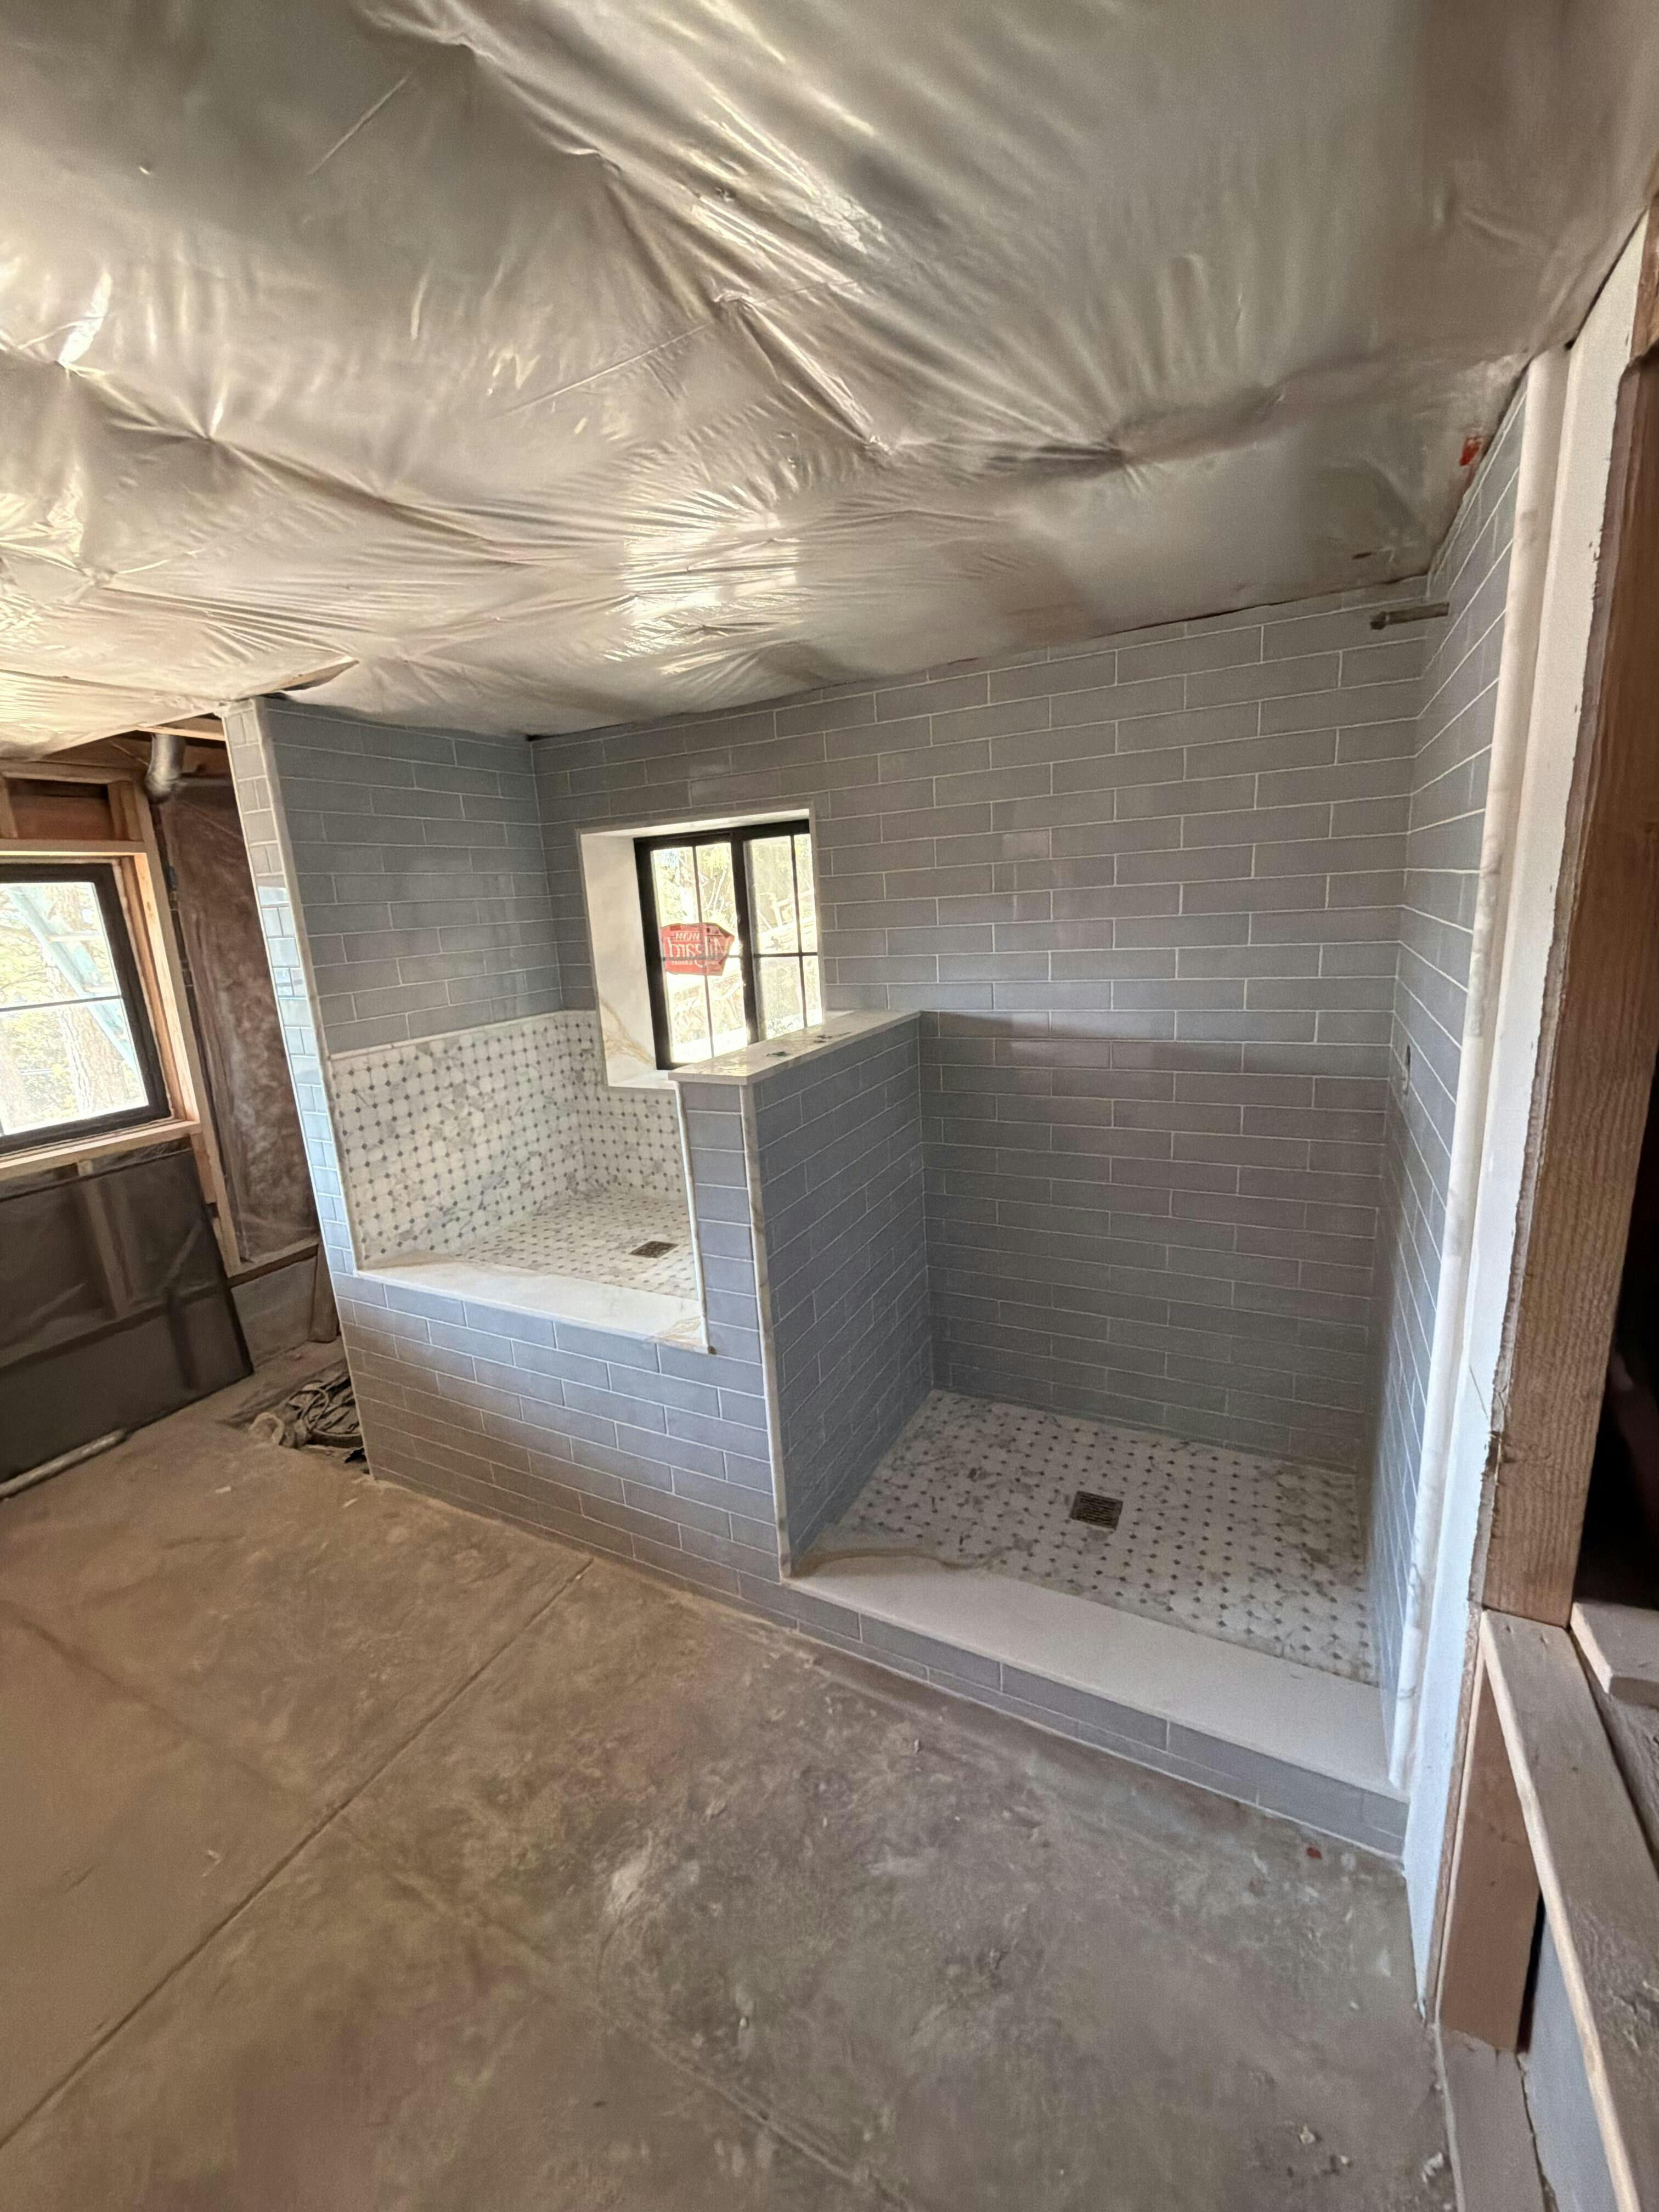
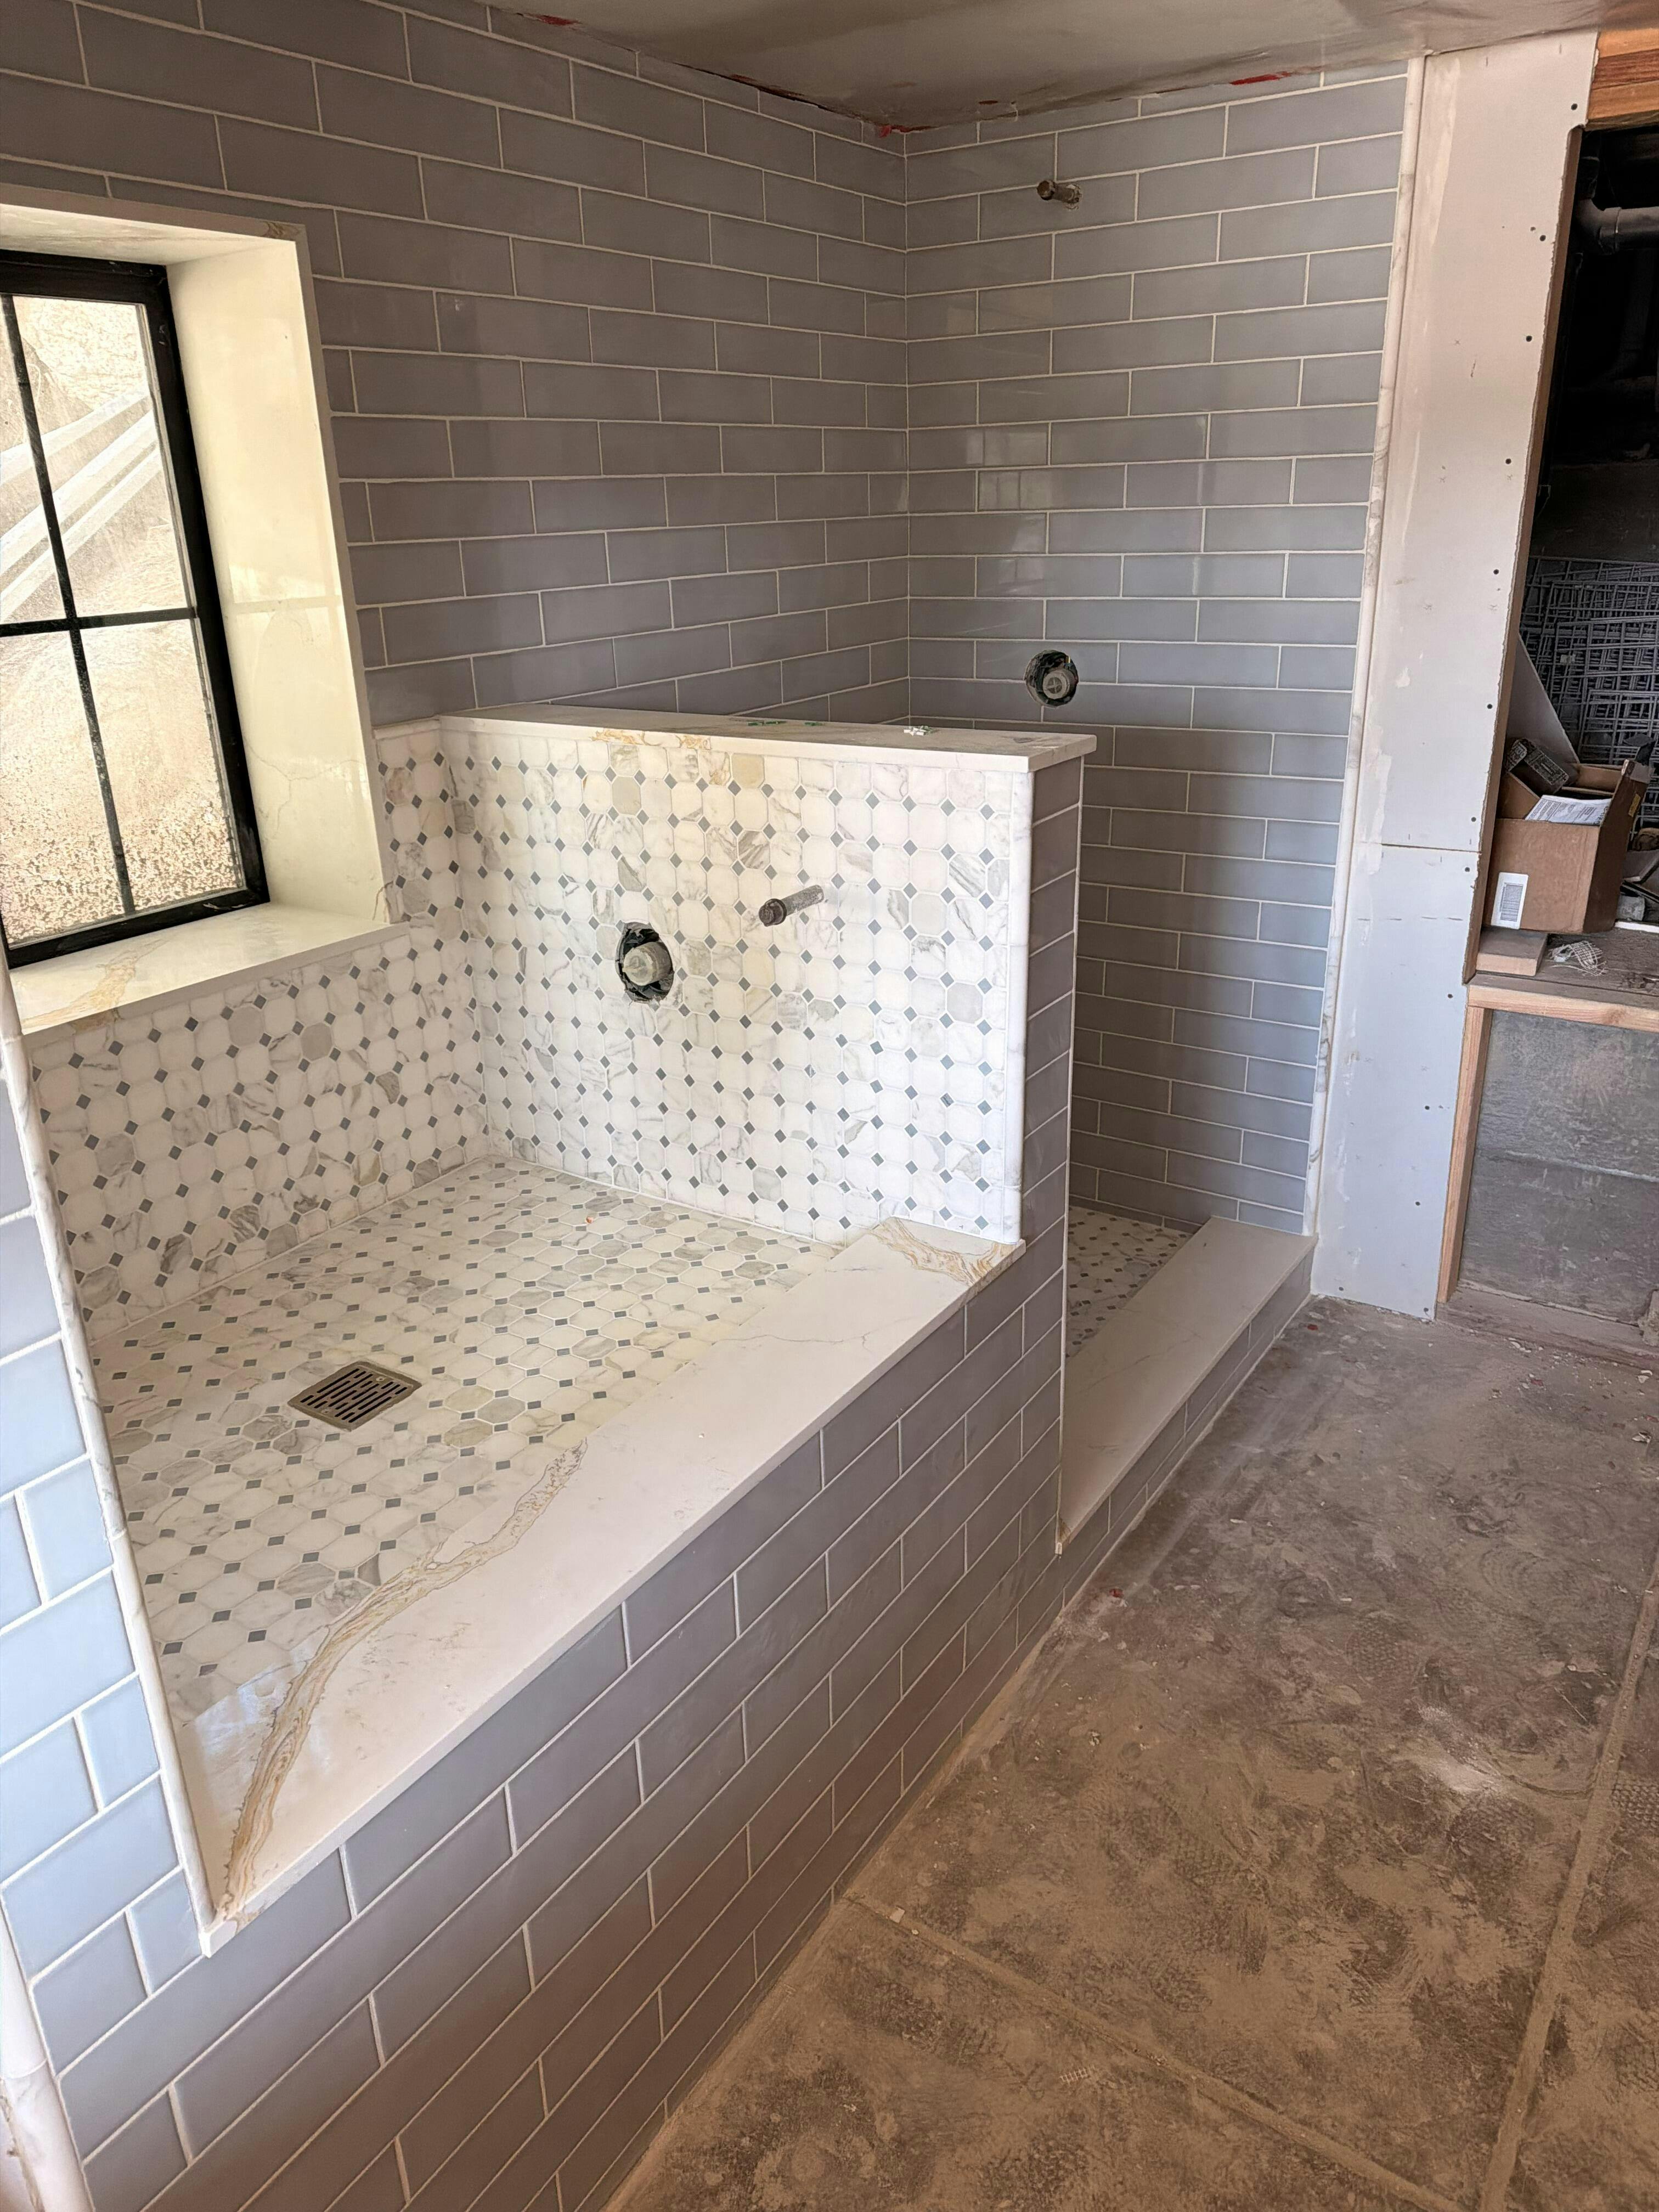
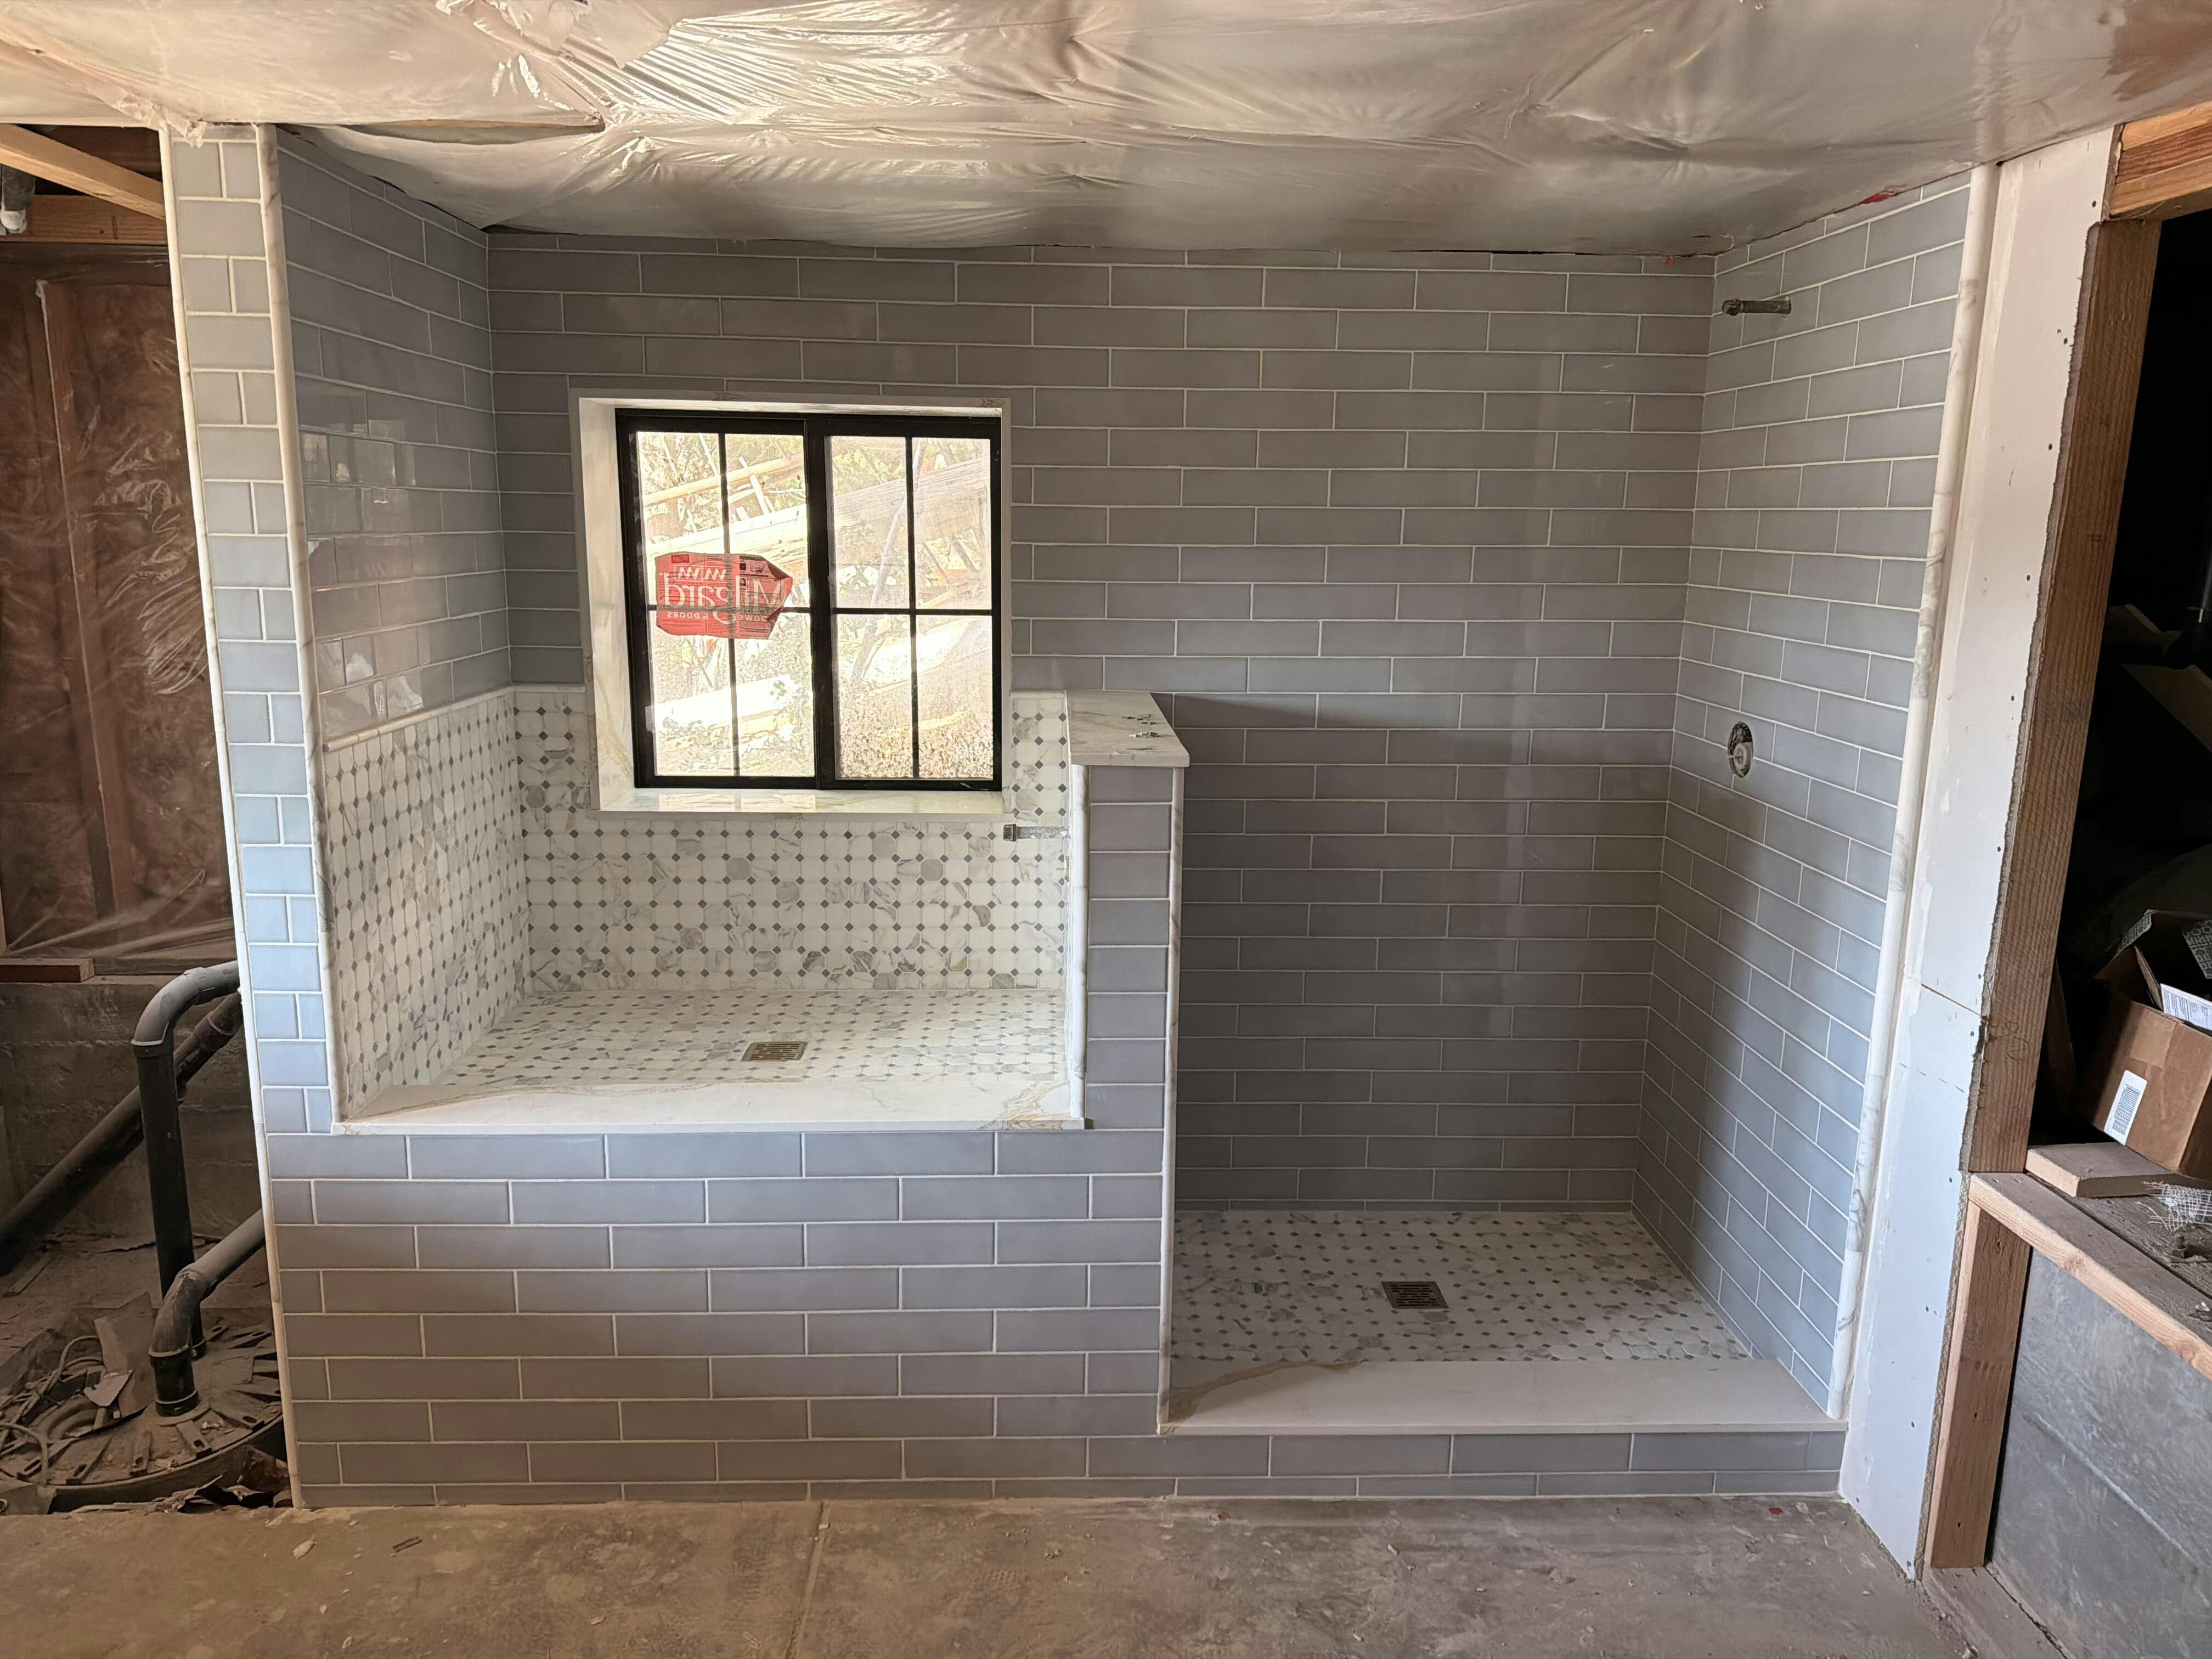
Step 4: Prepare Surface and Dry Fit Backsplash Tiles
A properly prepared surface determines whether your elegant stone backsplash lasts for decades or fails within years. This step guides you through cleaning and preparing your wall, then dry fitting your tiles to verify everything looks perfect before permanent installation.

Begin by removing any existing backsplash material, old adhesive, and debris from your wall surface. Use a putty knife or scraper to strip away stubborn residue, then wash the wall thoroughly with TSP (trisodium phosphate) or a degreaser to eliminate grease, dust, and grime. Allow the wall to dry completely before proceeding. The goal is creating a clean, smooth substrate that allows proper adhesive contact with your stone tiles.
Inspect the wall for irregularities using a long straightedge. Most kitchen walls have slight imperfections that require smoothing with spackle or self leveling compound. Proper substrate preparation ensures your stone tiles sit evenly without gaps or rocking. Sand any rough spots and apply primer if your wall is porous or previously painted.
Once the surface is ready, arrange your tiles in a dry layout without adhesive. Start at the center point between your cabinets and work outward symmetrically. This prevents cutting tiles at edges where they’re most visible. Pay attention to how tile dimensions work with your space, adjusting the pattern to minimize narrow cuts around outlets and edges.
Check that all tiles sit flat and aligned. Verify spacing is consistent using spacers if your design includes grout lines. Take photographs of your dry fit layout to reference during actual installation. This visual record prevents mistakes when you’re working with adhesive and unable to easily adjust pieces.
Once you approve the layout, you’re ready to apply adhesive and permanently set your beautiful natural stone backsplash.

Pro tip: Use painter’s tape to mark your center point and key layout lines on the wall before dry fitting, making it easier to replicate the exact same pattern when you apply adhesive.
Step 5: Install Natural Stone Backsplash with Precision
This is where your vision becomes reality. Proper installation technique ensures your elegant stone backsplash stays beautiful and secure for decades to come. This step walks you through applying adhesive, setting tiles, and maintaining perfect alignment throughout the process.
Select a high quality thin set mortar formulated for natural stone tile installation. Mix the adhesive according to manufacturer instructions, creating a consistency similar to peanut butter. Use a notched trowel held at a 45 degree angle to apply a thin, even bed of adhesive to your prepared wall. Cover only the area you can tile within 15 to 20 minutes before the adhesive begins setting.
Press each tile firmly into the adhesive using a slight twisting motion. Start at your center point and work outward, maintaining consistent spacing with spacers if your design includes grout lines. Precise stone installation techniques prevent lippage where tiles sit at different depths, ensuring a clean, professional appearance. Use a level frequently to verify that tiles are plumb and level.
Work methodically and avoid rushing. Unlike ceramic tiles, natural stone can be more fragile and demands careful handling. Wipe excess adhesive from grout lines and tile surfaces immediately with a damp sponge before it hardens. This prevents adhesive buildup that mars your stone’s natural beauty.
Allow the adhesive to cure fully, typically 24 to 48 hours, before grouting. Your stone tiles should feel completely secure and immovable when you gently test them. Rushing this step risks tiles shifting or coming loose prematurely.
Finish with complementary trim pieces like marble bullnose liners along edges to create a polished, complete look.
Pro tip: Keep a reference photo of your approved dry fit layout visible while installing, and periodically step back from the wall to verify your pattern remains symmetrical and visually balanced.
Step 6: Inspect, Clean, and Enjoy Your Stylish Upgrade
Your beautiful stone backsplash is nearly complete. This final step ensures everything looks perfect, functions properly, and receives the care it needs to stay stunning for years to come.
Once the adhesive has fully cured, inspect every tile carefully for proper alignment and secure placement. Press gently on each tile to confirm it feels solid and immovable. Look for any lippage where tiles sit at different depths, or gaps where adhesive failed to make full contact. Check grout lines for consistency and completeness. Small imperfections now are much easier to address than after grouting.
Apply grout between tiles if your design includes grout lines. Use a grout float held at a 45 degree angle to pack grout firmly into joints. Wipe excess grout from tile surfaces with a damp sponge before it hardens. Allow grout to cure according to manufacturer specifications, typically 24 to 48 hours.
Once grout is fully cured, seal your natural stone backsplash with an appropriate sealer. Post installation sealing recommendations protect marble, travertine, and other porous stones from staining and moisture damage. Apply sealer according to product instructions, typically allowing it to penetrate for several hours before buffing.
Clean your finished backsplash with a soft cloth and mild pH neutral stone cleaner. Avoid acidic or abrasive products that damage natural stone surfaces. For routine maintenance, wipe down your backsplash daily with a damp microfiber cloth to prevent dust and grease buildup.
Step back and admire your elegant kitchen transformation. Your natural stone backsplash now serves as a focal point that reflects your style and investment in quality.
Pro tip: Create a stone care schedule with sealer reapplication dates written in your calendar, typically every 12 to 24 months depending on your stone type and kitchen traffic patterns.
This table summarizes key installation steps and their importance:
| Step | Why It Matters | What to Double-Check |
|---|---|---|
| Surface Prep | Long-lasting results | Wall is smooth and clean |
| Dry Fitting | Visual balance | Pattern symmetry |
| Adhesive Setting | Tile security | Correct adhesive type used |
| Grouting & Sealing | Moisture protection | Even grout, full sealer coverage |
Elevate Your Kitchen Backsplash with Premium Natural Stone from Surfaces Galore
Creating a flawless natural stone backsplash involves precise planning, expert material selection, and impeccable installation as outlined in the “Kitchen Backsplash Step Process for Elegant Stone.” We understand the challenge of finding authentic, durable, and elegant stone that perfectly matches your kitchen’s style while withstanding everyday wear. Whether you are choosing between marble’s timeless beauty or granite’s dependable durability, sourcing the right stone can feel overwhelming.
Surfaces Galore offers an extensive collection of premium marble, travertine, and other natural stone tiles that align with your design vision and practical needs. Our expert team in Anaheim, California is ready to help you order the exact square footage needed and provide guidance on finishes that make installation seamless and lasting. When you select your backsplash stone through Surfaces Galore you bring authentic beauty and trusted quality directly to your project with nationwide shipping available.
Ready to transform your kitchen backsplash into a stunning focal point that stands the test of time?

Discover the perfect stone for your backsplash and get personalized support for every step at Surfaces Galore. Explore our premium natural stone collection today and start your elegant kitchen upgrade with confidence.
Frequently Asked Questions
What natural stones are recommended for a kitchen backsplash?
Choosing the right natural stone for your kitchen backsplash is crucial. Consider options like Marble for elegance, Granite for durability, Travertine for warmth, or Quartzite for a blend of beauty and strength. Test samples in your kitchen to see how they hold up under different lighting conditions.
How do I measure my kitchen backsplash area accurately?
To measure your kitchen backsplash area, record the height from the countertop to the bottom of your upper cabinets, and the total horizontal distance across the area. Use a metal tape measure for precise readings, measuring multiple points to account for any uneven surfaces, then calculate the total square footage to ensure you order enough material.
What steps should I take to prepare the wall for the backsplash installation?
Begin by removing any existing backsplash, adhesive, and debris. Clean the wall with a degreaser and check for irregularities, smoothing out any imperfections with spackle or self-leveling compound to create a clean, smooth substrate for your stone tiles.
How do I dry fit my tiles before installation?
For a successful dry fit, arrange your tiles on the wall without adhesive, starting from the center and working outward. Ensure that they sit flat and aligned while verifying spacing is consistent. Take photographs of your layout to reference during the actual installation.
What should I do to maintain my natural stone backsplash after installation?
After installation, clean your stone backsplash with a mild, pH-neutral cleaner and avoid acidic or abrasive products. Create a care schedule that includes reapplying a sealer every 12 to 24 months to protect your stone from staining and moisture damage.
How can I ensure precise tile alignment during installation?
To maintain precise tile alignment, frequently use a level as you install each piece, applying a high-quality thin set mortar. Work slowly and methodically to avoid mistakes, and refer to your dry fit layout photo regularly to ensure your pattern remains visually balanced.
Recommended
- Elevate Your Kitchen with a Basketweave Tile Backsplash
- Elevate Your Kitchen with a Stunning Marble Backsplash
- Mixed Ivory Noce Gold 5/8x5/8 Travertine Mosaic Tumbled | Surf…
- Honey Onyx Chair Rail Trim Beige Marble Border
- Edelstahl im Garten einsetzen: Schritt-für-Schritt-Anleitung - AFUERA – outdoor steel design


Leave a comment