
Master your bathroom tile design workflow for results

Bathroom tile projects can quickly become overwhelming without a clear plan. Between selecting the right natural stone, coordinating patterns, and ensuring proper installation, even experienced designers face challenges that lead to costly mistakes and disappointing outcomes. A structured bathroom tile design workflow transforms this complexity into a manageable, step-by-step process that delivers elegant, durable results every time. This guide breaks down the essential stages from initial planning through final inspection, giving you the confidence to execute flawless tile installations with premium natural stone that stands the test of time.
Table of Contents
- Key takeaways
- Preparing your bathroom tile design workflow
- Executing the bathroom tile installation workflow
- Troubleshooting and avoiding common bathroom tile design mistakes
- Final verification and maintenance of bathroom tile projects
- Explore premium natural stone tiles and expert design resources
- FAQ
Key Takeaways
| Point | Details |
|---|---|
| Structured planning boosts results | A clear planning and selection process sets the foundation for a successful bathroom tile project. |
| Step by step execution | Following a step by step workflow prevents costly errors and ensures durable, elegant results. |
| Avoiding common pitfalls saves time | Being aware of common pitfalls helps you plan contingencies and avoid delays. |
| Final inspection matters | A thorough final inspection confirms lasting beauty and proper function. |
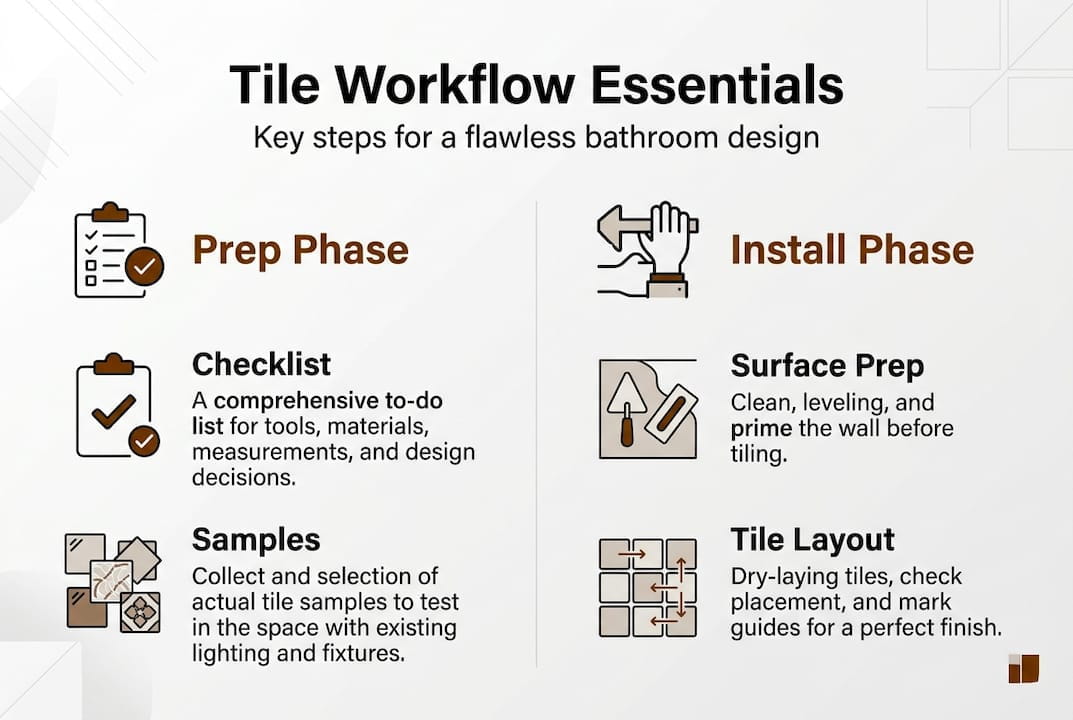
Preparing your bathroom tile design workflow
Successful bathroom tile projects start long before you mix adhesive or place your first tile. Understanding your bathroom’s specific style requirements and functional demands creates the foundation for every decision that follows. Consider whether you’re working with a spa-inspired retreat, a modern minimalist space, or a classic traditional design, because each aesthetic demands different tile selections, patterns, and installation approaches.
Selecting the right stone and tile type is pivotal for bathroom tile design success. Premium natural stone tiles like marble and travertine offer unmatched elegance, but they require careful consideration of moisture resistance, slip ratings for floor applications, and maintenance requirements. Marble delivers timeless luxury with distinctive veining patterns, while travertine provides texture and warmth with its naturally porous surface. Both materials perform beautifully in bathrooms when properly sealed and maintained.
Gathering all necessary tools and materials before starting prevents frustrating mid-project delays. Your essential toolkit should include:
- Tile spacers in multiple sizes for consistent grout lines
- Notched trowel sized appropriately for your tile thickness
- Tile cutter or wet saw for precise cuts
- Level and measuring tape for accurate layout
- Grout float and sponges for finishing work
- Safety equipment including gloves and eye protection
Create a comprehensive checklist that covers tiles, adhesive, grout, sealers, and all trim pieces. Planning a tile project for stunning results requires accounting for 10-15% extra material to cover cuts, breakage, and future repairs. This buffer proves invaluable when you discover a cracked tile or need replacements years later.
Tile trims and edging deserve early attention in your planning phase. These finishing elements protect vulnerable tile edges, create clean transitions between surfaces, and elevate the overall professional appearance of your installation. Bullnose tiles, metal trim profiles, and decorative borders should coordinate with your primary tile selection and get ordered simultaneously to ensure color and finish consistency.
| Material Type | Best Application | Moisture Rating | Maintenance Level |
|---|---|---|---|
| Marble | Walls, feature areas | High (when sealed) | Medium to high |
| Travertine | Floors, walls | High (when sealed) | Medium |
| Porcelain | All applications | Excellent | Low |
| Natural stone mosaics | Accent walls, niches | High (when sealed) | Medium |
Pro Tip: Order samples of your selected tiles and view them in your actual bathroom lighting at different times of day. Natural and artificial light dramatically affect how stone colors and patterns appear, and this simple step prevents expensive regrets after installation.
Executing the bathroom tile installation workflow
Proper substrate preparation determines whether your beautiful tile work lasts decades or fails within years. Start by ensuring your walls or floors are completely level, clean, and free from any debris, old adhesive, or loose material. Even small imperfections telegraph through tile, creating visible ridges or causing tiles to crack under stress. Use a straightedge to check for high and low spots, then apply leveling compound where needed and allow complete curing before proceeding.
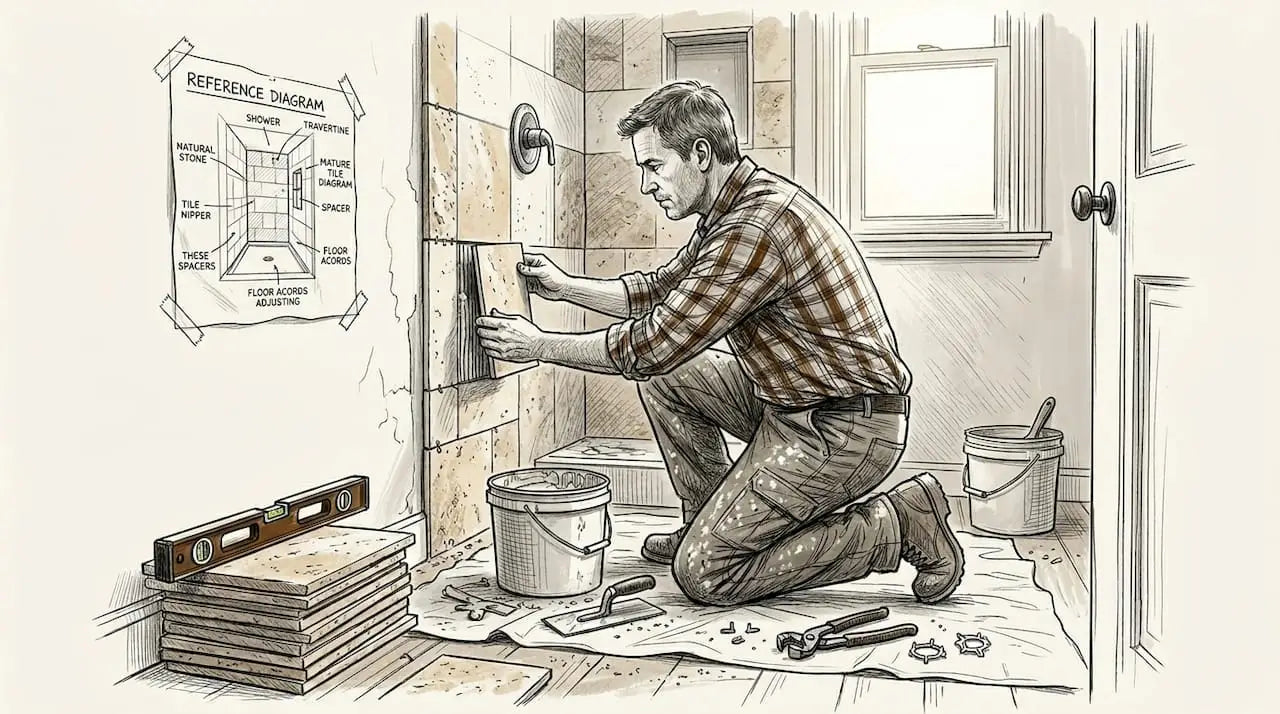
Mapping out your tile layout prevents awkward cuts and ensures your design pattern flows logically across the space. Following a stepwise tile installation reduces errors and enhances design outcome. Begin by finding the center point of your installation area and snapping chalk lines to create reference guides. Dry-lay tiles along these lines to visualize how cuts will fall at edges and corners, adjusting your starting point to avoid thin slivers that look unprofessional and break easily.
Applying tile adhesive properly respecting drying times separates amateur work from professional results. Follow these critical steps:
- Mix adhesive to the manufacturer’s specified consistency, avoiding the temptation to add extra water
- Apply adhesive in small sections you can tile within 15-20 minutes to prevent skinning
- Use the flat side of your trowel to spread adhesive, then comb with the notched side at a consistent angle
- Press tiles firmly with a slight twisting motion to collapse adhesive ridges and eliminate voids
- Check periodically that adhesive fully contacts the tile back by pulling up a test tile
- Maintain consistent grout joint spacing using appropriately sized spacers throughout
Install tiles starting from your established reference points to maintain perfect alignment as you work outward. This approach ensures your most visible areas feature full tiles while cuts hide in less prominent corners. For walls, work from bottom to top in manageable sections, supporting each row until the adhesive grabs sufficiently to prevent slippage.
Pro Tip: Natural stone tiles often vary slightly in thickness even within the same box. Sort tiles by thickness before installation and adjust your adhesive depth accordingly to maintain a perfectly flat finished surface.
Tile trims for edges and transitions require special attention during installation. Metal profiles should be set into the adhesive bed simultaneously with adjacent tiles to ensure proper alignment and support. Bullnose tiles need careful placement to create smooth, rounded edges that protect against chips while maintaining consistent reveals. Taking extra time with these finishing details dramatically elevates the perceived quality of your entire installation.
Statistics show that 73% of tile installation failures stem from inadequate substrate preparation or improper adhesive application rather than tile quality issues. This reality underscores why rushing through foundational steps inevitably leads to problems that surface months or years later, requiring expensive repairs that could have been easily prevented.
Troubleshooting and avoiding common bathroom tile design mistakes
Skipping substrate moisture checks ranks among the most devastating errors in bathroom tile installation. Excessive moisture trapped beneath tiles creates the perfect environment for mold growth, adhesive failure, and tile delamination. Always test concrete substrates with a moisture meter before installation, and ensure proper waterproofing membranes are in place for wet areas like showers and tub surrounds. This simple precaution prevents catastrophic failures that require complete tear-outs.
Underestimating the impact of well-planned tile patterns leads to visually unbalanced spaces that feel off even when you can’t immediately identify why. Common tile design mistakes include improper substrate prep and poor pattern planning. Brick patterns, herringbone layouts, and geometric designs each create different visual effects that either enhance or fight against your bathroom’s proportions. Small bathrooms benefit from larger tiles with minimal grout lines to create an expansive feel, while spacious bathrooms can handle intricate patterns and mixed tile sizes.
Using the wrong trim types invites chipping, cracking, and an overall unfinished appearance. Consider these critical trim applications:
- Bullnose tiles for exposed edges on walls and countertops
- Schluter profiles for waterproof transitions in showers
- Quarter-round trim for inside corners and cove base applications
- Decorative listellos to break up large expanses and add visual interest
Maintaining consistent grout spacing creates the uniform appearance that distinguishes professional installations from amateur attempts. Inconsistent joints draw the eye and broadcast poor craftsmanship regardless of how beautiful your tile selection might be. Invest in quality spacers and use them religiously, checking alignment frequently as you work to catch and correct drift before it compounds.
Regularly cleaning adhesive residue during installation saves enormous effort compared to chipping away dried material later. Keep a damp sponge handy and wipe tile faces immediately after setting each piece. Similarly, remove excess grout from tile surfaces within 20-30 minutes of application, before it hardens into a stubborn haze that requires aggressive scrubbing and risks scratching your stone.
“The difference between a good tile installation and a great one often comes down to attention to detail in the preparation phase. Rushing substrate work or skipping moisture barriers might save an hour today, but it creates problems that haunt the project for years.” – Master Tile Installer
Another frequent mistake involves mixing tile batches without checking for color variation. Natural stone tiles display organic variation that adds character, but dramatic differences between boxes can create an unintentional patchwork effect. Before installation, open all boxes and blend tiles from different cartons to distribute color variation evenly across your installation area.
Final verification and maintenance of bathroom tile projects
Checking tile adhesion and alignment after installation completes protects your investment and catches problems while they’re still easy to fix. Walk through your bathroom carefully, examining each area from multiple angles and lighting conditions. Gently tap tiles with a rubber mallet, listening for hollow sounds that indicate voids in the adhesive bed where tiles may eventually crack or come loose. Address any issues immediately by removing and resetting affected tiles before grout application makes repairs significantly more complex.
Inspecting grout lines and refilling if necessary prevents water damage that undermines even perfectly installed tile. Grout naturally shrinks slightly as it cures, sometimes creating shallow depressions that channel water into vulnerable areas. After initial curing, examine all joints closely and apply additional grout where needed to achieve completely filled, slightly concave profiles that shed water effectively.
Establishing a maintenance routine for natural stone tiles including sealing ensures your bathroom maintains its stunning appearance for decades. Post-installation inspection is essential to ensure bathroom tile durability and beauty. Most natural stone requires sealing immediately after grout cures, then resealing every 12-18 months depending on use intensity and exposure to moisture. Test whether your stone needs resealing by placing a few drops of water on the surface and observing if they bead up or soak in within five minutes.
Using recommended cleaning products preserves tile surface and color while harsh chemicals can etch, dull, or discolor natural stone. Avoid these damaging substances:
- Acidic cleaners including vinegar, lemon juice, and most bathroom cleaners
- Abrasive powders that scratch and dull polished surfaces
- Bleach-based products that can discolor grout and stone
- Oil-based soaps that leave residue buildup
Instead, clean natural stone tiles with pH-neutral stone cleaners diluted according to manufacturer instructions. For daily maintenance, plain water with a soft microfiber cloth removes most dirt and soap residue without risk. Address spills promptly, especially from acidic substances like toothpaste or cosmetics that can etch marble and travertine if left sitting.
Scheduling periodic professional inspections for large or luxury bathrooms provides expert assessment of grout condition, sealant effectiveness, and any developing issues before they escalate into expensive repairs. Professional stone restoration specialists can also refresh worn surfaces through honing and repolishing, restoring the original beauty to high-traffic areas.
| Maintenance Task | Frequency | Purpose |
|---|---|---|
| Daily cleaning | As needed | Remove soap residue and prevent buildup |
| Sealer application | Every 12-18 months | Protect stone from staining and moisture |
| Grout inspection | Every 6 months | Identify and repair damaged joints early |
| Professional assessment | Annually | Catch developing issues before major repairs needed |
Pro Tip: Keep detailed records of your tile installation including product names, batch numbers, and purchase dates. This documentation proves invaluable years later when you need replacement tiles or want to replicate the look in another space.
Explore premium natural stone tiles and expert design resources
Executing a flawless bathroom tile design workflow becomes significantly easier when you partner with suppliers who understand both the technical and aesthetic demands of premium installations. Surfaces Galore specializes in importing authentic marble and travertine tiles that bring timeless elegance to bathrooms nationwide, combining exceptional quality with accessible pricing that makes luxury achievable.
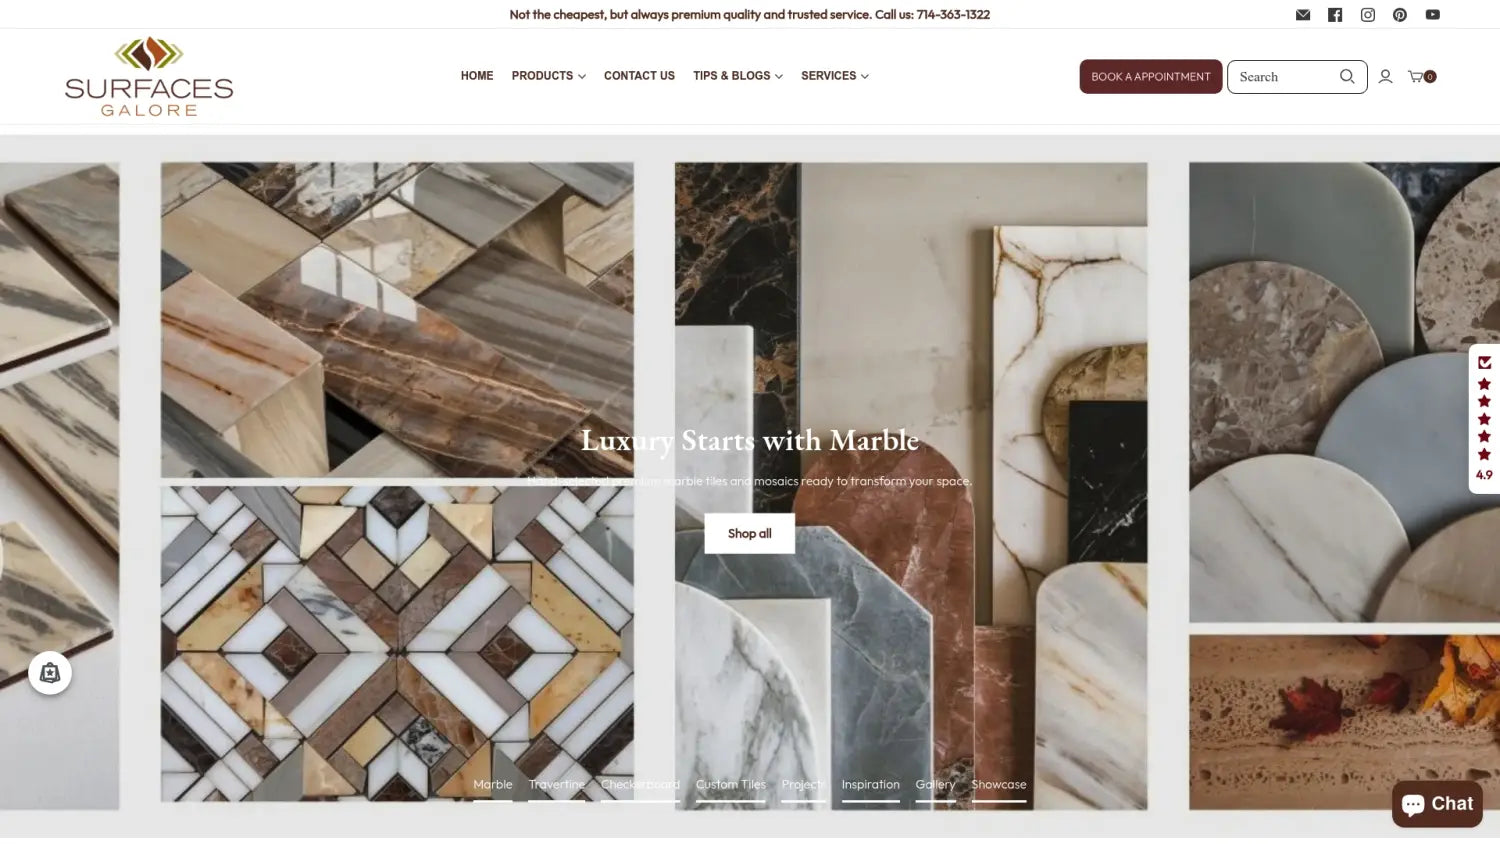
Our comprehensive selection includes everything from classic subway tiles to intricate mosaics and decorative accents that transform ordinary bathrooms into spa-like retreats. Beyond products, we provide the expert guidance and educational resources that empower designers and homeowners to execute their vision with confidence. Whether you’re planning a complete renovation or refreshing a powder room, our team helps you select the perfect tiles and navigate every step of your project from concept through completion.
FAQ
What is the best natural stone for bathroom tiles?
Marble is highly favored for its elegance and suitability in bathrooms, offering both durability and aesthetic appeal. When properly sealed, marble resists moisture beautifully while delivering the timeless luxury that elevates any bathroom design. Travertine offers another excellent option with its naturally textured surface that provides slip resistance for floors while creating warm, inviting walls.
How do I maintain natural stone tiles in a bathroom?
Sealing natural stone and using proper cleaning products extends durability and keeps tiles looking new. Apply a quality penetrating sealer after installation and reapply every 12-18 months, then clean regularly with pH-neutral stone cleaners that won’t damage or discolor the surface. Avoid acidic or abrasive products that can etch or scratch your investment.
What are common mistakes to avoid during bathroom tile installation?
Improper substrate preparation and inconsistent grout lines are typical causes of tile failures. Skipping moisture testing, rushing adhesive application, and failing to plan tile layout carefully all lead to problems that become apparent after completion when fixes prove expensive and disruptive. Taking time to prepare properly and work methodically prevents these avoidable issues.
How much extra tile should I order for a bathroom project?
Order 10-15% extra material beyond your calculated square footage to cover cuts, breakage, and future repairs. Natural stone can vary between production runs, making exact color matches difficult years later when you need replacement pieces. This modest overage provides insurance against running short during installation and ensures you have matching tiles for inevitable repairs down the road.
Can I install natural stone tiles over existing tile?
Installing over existing tile is possible if the current installation is sound, level, and firmly bonded to the substrate. However, this approach adds height that affects door clearances, toilet flanges, and other fixtures while potentially hiding underlying moisture or structural issues. Removing old tile and starting with a clean substrate generally produces better long-term results despite the additional labor involved.
Leave a comment