
How to Plan a Tile Project for Stunning Results

Choosing premium natural stone tiles for your Southern California renovation can feel exciting and a bit overwhelming. Every detail from room size to lighting plays a part in bringing your vision to life, and an artful balance of beauty and function delivers impact that lasts. By focusing on a strategic space assessment, accurate measurement and establishing clear design objectives, you set the stage for a flawless transformation guided by professional expertise.
Table of Contents
- Step 1: Assess Your Space And Design Goals
- Step 2: Measure Your Project Area Accurately
- Step 3: Calculate Tile Needs With Our Calculator
- Step 4: Select Premium Natural Stone Tiles
- Step 5: Verify Your Plan With A Project Checklist
- Step 6: Connect With Our Tile Specialists
Quick Summary
| Key Insight | Explanation |
|---|---|
| 1. Thoroughly Assess Your Space | Carefully review the room’s functionality, traffic, color scheme, lighting, and budget for optimal tile selection. |
| 2. Ensure Accurate Measurements | Measure your space multiple times to confirm dimensions and avoid errors during installation. |
| 3. Calculate Extra Tile Needs | Always purchase an additional 10-15% of tiles to cover waste, cuts, and future repairs. |
| 4. Select Quality Natural Stone Tiles | Focus on durability, consistency, and maintenance requirements when choosing your tiles. |
| 5. Verify Project Details with a Checklist | Use a comprehensive checklist to review materials, tools, and installation conditions before starting. |
Step 1: Assess Your Space and Design Goals
Planning a stunning tile project begins with a comprehensive evaluation of your specific space and design objectives. By taking a strategic approach, you’ll create an installation that not only looks beautiful but functions perfectly for your unique needs.
Start by carefully measuring your target area and documenting the precise dimensions. Understanding project design objectives requires examining several key factors that will influence your tile selection and layout. Consider these critical assessment points:
- Room functionality: Determine the primary purpose of the space
- Traffic patterns: Evaluate how people move through the area
- Existing color scheme: Note current design elements and potential color matches
- Natural lighting: Assess how light impacts the room’s visual appearance
- Budget constraints: Establish a realistic spending range for materials and installation
Your goal is to create a holistic plan that integrates aesthetic preferences with practical requirements. This means looking beyond just visual appeal and considering durability, maintenance needs, and long-term performance of your chosen tile materials.
Here’s a quick summary of critical planning steps and their benefits:
| Planning Step | Main Objective | Key Benefit |
|---|---|---|
| Space Assessment | Evaluate room use and style | Informed tile selection, better fit |
| Accurate Measurement | Ensure precise dimensions | Minimizes waste and costly mistakes |
| Tile Quantity Calculation | Determine total material need | Avoids shortages or major overages |
| Verification Checklist | Review all project factors | Guarantees smooth installation start |
Professional designers recommend spending 20-30% of your project time on thorough planning before making any material selections.
Visual mood boards can be an excellent tool for crystallizing your design vision. Collect tile samples, color swatches, and inspiration images to help refine your concept and communicate your ideas clearly.
Pro tip: Take high-resolution photos of your space from multiple angles to help tile specialists provide more accurate recommendations and visualize your project potential.
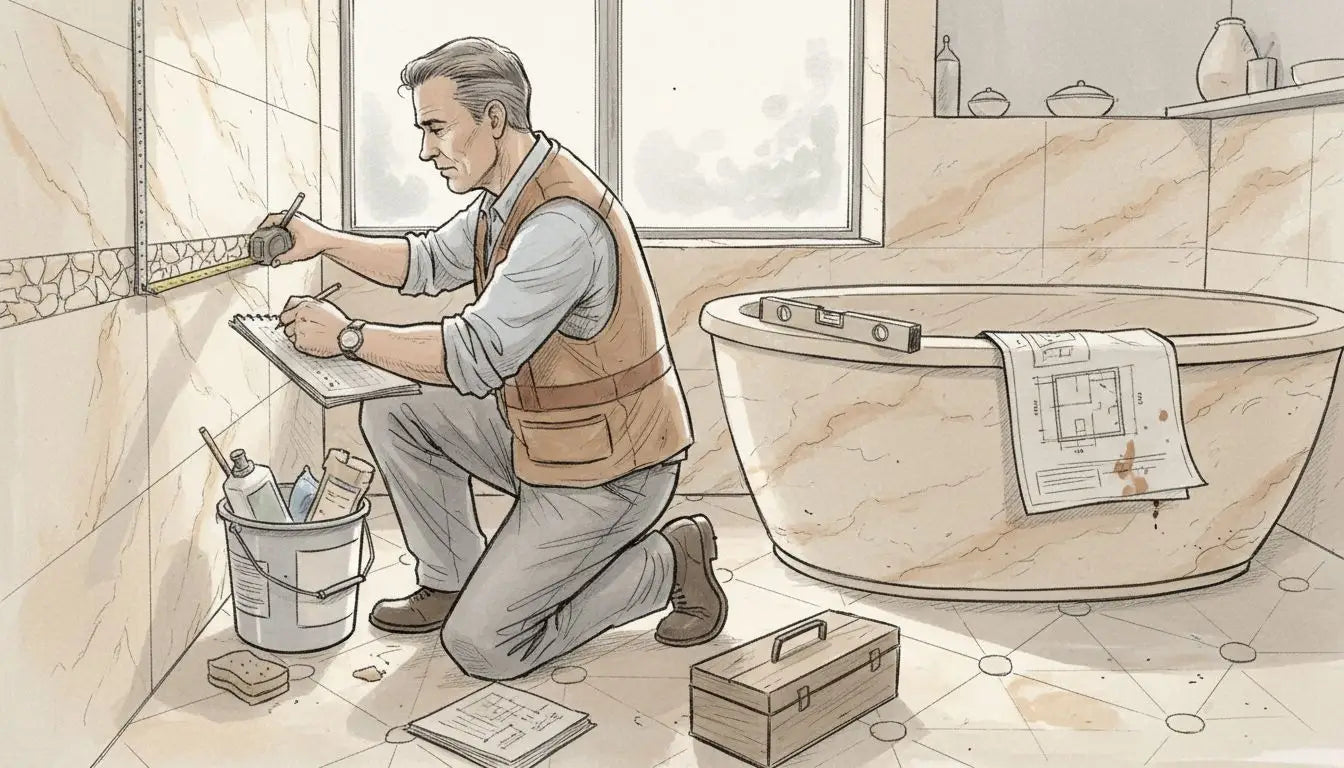
Step 2: Measure Your Project Area Accurately
Accurate measurements are the foundation of any successful tile installation project. Getting precise dimensions will help you estimate materials, plan layouts, and avoid costly mistakes that could derail your entire renovation.
To start, you’ll need a few essential tools: a professional tile measurement guide can provide detailed instructions, but basic equipment includes:
- Measuring tape: A long, retractable metal tape measure
- Notepad: For recording room and tile area dimensions
- Calculator: To compute square footage
- Graph paper: For sketching room layouts
- Laser measure: Optional but highly recommended for precise measurements
Begin by measuring the length and width of your space, multiplying these numbers to determine total square footage. Pay special attention to:
- Measure from wall to wall, not baseboards
- Account for any irregular room shapes
- Measure multiple times to confirm accuracy
- Include small alcoves or recessed areas
Professionals recommend adding 10-15% extra material to account for cuts, waste, and potential future repairs.
Understand that precise ceramic tile calculations involve more than simple multiplication. Consider tile size, grout lines, and potential pattern layouts when planning your project.
Pro tip: Always round up your measurements and purchase slightly more tile than calculated to ensure you have sufficient materials for a perfect installation.
Step 3: Calculate Tile Needs With Our Calculator
Calculating precise tile quantities is a critical step that can save you money, reduce waste, and ensure a smooth installation process. Materials calculation strategies are essential for understanding exactly how much tile you’ll need for your project.
To accurately determine your tile requirements, you’ll need to consider several key factors:
- Room dimensions: Total square footage of the area
- Tile size: Specific dimensions of your chosen tile
- Waste factor: Additional tile for cuts, breakage, and future repairs
- Pattern complexity: Potential extra tiles needed for intricate layouts
Follow these steps to calculate your tile needs:
- Measure total project area in square feet
- Determine tile size and coverage per box
- Calculate base quantity needed
- Add 10-15% extra for waste and future repairs
Professional installers always recommend purchasing 10-15% more tile than the exact measured area to account for unexpected challenges.
Understand that tile quantity estimation tools are designed to help you make precise calculations, taking into account variations in tile size and potential installation complexities.
Pro tip: Always keep leftover tiles from your project for potential future repairs, storing them in a dry location away from direct sunlight and extreme temperatures.
Step 4: Select Premium Natural Stone Tiles
Choosing the right natural stone tiles is about balancing aesthetic beauty with practical performance for your specific project requirements. Premium tile selection standards involve careful evaluation of multiple critical factors that go beyond simple visual appeal.
When selecting your natural stone tiles, focus on these essential characteristics:
- Color consistency: Uniform tone and natural pattern variations
- Surface finish: Polished, honed, or textured options
- Durability rating: Appropriate hardness for intended use
- Water absorption rates: Critical for moisture-prone areas
- Structural integrity: Minimal imperfections or structural weaknesses
Key considerations for your selection process include:
- Examine multiple tile samples in your actual space
- Check for tile quality specifications that meet industry standards
- Consider long-term maintenance requirements
- Assess compatibility with your existing design elements
Professional designers recommend selecting tiles that not only look beautiful but can withstand your specific environmental conditions and intended usage.
Remember that each natural stone tile is unique, with subtle variations that contribute to its individual character and charm.

Pro tip: Always purchase tiles from a single production batch to ensure maximum color and pattern consistency throughout your installation.
Compare three popular natural stone tile types for home projects:
| Stone Type | Appearance | Durability | Typical Applications |
|---|---|---|---|
| Marble | Elegant with veining | Moderate, scratches | Bathrooms, feature walls |
| Granite | Speckled, polished | Very high, tough | Kitchens, outdoor patios |
| Travertine | Earthy, porous feel | Moderate, soft | Flooring, shower surrounds |
Step 5: Verify Your Plan With a Project Checklist
Before launching into your tile installation, a comprehensive project verification process can save you time, money, and potential headaches. Quality tile installation requirements provide a critical framework for ensuring your project meets professional standards.
Use this comprehensive checklist to verify every aspect of your tile project:
- Substrate preparation: Confirm surface is clean, level, and structurally sound
- Material quantities: Double-check calculated tile amounts and waste percentage
- Tools and equipment: Ensure all necessary installation tools are available
- Design layout: Verify tile placement and pattern alignment
- Installation conditions: Check temperature and humidity requirements
Key verification steps include:
- Review tile installation documentation
- Conduct a final site measurement
- Inspect all materials for quality and consistency
- Confirm professional installer credentials
- Validate material compatibility
Professional installers recommend a thorough pre-installation review to prevent potential issues and ensure optimal results.
Remember that detailed verification is not about being overly cautious, but about protecting your investment and achieving a flawless tile installation.
Pro tip: Create a digital or physical project binder to store all measurements, material specifications, and installation documentation for future reference and potential warranty claims.
Step 6: Connect With Our Tile Specialists
Navigating the complex world of tile installation requires expert guidance tailored to your unique project needs. Certified tile installer resources provide a reliable pathway to connecting with professionals who can transform your design vision into reality.
When seeking tile specialists, focus on these critical evaluation criteria:
- Professional credentials: Verify industry certifications
- Project portfolio: Review previous installation examples
- Specialization: Match installer expertise to your specific project
- Communication skills: Assess responsiveness and clarity
- References: Request and contact previous client testimonials
Key steps for finding the right tile specialist include:
- Research advanced tile installation certifications
- Schedule initial consultation meetings
- Request detailed project proposals
- Compare multiple professional recommendations
- Discuss specific project requirements thoroughly
Professional tile experts recommend interviewing at least three specialists to ensure comprehensive project understanding and competitive pricing.
Remember that the right specialist is not just about technical skills, but about understanding your unique design vision and project constraints.
Pro tip: Prepare a comprehensive project brief with detailed measurements, design inspiration, and specific requirements to help specialists provide more accurate and tailored recommendations.
Elevate Your Tile Project With Premium Natural Stone From Surfaces Galore
Planning a tile project requires precise measurement, careful material calculation, and selecting durable, beautiful tile that fits your design vision. If you are facing challenges like ensuring color consistency, managing waste, or finding authentic natural stone that stands the test of time, Surfaces Galore is here to help. Our expert team specializes in premium marble and travertine tiles that perfectly align with your project goals for stunning and lasting results.
Discover how our wide selection of natural stone options and knowledgeable customer support can transform your space. Visit Surfaces Galore to explore our collection and get expert guidance that complements the detailed planning steps like accurate measurements and tile quantity calculations discussed in “How to Plan a Tile Project for Stunning Results.” Don’t wait to bring your vision to life with authentic, affordable elegance—start your journey at Surfaces Galore today and ensure your tile installation is flawless from start to finish.
Frequently Asked Questions
What are the first steps to plan a tile project?
To plan a tile project effectively, start by assessing your space and design goals. Measure the area accurately and document the dimensions to inform your tile selection and layout decisions.
How do I ensure accurate measurements for my tile installation?
Accurate measurements are critical for a successful tile project. Use a measuring tape, note the room dimensions, and measure multiple times to confirm accuracy, ensuring you account for all features and irregularities.
What factors should I consider when selecting tile materials?
When selecting tile materials, focus on color consistency, surface finish, durability, and water absorption rates. Compare samples in your space to visually match your design and evaluate maintenance needs.
How can I calculate the amount of tile I need for my project?
To calculate the amount of tile needed, measure the total project area in square feet and account for tile size. Always add an extra 10-15% for waste and future repairs to avoid running short during installation.
What should I include in a project verification checklist?
A project verification checklist should include substrate preparation, material quantities, tools and equipment, design layout, and installation conditions. Review each aspect to ensure a seamless start to your installation.
How can I find qualified tile specialists for my project?
To find qualified tile specialists, verify professional credentials, review their project portfolio, and assess their communication skills. Schedule consultations with at least three specialists to ensure you get tailored recommendations for your project.
Leave a comment