
How to seal grout lines for durable, beautiful tile

TL;DR:
- Unsealed grout acts like a sponge, absorbing moisture and stains that cannot be fully removed by scrubbing. Proper sealing after grout curing ensures long-lasting protection and prevents damage from moisture and grime. Regular water-drop testing and careful resealing maintain grout integrity and the tile’s pristine appearance.
Unsealed grout is essentially a sponge built into your floor or wall. It absorbs moisture, cooking grease, soap scum, and foot traffic grime within days of installation, and once staining sets in, no amount of scrubbing fully reverses it. Learning how to seal grout lines is one of the most cost-effective things you can do after a tile installation, whether you’ve just laid marble in a new bathroom or refreshed travertine in your kitchen. This guide walks you through every stage, from gathering tools to verifying long-term protection, so you can protect your investment with confidence.
Table of Contents
- What you need: Tools, materials, and prep steps
- Step-by-step: How to seal grout lines for best results
- Troubleshooting and preventing common sealing mistakes
- Maintaining sealed grout: Resealing, verification, and water-drop test
- Advanced tips: Wet areas, caulk, and choosing the right sealer
- Here’s what experts wish every homeowner knew about grout sealing
- Need help with grout sealing? Explore flooring solutions
- Frequently asked questions
Key Takeaways
| Point | Details |
|---|---|
| Proper preparation matters | Let grout cure fully and clean thoroughly before sealing for best longevity. |
| Follow precise application steps | Apply sealer only to dry grout, let it penetrate, and wipe excess promptly as directed. |
| Use the water test | Check grout protection easily by observing if water beads or absorbs into the surface. |
| Select the right sealer for wet areas | Penetrating sealers offer essential protection in showers and high-moisture spaces. |
| Remove old caulk before resealing edges | Fresh caulk adheres only to clean surfaces, preventing leaks and peeling. |
What you need: Tools, materials, and prep steps
Once you see the value of sealing grout, let’s make sure you start with the right tools and know-how. Showing up mid-project without the right materials is the kind of mistake that turns a one-afternoon job into a two-day headache.
Your supply checklist
Before you open a single bottle, gather everything below:
- Grout sealer (penetrating or topical, matched to your tile type and location)
- Applicator (brush-tip bottle, foam roller, or seam roller depending on grout line width)
- Clean sponge or microfiber towels for wiping excess sealer off tile faces
- Rubber gloves to protect your hands from sealer chemicals
- Tile-safe cleaner to prep grout lines before sealing
- Small bucket of warm water for rinsing
- Painter’s tape to protect wood trim or adjacent surfaces if needed
If you are working with natural stone like marble or travertine, double-check that your sealer is labeled safe for porous stone. Some sealers designed for ceramic tile contain acids or solvents that can etch or discolor natural stone surfaces. For a solid foundation on grouting stone tiles before you seal, review the process from the start.
Timing and preparation
The single most important prep rule: grout must be fully cured before you apply any sealer. According to step-by-step grout sealer application guidance from tile professionals, you should let grout fully cure, then clean and dry the grout lines completely before applying sealer. That curing window is typically 24 to 72 hours, though some products or humid environments may require longer. Sealing too early traps moisture inside the grout, which can cause cracking, discoloration, or adhesion failure.
After curing, clean the grout lines thoroughly. Use a pH-neutral cleaner and a stiff grout brush, then let the surface dry completely. Even residual dampness can prevent sealer from penetrating properly.
![]()
Pro Tip: Read the manufacturer’s instructions on your specific sealer before you do anything else. Timing windows, application methods, and ventilation requirements vary significantly between products, and skipping this step is where most DIY errors begin.
Sealer comparison at a glance
| Sealer type | Best for | Application method | Reapplication frequency |
|---|---|---|---|
| Penetrating (impregnating) | Showers, wet areas, natural stone | Brush or applicator bottle | Every 6 to 12 months in showers |
| Topical (surface coating) | Low-traffic areas, decorative tile | Foam roller or brush | Every 1 to 3 years |
| Spray-on sealer | Large floor areas with wide grout lines | Spray bottle or pump sprayer | Varies by product |
If you are working on a mosaic installation, the narrower grout lines and varied tile surfaces require a slightly different approach. Review grouting mosaics for specific guidance before moving to the sealing stage.
Step-by-step: How to seal grout lines for best results
Now that you’re prepped, walk through the step-by-step process below, with expert insights layered in. Follow these stages in order. Skipping or rushing any one of them is usually what separates a grout job that holds up for years from one that needs repairs within months.
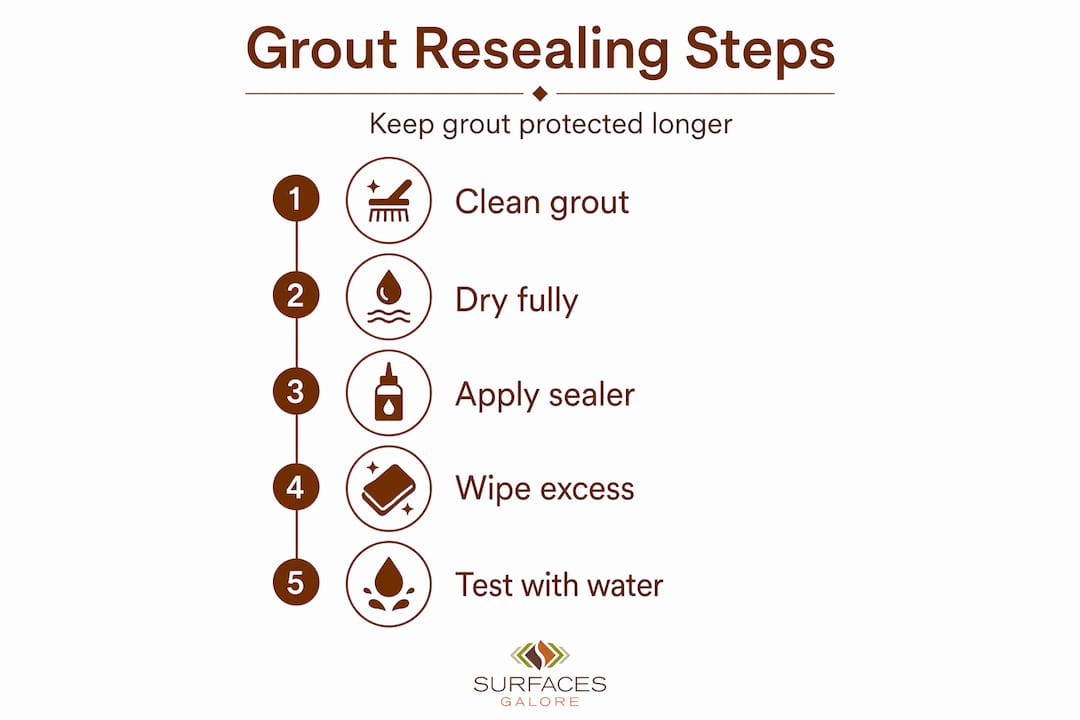
The six-stage sealing process
-
Confirm full cure. Check that grout has cured for at least 24 to 72 hours. In humid climates or poorly ventilated rooms, wait the full 72 hours or longer.
-
Clean and dry the grout lines. Scrub with a pH-neutral cleaner and a grout brush. Rinse thoroughly and allow the surface to dry completely, ideally for several hours. Moisture trapped under sealer is the leading cause of sealer failure.
-
Apply the sealer. Use your chosen applicator to coat the grout lines evenly. Work in small sections (about three to four square feet at a time) so the sealer does not dry before you can wipe the excess. Apply in a single, steady pass along each grout line.
-
Allow dwell time. Let the sealer penetrate for 5 to 15 minutes, depending on the manufacturer’s instructions. This is the window during which the sealer soaks into the grout pores. Do not let it dry fully on the tile face.
-
Wipe excess sealer off tile surfaces. Use a clean microfiber cloth to remove any sealer that landed on the tile itself. This step is non-negotiable. Sealer left on tile faces dries into a hazy, sticky film that is difficult to remove after the fact.
-
Apply a second coat if recommended. Some products specify a second coat after a short waiting period (often 5 to 10 minutes). Check your product label. Not all sealers require this, and over-applying can cause buildup.
“Seal grout by letting grout fully cure, cleaning and drying the grout lines, and then applying sealer carefully before wiping any excess from tile surfaces.” This step-by-step process is the standard professional workflow for achieving lasting protection.
Dwell time and coverage reference
| Sealer type | Typical dwell time | Coverage per bottle | Dry-to-touch time |
|---|---|---|---|
| Penetrating sealer | 5 to 15 minutes | 200 to 500 sq ft | 1 to 2 hours |
| Topical sealer | 10 to 20 minutes | 150 to 300 sq ft | 2 to 4 hours |
| Spray-on sealer | 5 to 10 minutes | 300 to 600 sq ft | 30 to 60 minutes |
Pro Tip: For natural stone tile like travertine, use an applicator brush rather than a foam roller. Foam rollers can push sealer onto the stone face faster than you can wipe it, especially on textured or filled travertine surfaces. Review travertine sealing steps for stone-specific guidance.
Safety note: Work in a well-ventilated space. Open windows and use a fan if sealing a bathroom or enclosed kitchen area. Most sealers contain solvents that require airflow during application and curing. Wear gloves throughout.
After sealing, avoid foot traffic for at least 24 hours and keep water off the surface for the full cure time listed on the product label. For advice on keeping grout clean between sealings, cleaning marble grout without damaging the stone is a skill worth developing early.
Troubleshooting and preventing common sealing mistakes
Mistakes can happen even when you follow instructions, so here’s how to spot and solve them quickly.
The most common sealing failures
Understanding why sealing goes wrong helps you avoid the same traps. Here are the failure modes professionals see most often:
- Sealing too soon. Grout that has not fully cured will trap moisture and may crack or discolor under the sealer layer. Always confirm the curing window before you start.
- Sealing dirty grout. Any residue, soap film, or efflorescence (white mineral deposits) locked under sealer will be there permanently. Clean thoroughly and let the surface dry.
- Overflooding the tile surface. Applying too much sealer at once leaves excess product sitting on the tile face, which dries into a haze. Work in small sections and wipe as you go.
- Skipping the wipe-off step. This is the single most common DIY error. Sealer left on tile faces dries into a film that dulls the tile’s finish and attracts dirt.
- Using the wrong sealer for the surface. A topical sealer in a shower can trap moisture behind it, creating ideal conditions for mold growth inside the grout.
According to guidance on how to seal grout from tile industry professionals, avoiding these failure modes, including sealing too soon after installation or cure, is as important as the application technique itself.
What to do if haze forms on tile
If you notice a cloudy film on your tile after sealing, act quickly. Fresh sealer haze (within the first hour or two) can often be removed with a clean dry cloth and some light buffing. If it has dried, use a sealer remover product specifically formulated for your tile type. Never use abrasive pads on polished marble or limestone, as they will scratch the finish.
Pro Tip: Always test your sealer on a small, hidden section of grout first, such as inside a cabinet or behind a toilet. This lets you confirm the product does not affect your tile’s color or finish before committing to the full surface.
For ongoing grout care between sealings, strategies for avoiding grout stains on natural stone tile will keep your surfaces looking their best year-round.
Maintaining sealed grout: Resealing, verification, and water-drop test
Once grout is sealed, you’ll want to make sure protection lasts. Here’s how to know when it’s time to reseal.
The water-drop test: Your most reliable tool
You do not need special equipment to check whether your grout seal is still working. The water-drop test is simple and accurate. Drop a small amount of water onto the grout line and watch what happens:
- Water beads up and sits on the surface: Your sealer is intact and doing its job.
- Water soaks in within 30 seconds or the grout darkens: The sealer has worn down and resealing is needed.
This water-drop bead test is the standard method tile professionals use to verify grout protection, and it works on every grout type.
How often to reseal by area
Resealing frequency is not one-size-fits-all. The amount of moisture and traffic a surface sees determines how quickly the sealer breaks down:
- Shower grout: Reseal every 6 to 12 months. Daily exposure to water, steam, and cleaning products degrades sealer faster than almost any other residential environment.
- Kitchen backsplash grout: Reseal every 1 to 2 years. Grease and cleaning agents wear down sealer over time, but the exposure is less constant than a shower.
- Bathroom floor grout (primary bath): Reseal every 12 to 18 months, depending on traffic.
- Guest bath grout: Reseal approximately every other year, since lower usage means slower sealer breakdown.
Statistic callout: According to resealing frequency data for tile showers, showers may need resealing as often as every six months in heavy-use households, while guest baths typically only require attention every other year.
Always check the manufacturer’s guidance for your specific sealer product. Some premium penetrating sealers are formulated to last longer, and their reapplication intervals reflect that.
For grout line maintenance on mosaic tile installations, which have more grout surface area relative to tile area, explore mosaic grout options to choose a grout and sealer combination built for longevity.
Advanced tips: Wet areas, caulk, and choosing the right sealer
For bathrooms and high-moisture spaces, a few advanced steps can make all the difference.
Penetrating vs. topical sealers: Why it matters in wet areas
The sealer you choose for a shower is not the same one you would use on a dry entryway floor. Here is why:
- Penetrating (impregnating) sealers soak into the grout pores and create a barrier from within. They allow the grout to breathe while blocking water and stain penetration. These are the correct choice for showers, steam rooms, and any area with consistent moisture exposure.
- Topical sealers sit on the surface of the grout and create a coating. In wet areas, this coating can trap moisture underneath, which creates ideal conditions for mold and mildew growth inside the grout body. Over time, topical sealers in showers also peel and flake.
For showers and other wet area sealing situations, penetrating sealers are the professional standard, and non-penetrating sealers should not be used in bathrooms.
The caulk issue most homeowners overlook
When resealing around tile edges, corners, or the junction between tile and a tub or shower pan, old caulk needs to come out completely before you apply fresh caulk. Many homeowners layer new caulk over old, which seems faster but creates problems. The bond between the new caulk and the old surface is weak, leading to peeling, gaps, and eventual water intrusion behind the tile.
Removing old caulk completely before applying fresh caulk is the correct method, and it protects against leaks that can cause far more damage than the extra hour of work.
Best practice: Use a plastic caulk removal tool rather than a metal blade near natural stone tile. Metal tools can scratch polished marble or limestone edges, and those scratches are costly to repair.
Additional grout sealing tips for wet environments
- Check that grout lines are completely dry before sealing, especially in showers that have been in use. Run a fan for 24 to 48 hours after the last shower before applying sealer.
- Use a small brush applicator in showers rather than a spray bottle. Spray application in an enclosed space increases fume concentration and makes it harder to control where the sealer lands.
- If grout has developed mold or mildew, treat and remove it completely before sealing. Sealing over mold locks it in and does not kill it.
For a full picture of how sealing fits into a bathroom renovation, the bathroom tile workflow guide covers sequencing from installation through finishing.
Here’s what experts wish every homeowner knew about grout sealing
After years of working with natural stone tile projects, one thing stands out clearly: most grout failures are not product failures. They are preparation failures. Homeowners buy a quality sealer, apply it correctly, and still end up with stained or crumbling grout, because the surface was not truly ready when the sealer went on.
The dangerous myth in DIY circles is that you can seal grout “whenever it looks dry.” Appearance is not a reliable indicator. Grout can look and feel dry on the surface while still holding significant moisture deeper in. That trapped moisture has nowhere to go once sealer closes the pores, and it works against the grout from the inside. Timing matters more than technique.
The water-bead test is also underused as an ongoing maintenance tool. Most homeowners only think about resealing when grout starts to look stained or discolored. By that point, the sealer has been gone for months and the grout has already absorbed contaminants. Running the water-drop test every three months takes less than a minute and tells you exactly where you stand before problems develop.
One more thing professionals consistently recommend: test a small area first. Apply sealer to a two-inch section of grout in an inconspicuous spot, let it cure fully, and examine the result before committing to the entire floor or wall. This is especially important with natural stone tile, where sealer interactions with stone color and finish can be unpredictable. A quick test on a DIY travertine tiling project, for example, can save you from discovering that a particular sealer darkens your stone’s tone across an entire bathroom floor.
The bottom line: sealing grout for durability is less about the product and almost entirely about the process. Clean surface, cured grout, correct sealer, proper wipe-off, and regular verification. That sequence, done consistently, is what keeps tile looking the way it did on installation day.
Need help with grout sealing? Explore flooring solutions
As you complete your sealing project or plan your next renovation, expert resources and professional-grade products can take your results further.

At Surfaces Galore, we specialize in premium natural stone tile, including marble, limestone, and travertine, and we know that protecting your installation is just as important as choosing the right stone. Whether you are sealing grout on a new mosaic backsplash, a travertine bathroom floor, or a marble shower surround, the right guidance makes every step more manageable. Browse our full range of flooring solutions and explore our library of installation and maintenance guides built specifically for natural stone. From tile selection through long-term grout line maintenance, we are here to help your project last.
Frequently asked questions
How long should I wait before sealing new grout?
Wait until grout fully cures, typically 24 to 72 hours, before applying sealer. In humid environments, err toward the longer end of that window.
How do I tell if grout needs resealing?
Use the water-drop bead test: if water beads on the grout surface, protection is intact; if water soaks in or the grout darkens, it is time to reseal.
What type of sealer should I use for shower grout?
Choose a penetrating sealer for showers and wet areas. As noted in shower sealing guidance, non-penetrating sealers should not be used in bathrooms because they can trap moisture and encourage mold growth.
Do I need to remove old caulk before resealing the edges?
Yes, always. Removing old caulk completely before applying fresh caulk prevents weak bonds, peeling, and water intrusion behind the tile.
How often should I reseal grout in a shower versus a guest bath?
Reseal shower grout every six to twelve months and guest bath grout approximately every other year. Resealing frequency depends on moisture exposure and usage, with heavily used showers potentially needing attention every six months.
Leave a comment