
How to Select Tile Trim for Elegant, Durable Results

Over 80 percent of high-value residential spaces in California feature tilework that relies on flawless edge treatment for both protection and visual harmony. For American interior designers and remodelers, choosing the right tile trim makes the difference between good and extraordinary. This guide zeroes in on advanced strategies for premium trim selection, delivering the aesthetic cohesion and long term resilience expected in luxury projects.
Table of Contents
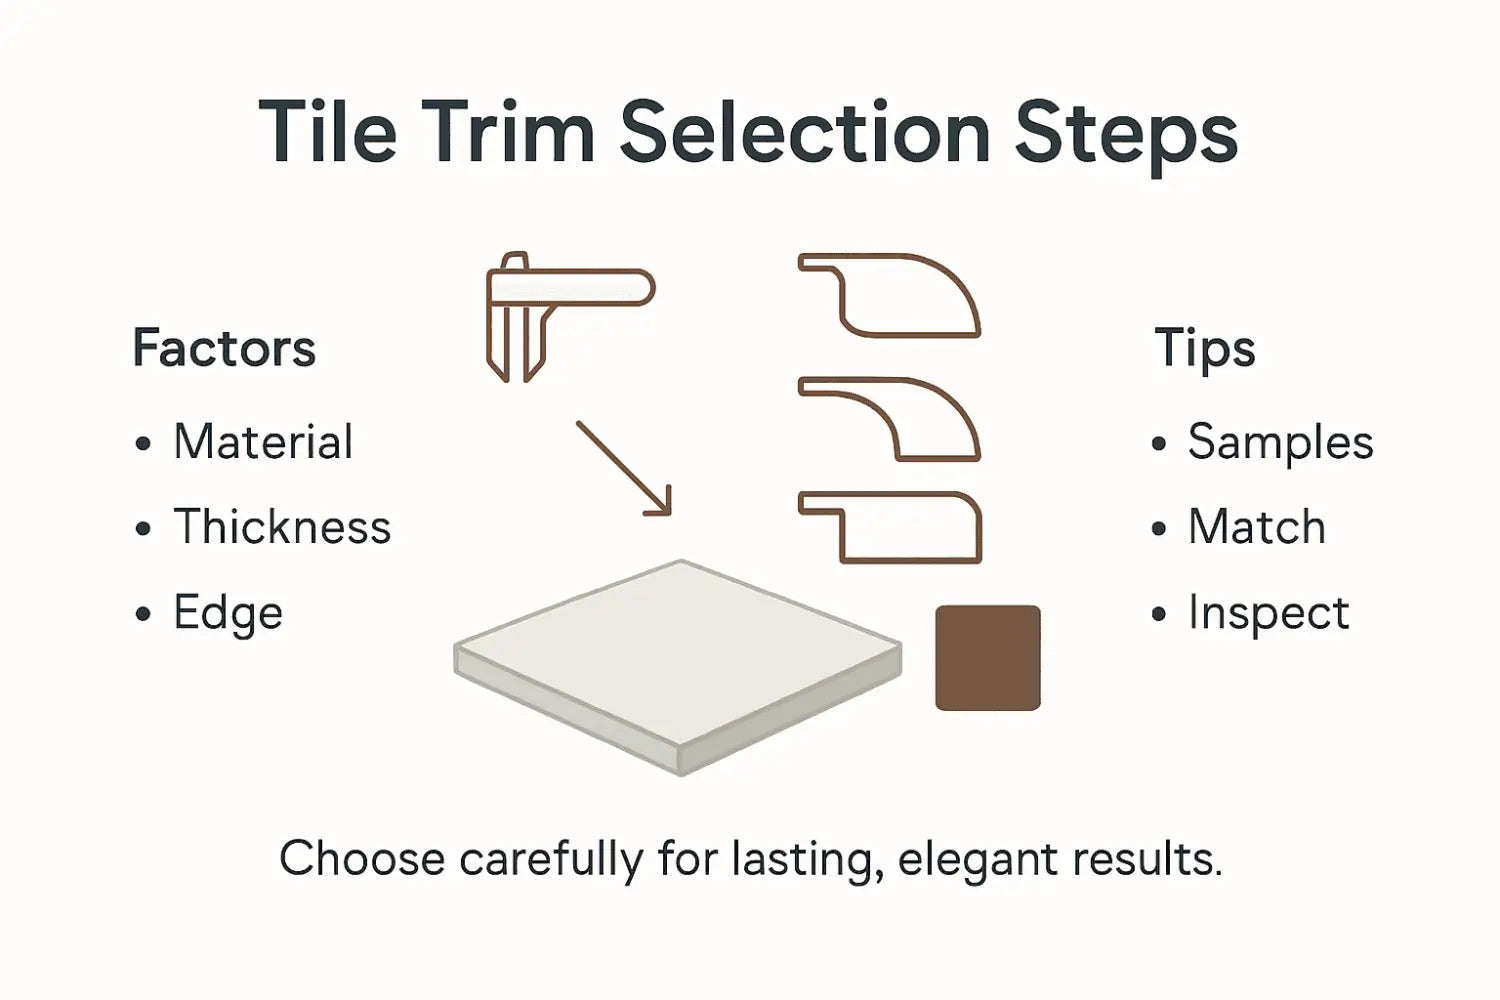
- Step 1: Assess Your Tile Material And Edges
- Step 2: Determine Your Desired Style And Finish
- Step 3: Compare Profile Types For Function And Aesthetics
- Step 4: Match Trim Dimensions To Tile Thickness
- Step 5: Verify Trim Quality And Final Placement
Quick Summary
| Key Insight | Explanation |
|---|---|
| 1. Assess Tile Material and Edges | Understand your tile’s material and edge characteristics to select compatible trim for successful installation. |
| 2. Define Desired Style and Finish | Choose trim style and finish that aligns with your overall room design, enhancing both aesthetics and functionality. |
| 3. Compare Trim Profile Types | Evaluate different trim profiles for both visual appeal and practical protection of tile edges to ensure durability. |
| 4. Match Trim Dimensions to Tile Thickness | Precisely align trim dimensions with your tile’s thickness to ensure a seamless and professional installation. |
| 5. Verify Trim Quality and Placement | Inspect trim pieces for quality and fit, ensuring secure attachment and clean transitions during installation. |
Step 1: Assess Your Tile Material and Edges
Selecting the right tile trim begins with a thorough assessment of your tile’s fundamental characteristics. Understanding your tile’s material and edge properties determines the trim compatibility and overall installation success.
First, examine your tile’s base material closely. Natural stone tiles like marble and travertine from Surfaces Galore have unique edge requirements compared to ceramic or glass alternatives. Different materials demand specific trim approaches to ensure seamless integration and long term durability. Consider the tile’s thickness, surface texture, and potential edge finish. Are your tiles polished or honed? Tumbled or machine cut? Each finish impacts trim selection and aesthetic outcome.
Carefully measure your tile’s edge profile and determine whether you need a matching trim that creates a smooth transition or a contrasting trim that highlights architectural details. Some edges require full coverage trim while others might need minimal edge protection. Pay special attention to areas with high moisture exposure like shower surrounds or kitchen backsplashes.
Pro tip: Always purchase trim samples and test them against your actual tile to confirm color consistency and edge compatibility before committing to a full installation.
Step 2: Determine Your Desired Style and Finish
Defining the right style and finish for your tile trim transforms your project from ordinary to exceptional. Your selection will significantly impact the room’s visual aesthetic and functional performance through intentional style choices.
Start by analyzing your space’s overall design language. Are you aiming for a sleek modern look with minimalist lines or a more traditional aesthetic with ornate details? Marble and travertine tiles from Surfaces Galore offer incredible versatility across design styles. Consider finishes ranging from high gloss polished trims that reflect light dramatically to soft honed edges that provide a more understated elegance. Your trim can either blend seamlessly with the tile or create a deliberate visual contrast depending on your design intent.

Make strategic decisions about texture and sheen. Glossy trims work brilliantly in bright spaces to amplify light, while matte finishes help minimize visible wear and reduce glare. Think about the room’s lighting conditions, traffic patterns, and maintenance requirements when selecting your trim style. A bathroom might demand a different approach compared to a kitchen backsplash or entryway flooring.
Pro tip: Request multiple trim samples and view them in your actual space under different lighting conditions to ensure the style truly matches your vision.
Step 3: Compare Profile Types for Function and Aesthetics
Navigating tile trim profiles requires a strategic approach that balances both visual appeal and practical performance. Understanding how different trim profiles impact edge protection and design aesthetics will guide your selection process.
Explore the primary profile types carefully. L-shaped trims provide excellent corner coverage and create clean transitions between surfaces. Bullnose profiles offer rounded edges that soften visual lines and protect tile borders from chipping. Corner trims work brilliantly in spaces demanding precise geometric definition. Surfaces Galore offers marble and travertine trims that showcase these profile variations with exceptional craftsmanship. Consider how each profile interacts with your specific tile material thickness, edge finish, and overall design intent.
Evaluate each profile type through multiple lenses. Flat trims work seamlessly in modern minimalist designs, while beveled edges introduce subtle architectural interest. Think beyond pure aesthetics and consider practical factors like moisture resistance, cleaning ease, and potential impact damage. Your trim profile should complement your tile’s inherent characteristics while providing robust protection against daily wear and environmental challenges.
Here’s a quick reference comparing common tile trim profile types and their ideal uses:
| Trim Profile Type | Best Application | Design Benefit |
|---|---|---|
| L-Shaped | Corners, transitions | Clean edges, strong coverage |
| Bullnose | Borders, exposed edges | Soft lines, chip protection |
| Flat | Wall edges, modern spaces | Seamless appearance, minimalism |
| Beveled | Decorative accents | Subtle detail, depth effect |
Pro tip: Always measure your tile’s exact thickness and edge profile before purchasing trim to ensure a perfect mechanical and visual fit.
Step 4: Match Trim Dimensions to Tile Thickness
Precision is paramount when aligning trim dimensions with your tile’s specific thickness. Understanding dimensional tolerancing ensures a seamless installation that looks professionally crafted and performs exceptionally.
Carefully measure your tile’s exact thickness before selecting trim. Surfaces Galore marble and travertine tiles often range between 3/8 inch to 1/2 inch thick, which means your trim must match these measurements precisely. A trim that sits too high or too low creates visual inconsistencies and potential structural weaknesses. Pay close attention to the width of the trim as well as its thickness. Some profiles require slight overlaps while others demand exact matching, depending on your installation technique and aesthetic goals.
Consider the installation context when matching dimensions. Bathroom and kitchen environments demand extra attention due to moisture exposure and potential expansion variations. Trims for floor tiles need different dimensional considerations compared to wall tile trims. Always test fit your selected trim before final installation to confirm perfect alignment and smooth transitions between tile surfaces.
This summary highlights critical factors when aligning trim dimensions to tile thickness:
| Factor | Why It Matters | Tips for Precision |
|---|---|---|
| Tile Thickness | Ensures flush installation | Use digital calipers |
| Trim Width | Supports coverage consistency | Test fit samples before install |
| Environmental Conditions | Prevents expansion issues | Allow for moisture adaptation |
Pro tip: Invest in a professional digital caliper to measure tile thickness accurately and eliminate guesswork during trim selection.
Step 5: Verify Trim Quality and Final Placement
The final stage of tile trim selection demands meticulous attention to detail and comprehensive quality verification methods that prevent installation failures. Your goal is to ensure perfect alignment, structural integrity, and visual harmony.
Carefully inspect each trim piece from Surfaces Galore before installation. Look for consistent coloration, uniform edges, and absence of structural defects. Examine the trim against natural light to detect any subtle variations or imperfections that might compromise your project’s aesthetic. Test the fit by placing trim pieces alongside your marble or travertine tiles multiple times, checking for precise alignment and seamless transitions. Pay special attention to corner joints and intersections where trim pieces meet, ensuring they create clean geometric lines without gaps or uneven surfaces.
Perform a comprehensive placement assessment that goes beyond visual inspection. Gently press and tap trim pieces to confirm secure attachment and listen for any signs of hollow sounds that might indicate inadequate bonding. Verify that the trim sits perfectly flush with tile edges and maintains the intended design profile. In moisture prone areas like bathrooms or kitchen backsplashes, extra scrutiny is essential to prevent potential water infiltration or long term degradation.
Pro tip: Keep a clean microfiber cloth and neutral stone cleaner nearby during installation to immediately wipe away any excess adhesive and maintain the trim’s pristine appearance.
Achieve Flawless Tile Trim Results with Premium Natural Stone from Surfaces Galore
Selecting the perfect tile trim requires careful attention to tile material, edge profiles, and trim dimensions to ensure durability and elegant design. If you are facing challenges such as matching trim thickness to your natural stone tiles or finding stylish profiles that protect edges without compromising aesthetics, Surfaces Galore offers tailored solutions that meet these critical needs. Our extensive collection of marble and travertine products provides authentic options engineered to align perfectly with your tile characteristics and design vision.

Elevate your installation with durable, beautiful natural stone trims that complement your tile edges and withstand daily wear. Visit Surfaces Galore to explore our premium selection and discover expert guidance that supports every step from material assessment to final placement. Don’t settle for guesswork—choose quality and expertise today to transform your space with timeless elegance and lasting performance.
Frequently Asked Questions
How do I assess my tile material before selecting trim?
To assess your tile material, examine its base material, such as natural stone or ceramic, and consider its thickness and edge finish. Measure your tile’s edge profile to ensure the trim you select will create a seamless transition.
What style and finish should I choose for my tile trim?
Choose a style and finish that complements your space’s overall design scheme, whether modern or traditional. Request multiple trim samples and evaluate them in your space under different lighting conditions to ensure they align with your aesthetic vision.
What are the different profile types of tile trim and their uses?
Tile trim comes in various profiles, such as L-shaped, bullnose, flat, and beveled. Each profile serves specific applications, like covering corners or softening edges, so assess your design needs before making a selection.
How do I ensure my trim dimensions match my tile thickness?
To ensure trim dimensions match your tile thickness, accurately measure the thickness of your tiles before purchasing trim. Use precise measuring tools and consider the width and design profile of the trim to maintain a flush, consistent installation.
What quality checks should I perform before installing tile trim?
Before installation, inspect each trim piece for consistent color, uniform edges, and structural integrity. Test the fit against your tiles to ensure precise alignment and seamless transitions, especially at corners and intersections.
How can I prevent installation issues with my tile trim?
Prevent installation issues by thoroughly testing each trim piece with your tiles before final installation. Ensure secure attachment by pressing and tapping the trim to confirm it sits flush with the tile edges, especially in moisture-prone areas.
Leave a comment