
Understanding the Installation Timeline for Marble, Limestone, or Travertine

Thinking about installing marble, limestone, or travertine in your home or business? You’re probably wondering how long the whole process will take. The installation timeline for marble, limestone, or travertine isn’t set in stone (no pun intended). It depends on a lot of moving parts, from picking out your favorite tile to the last bit of sealing. In this article, we’ll walk through what to expect, what can speed things up, and what might slow things down. If you’re planning a project, knowing the steps and timing can help you avoid surprises and get the best results. Let’s break it down, step by step.
Key Takeaways
- The installation timeline for marble, limestone, or travertine depends on planning, site prep, and curing times.
- Material delivery, design complexity, and installer skill can all affect how long your project takes.
- Proper substrate prep and dry-fitting tiles help prevent future issues and delays.
- Grouting, sealing, and curing can’t be rushed if you want a lasting, beautiful finish.
- Working with a trusted supplier like Surfaces Galore can help you get materials quickly and avoid common setbacks.
Understanding the Installation Timeline for Marble, Limestone, or Travertine
Transforming your space with the timeless elegance of marble, limestone, or travertine is an investment in beauty and value. But how long does it actually take to bring these natural wonders into your home? Understanding the installation timeline is key to planning your project and setting realistic expectations. From the initial selection to the final polish, each step plays a role in the overall duration. Let's break down what you can expect.
Initial Project Planning and Material Selection
This is where your dream starts to take shape. Choosing the right stone is more than just picking a color; it's about understanding the unique characteristics of marble, limestone, or travertine and how they'll perform in your space. We guide you through selecting the perfect material, whether it's the classic veining of Italian marble for a luxurious bathroom or the earthy tones of travertine for a welcoming patio. This phase also includes calculating the right amount of material – a good rule of thumb is to add 10-15% extra for cuts and waste to avoid any last-minute surprises. This initial planning phase can take anywhere from a few days to a couple of weeks, depending on your decision-making process and material availability.
- Material Exploration: Browse our extensive collections online, from luxurious marble tiles to durable travertine. Consider samples to see the true color and texture in your home's lighting.
- Application Assessment: Determine where the stone will be installed – high-traffic floors need different considerations than a decorative accent wall.
- Budget Alignment: Natural stones vary in price. Travertine is often more budget-friendly than marble, but quality and finish play a big role.
Substrate Preparation and Material Compatibility
Before any beautiful stone touches your floor or walls, the foundation must be perfect. This critical step involves ensuring your substrate is clean, level, and sound. Uneven surfaces can lead to cracked tiles, and poor adhesion means loose stones down the line. We also meticulously check material compatibility, ensuring all mortars, grouts, and sealers are specifically designed for natural stone. Using the wrong products can lead to discoloration or failure. For instance, using a gray thin-set mortar under light-colored marble can cause a gray cast to bleed through, ruining the stone's pristine look. Proper substrate prep and material checks are non-negotiable and can add 1-3 days to your project timeline, depending on the existing conditions.
- Substrate Inspection: Checking for flatness, stability, and cleanliness.
- Remediation: Addressing any low spots, cracks, or existing adhesives.
- Compatibility Verification: Selecting the right thin-set mortar (white for light stones!), grout, and sealers.
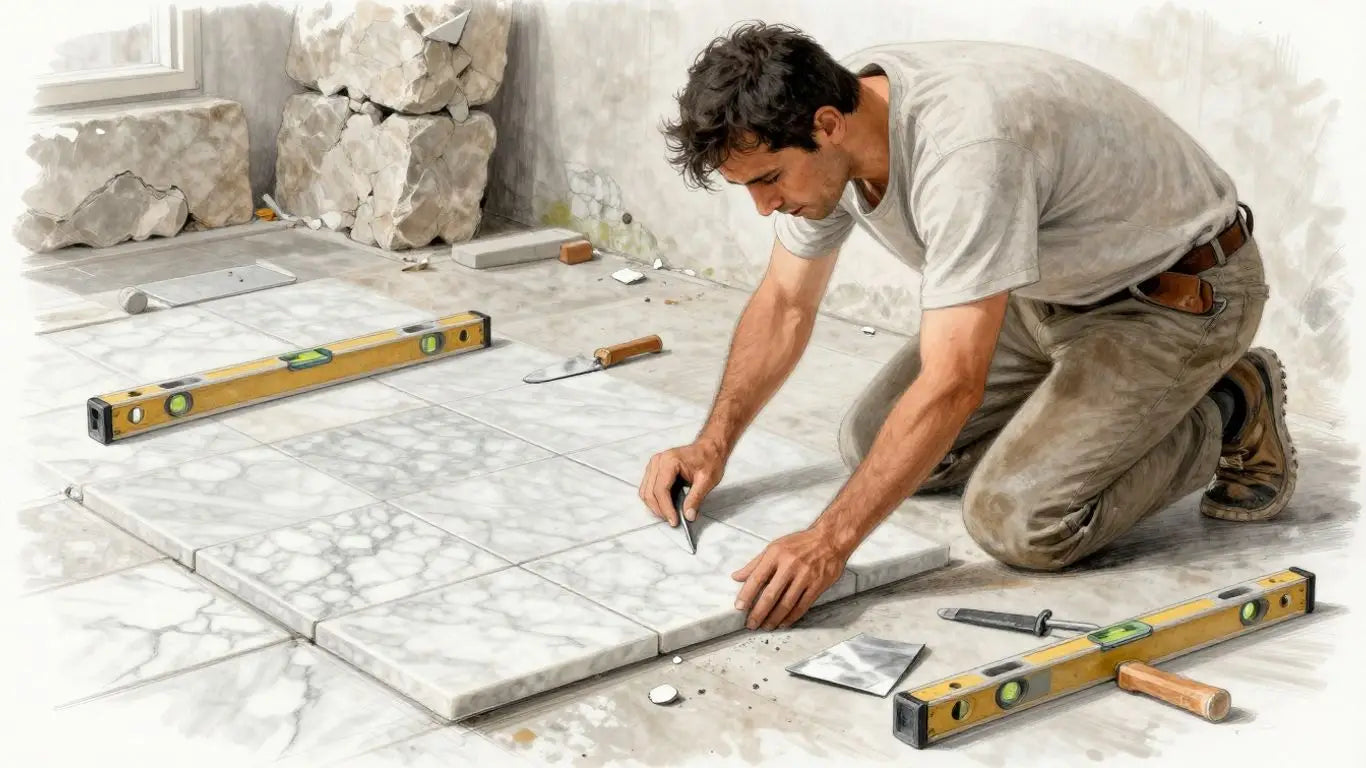
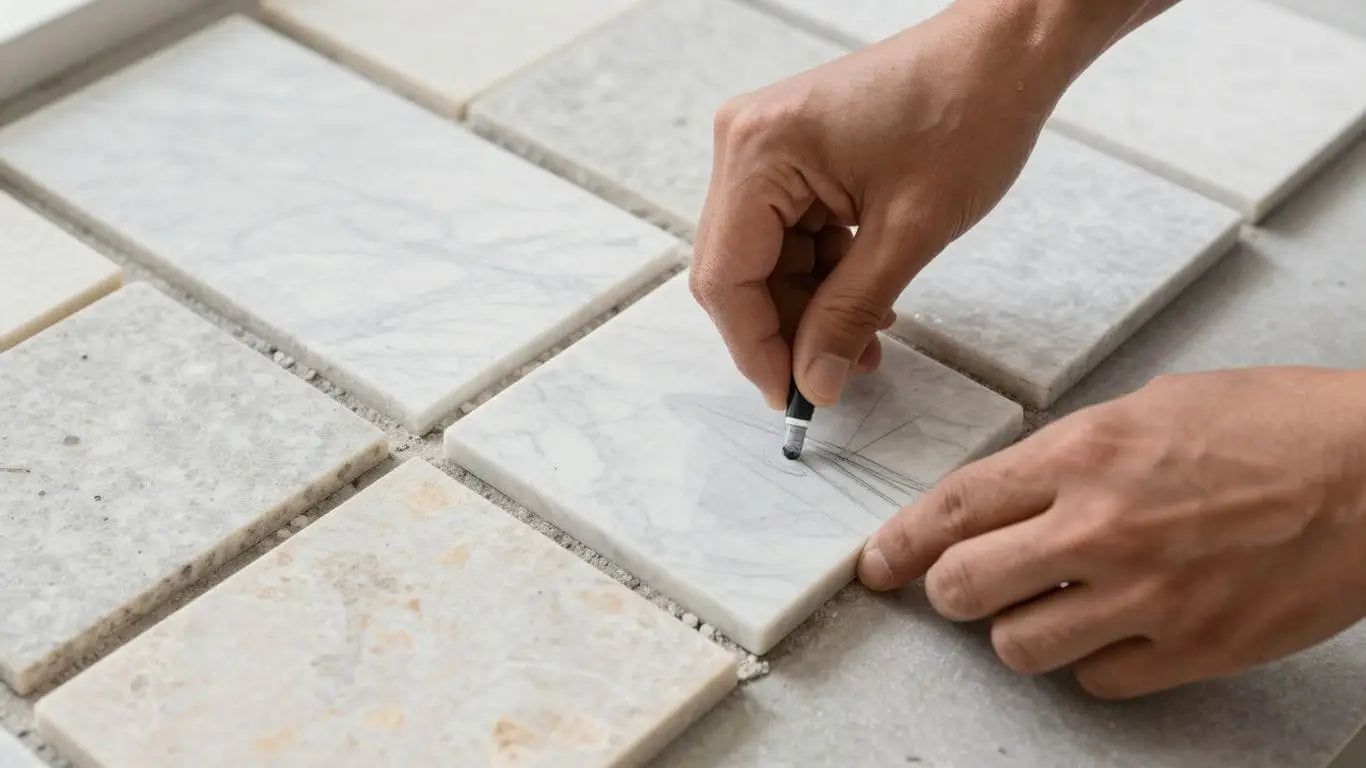
Tile Layout and Dry-Fitting Process
This is where the artistry truly begins. Before any adhesive is mixed, we perform a dry layout. This means arranging the tiles on the floor or wall without mortar. It’s a vital step to visualize the final pattern, ensure a pleasing distribution of color and veining, and plan for any necessary cuts. This process helps avoid awkward small cuts at the edges and allows us to blend variations from different batches for a cohesive look. Allow at least 1-2 days for this meticulous layout process, especially for larger or more complex designs.
- Layout Planning: Visualizing the pattern and flow of the stone.
- Color Blending: Mixing tiles from different boxes for a natural variation.
- Cut Strategy: Identifying and planning all necessary cuts for edges and obstacles.
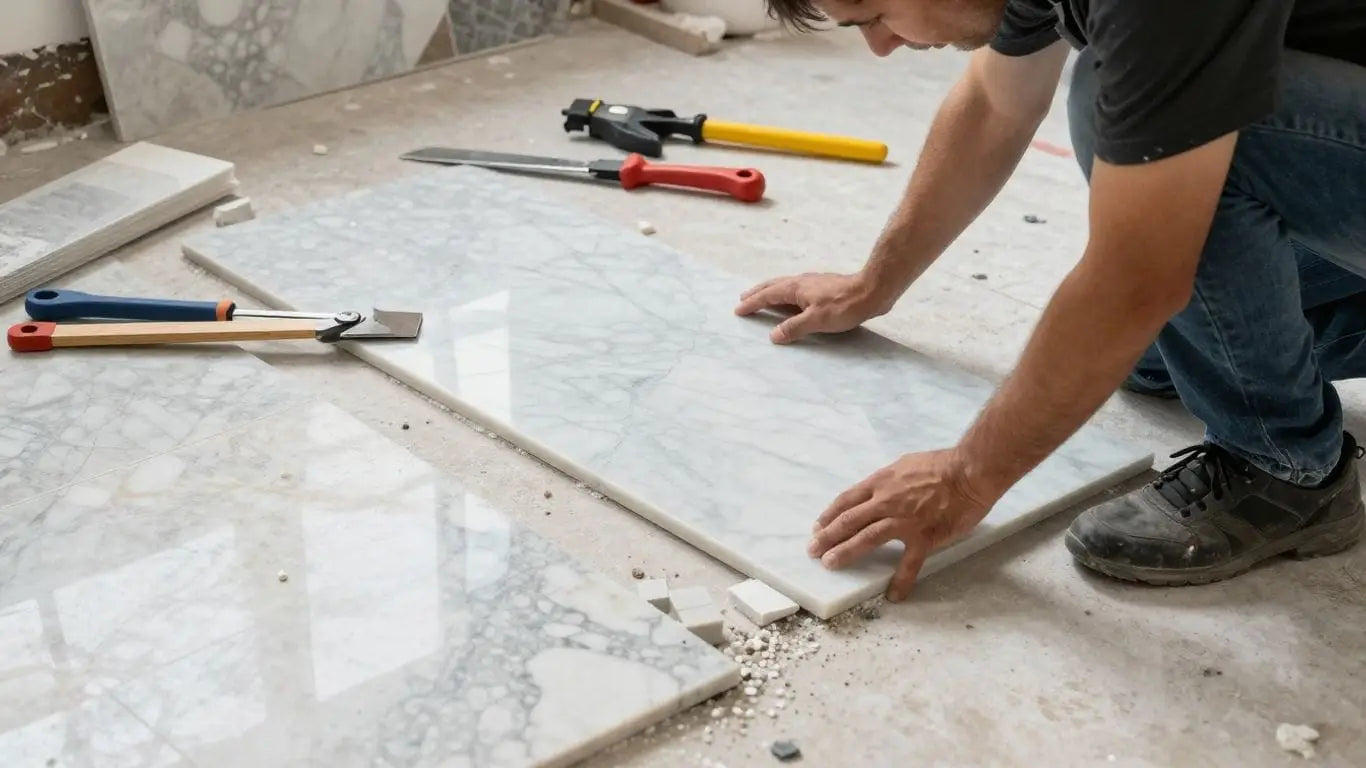
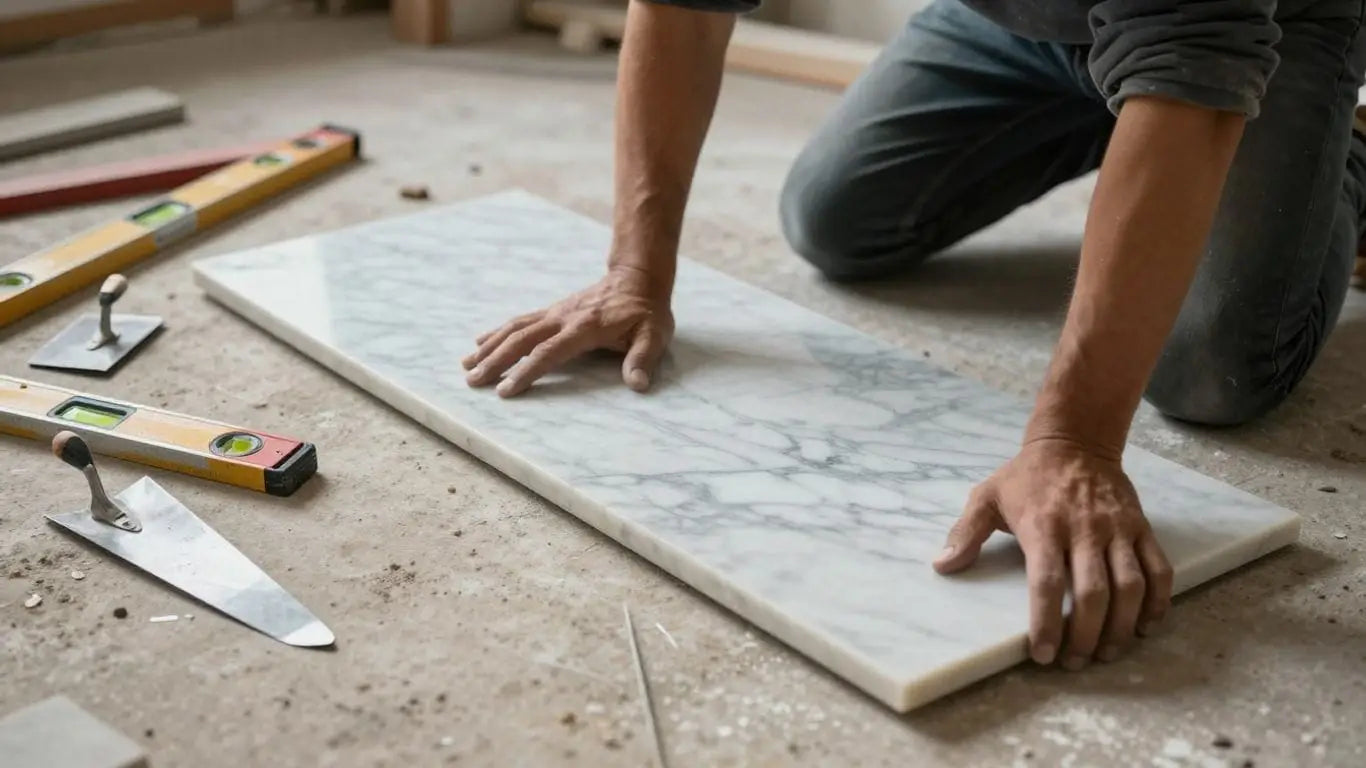
Mortar Application and Tile Setting
With the layout finalized, it’s time for the actual installation. We use specialized notched trowels to apply the correct amount of thin-set mortar, ensuring full coverage on the back of each tile. Each piece is set with a slight wiggle to guarantee a strong bond. We also use leveling systems for larger tiles to prevent lippage (uneven edges). The tile setting phase itself typically takes 1-3 days for a standard room, but can extend for larger areas or intricate patterns.
- Mortar Application: Evenly spreading mortar with a notched trowel.
- Tile Placement: Pressing each tile firmly into the mortar.
- Leveling: Using spacers and leveling clips for consistent joints and flush surfaces.
Grouting and Curing Periods
Once the tiles are set, they need time to bond securely. The mortar typically requires 24-48 hours to cure before grouting. After grout is applied and excess is cleaned, another curing period begins – usually 48-72 hours for the grout to harden. These curing periods are essential and cannot be rushed. They add a minimum of 3-5 days to the overall installation timeline.
- Mortar Curing: 24-48 hours.
- Grout Application: Filling the joints and cleaning excess.
- Grout Curing: 48-72 hours before the next steps.
Sealing and Final Touches
Natural stone is porous, so sealing is a crucial step to protect against stains and moisture. We apply a high-quality stone sealer and allow it to cure according to the manufacturer's instructions. This is followed by a final cleaning to remove any residue. The sealing and final touch-up phase usually takes 1-2 days, including the sealer's curing time.
- Stone Sealing: Applying protective sealant.
- Sealer Curing: Allowing the sealer to fully penetrate and dry.
- Final Inspection: A thorough check for any imperfections and a final clean.
Case Study 1: The Elegant Bathroom Refresh
A homeowner wanted to update their master bathroom with Carrara marble tiles. The project involved a standard shower and floor area. The substrate was in good condition, requiring minimal prep. The dry layout took half a day, and tile setting took another full day. After the 48-hour mortar cure, grouting and cleaning were completed. The final sealing and touch-ups wrapped up the project. Total installation time: Approximately 5-7 days.
Case Study 2: The Grand Entryway Transformation
For a large entryway featuring travertine pavers, the scope was more extensive. Substrate preparation required leveling a slightly uneven concrete slab, adding two days. The dry layout for the complex pattern took a full day. Setting the large format tiles spanned two days due to the area size. After the standard curing periods, grouting and sealing were completed. Total installation time: Approximately 9-12 days.
Ready to bring the timeless beauty of natural stone into your home? Explore our stunning collections and let us help you plan your perfect installation. You can even buy marble tiles online USA and have them delivered right to your door!
Factors Influencing Installation Duration
Project Scope and Scale
The size of your project is the most obvious factor affecting how long installation takes. A small powder room will naturally be quicker than a full kitchen remodel or a large open-plan living area. We handle projects of all sizes, from intimate spaces to grand estates. For larger areas, we break down the installation into manageable phases to maintain efficiency and quality.
Complexity of Design and Cuts
Intricate patterns, custom shapes, and numerous cuts can add significant time. If your design calls for complex geometric layouts or detailed inlays, expect a longer installation period. Our team excels at precision work, ensuring even the most challenging designs are executed flawlessly. We can even provide custom fabrication for unique designs, saving you time and hassle.
Installer Experience and Efficiency
An experienced installer works faster and makes fewer mistakes. Our professional installation teams are highly skilled and efficient, trained to work with natural stone like marble and travertine. They understand the nuances of these beautiful materials, from proper substrate preparation to precise tile setting. This expertise translates to a quicker, smoother installation process for you.
Site Conditions and Accessibility
Difficult site conditions, such as narrow access points, multiple levels, or challenging existing structures, can slow down the installation. We assess site accessibility during the planning phase to anticipate and mitigate any potential delays. Clear access and a well-prepared site are key to a swift installation.
Case Study: The Grand Foyer
A client wanted to install a large marble tile floor in their grand foyer, featuring a complex custom mosaic inlay. The foyer was 1,500 sq ft with multiple entry points and intricate architectural details. Initially, the client estimated a 3-week installation. However, due to our experienced team's efficient workflow, meticulous planning for the custom cuts, and streamlined material handling, the project was completed in just 2 weeks, exceeding the client's expectations for both quality and speed. This highlights how professional expertise can significantly shorten timelines, even for complex projects. We can help you buy marble tiles online USA for projects just like this.
Pre-Installation Steps and Their Time Commitment
Site Assessment and Measurement
Before you even think about buying marble tiles online in the USA, you need to know exactly what you're working with. This means a thorough site assessment. We're talking about measuring every nook and cranny. Get precise measurements to avoid ordering too much or, worse, too little stone. This step is non-negotiable for a smooth installation. It sets the stage for everything that follows.
Material Ordering and Delivery Lead Times
Once measurements are locked in, it's time to order. Natural stone, like the beautiful limestone you might be considering, isn't always sitting on a shelf. Lead times can vary. Some stones might be readily available, while others could take weeks to arrive from the quarry or supplier. Factor this into your project schedule. Waiting for materials can be the biggest bottleneck if not planned for. We help streamline this by working with reliable suppliers.
Substrate Inspection and Remediation
This is where many projects hit a snag. The surface where your gorgeous marble or travertine will be laid needs to be perfect. We're talking level, clean, and solid. Any issues with the subfloor or walls need to be addressed before installation begins. Cracks, unevenness, or moisture problems can ruin even the best tile job. Remediation might involve patching, leveling, or installing a proper underlayment. Don't skip this; it's the foundation of your beautiful new floor.
Case Study: The Uneven Foundation
A client in Chicago was eager to install a stunning travertine floor in their kitchen. They had the tiles ready to go, but upon inspection, the subfloor had significant dips. Rushing the installation would have led to cracked tiles and a hollow sound with every step. We recommended a self-leveling underlayment, which added two days to the timeline but guaranteed a flawless, durable finish. The result? A kitchen floor that looked like it was laid by royalty.
Case Study: The Moisture Menace
Another homeowner wanted a luxurious marble bathroom. However, the existing concrete slab showed signs of moisture. Installing directly would have compromised the adhesive and potentially caused mold. We advised a moisture barrier and a cement board underlayment. This extra step, taking about a day, protected their investment and ensured the marble would last for decades. It’s all about building it right from the ground up.
The Tile Setting Phase Timeline
Dry Laying and Layout Verification
Before any adhesive touches your beautiful stone, we perform a crucial dry lay. This is where your vision truly comes to life on the floor. We arrange each marble, limestone, or travertine tile without mortar to perfect your chosen pattern – whether it's a classic brick bond, a sophisticated herringbone, or a unique custom design. This step is vital for ensuring color and veining are distributed beautifully across the entire area. It also helps us avoid awkward cuts and ensures a harmonious flow. Think of it as a dress rehearsal for your stunning new floor. We can help you explore different tile laying patterns to find the perfect fit for your space.
Mortar Mixing and Application
Once the layout is approved, we move to the setting phase. We meticulously mix high-quality thin-set mortar, specifically chosen for its compatibility with natural stone. Using the correct trowel size, we apply the mortar evenly to a small section at a time, creating perfect ridges for optimal adhesion. This ensures a strong, lasting bond for your investment. We always recommend using a white thin-set mortar for lighter stones to prevent any discoloration.
Tile Placement and Adjustment
Now for the satisfying part: placing the tiles! Each stone is pressed firmly into the mortar with a slight twist to guarantee full coverage. We use tile spacers to maintain consistent grout lines, and a level is constantly at hand to ensure a perfectly flat surface, minimizing lippage. For larger or heavier tiles, we employ advanced leveling systems to guarantee a seamless finish. We work methodically, section by section, ensuring every piece is perfectly positioned.
Curing Time for Adhesives
Patience is key here. After the tiles are set, the mortar needs adequate time to cure. This typically takes between 24 to 48 hours, depending on the specific mortar and environmental conditions. This curing period is non-negotiable for a durable installation. Rushing this stage can compromise the integrity of your stone floor. During this time, we protect the area and ensure it remains undisturbed, allowing the adhesive to reach its full strength before we proceed to the next critical steps.
Grouting and Sealing: Critical Post-Setting Stages
Once your beautiful marble, limestone, or travertine tiles are set, two vital steps remain: grouting and sealing. These aren't just finishing touches; they're critical for the longevity and aesthetic appeal of your natural stone installation. Getting these right means a more durable, easier-to-maintain surface for years to come.
Grout Application and Excess Removal
This is where the lines between your tiles get filled, adding definition and stability. We use high-quality grouts designed to complement your stone, not compete with it. The application is precise, ensuring full joint coverage without overfilling. Excess grout is carefully removed while still workable, leaving clean tile edges. A properly grouted floor, like the one revitalized in Oceano with a grout sealing service [203c], looks polished and complete.
Grout Curing Duration
Patience is key here. Grout needs time to cure and harden properly. This typically takes 48 to 72 hours, though it can vary based on the specific grout product and environmental conditions. Rushing this stage can lead to cracking or crumbling grout, compromising the entire installation. During this period, keep foot traffic off the newly grouted areas.
Stone Sealing Process
Sealing is your stone's protective shield. Natural stones like marble and travertine are porous, meaning they can absorb liquids, leading to stains. A quality impregnating sealer penetrates the stone's surface, creating a barrier against spills and moisture without altering the natural look too much. We use sealers that offer excellent protection and are suitable for your specific stone type. For instance, sealing your stone surfaces every 2-3 years with a quality impregnating sealer is recommended [f307].
Sealer Curing and Protection
After application, the sealer also needs time to cure. This allows it to fully bond with the stone and provide maximum protection. Typically, this takes another 24-48 hours. During this time, avoid heavy cleaning or exposing the surface to excessive moisture. Once cured, your stone is much more resistant to staining and easier to clean, ready for you to enjoy.
Case Study: A Luxurious Bathroom Transformation
Project: A high-end residential bathroom renovation in Los Angeles.
Challenge: The client wanted a spa-like feel with marble tiles but was concerned about staining from daily use.
Solution: After meticulous tile setting, we applied a premium penetrating sealer specifically formulated for marble. This process protected the stone's natural beauty while providing a robust defense against water and soap scum.
Result: The bathroom now boasts a stunning, easy-to-maintain marble finish that looks as luxurious as the day it was installed, with the client reporting significantly reduced cleaning time and no staining issues after two years.
Ready to see your vision come to life? Explore our selection of premium marble tiles and travertine options online today and let us help you achieve a flawless finish. If you're looking to buy marble tiles online in the USA, we've got you covered.
Accelerating the Installation Timeline
Want that stunning marble, limestone, or travertine installation sooner? Speed up your project without sacrificing quality. We've got the strategies to get your dream space ready faster.
Efficient Material Procurement
Get your materials on time, every time. Smart ordering means less waiting. We help you buy marble tiles online in the USA with confidence, ensuring your chosen stone arrives when you need it. Avoid delays by planning ahead and confirming stock availability. Remember, lead times for custom cuts or special orders can vary, so factor that into your timeline.
Streamlined Site Preparation
A prepared site is a fast site. Ensure your subfloor is level, clean, and ready before the installers arrive. This includes having any necessary underlayment or waterproofing in place. A well-prepared space means the team can move straight to tile setting, not waste time on unexpected prep work.
Professional Installation Teams
Experience matters. Hiring seasoned professionals who specialize in natural stone installation can significantly cut down on time. They know the best techniques for handling delicate materials like marble and travertine, minimizing errors and rework. Think of it as an investment in speed and a flawless finish.
Expedited Handling Options
Need it faster? For those times when every day counts, explore expedited handling options. While natural stone is heavy and requires careful packing, prioritizing your order in warehouse operations can speed up processing and dispatch. This means your beautiful stone gets to you quicker, putting you one step closer to enjoying your new space.
Case Study: The Speedy Kitchen Refresh
A homeowner in California wanted to update their kitchen backsplash with a striking marble mosaic. By choosing to buy marble tiles online from a supplier with expedited shipping options and having their contractor ready to go, the project went from decision to completion in just under two weeks. The key was coordinating material delivery with the installer's availability and ensuring the wall surface was prepped in advance.
Case Study: The Bathroom Transformation
When a client needed a master bathroom renovation completed before a family visit, efficiency was paramount. They selected a popular travertine tile, readily available from their supplier. By scheduling the installation team for a Monday and ensuring all necessary tools and materials were on-site Friday, the tiling, grouting, and sealing were completed by Wednesday, allowing ample curing time before the weekend. This required meticulous planning and clear communication between the client and the installation crew.
Potential Delays and Mitigation Strategies
Even with the best planning, sometimes things don't go exactly as scheduled. Unexpected issues can pop up during any installation, but knowing what to look for and how to handle it can save you time and stress. Let's talk about common hiccups and how to get back on track.
Unforeseen Site Issues
Sometimes, what's hidden beneath the surface can cause a surprise. Old plumbing, uneven subfloors, or unexpected structural quirks can halt progress. It's like finding a hidden pothole on a road trip – you didn't see it coming.
- Mitigation: A thorough site assessment before starting is key. If issues arise, address them directly. For example, if the subfloor isn't level, we'll use a self-leveling underlayment to create a perfect base. This might add a day or two, but it's better than tiles cracking later.
Material Defects or Damage
It's rare, but sometimes tiles can arrive with minor imperfections or get damaged in transit. We inspect every shipment, but a second look on-site is always wise. Catching a chipped edge before installation saves a lot of trouble.
- Mitigation: Always order about 10-15% extra material to account for cuts and potential issues. If a tile is defective, set it aside. We can quickly arrange for replacements if needed. For urgent projects, we can often source expedited shipping for replacement pieces. If you're buying marble tiles online in the USA, check our shipping policies for quick resolutions.
Weather-Related Interruptions
Extreme weather can impact outdoor installations or even indoor work if it affects site conditions (like heavy rain causing leaks). While we can't control the weather, we can plan around it.
- Mitigation: For outdoor projects, we build a small buffer into the schedule. For indoor work, we ensure the site is protected from the elements. If a delay is unavoidable, we'll communicate the revised timeline immediately.
Case Study: The Subfloor Surprise
A client in Austin, Texas, was installing a beautiful Calacatta Gold marble in their kitchen. During substrate prep, we discovered the original subfloor had significant dips, far beyond what a standard leveling compound could fix. This meant we had to install a new layer of plywood subflooring first.
- Original Timeline: 5 days for installation.
- Delay: 2 extra days for subfloor remediation.
- Resolution: We communicated the issue and the solution clearly. The client approved the extra work, and the stunning marble floor was completed without further issues, looking absolutely perfect.
Communication and Problem Resolution
Open communication is the best tool against delays. If something unexpected happens, we believe in transparency. We'll let you know right away, explain the situation, and propose the best solution to keep your project moving forward smoothly.
- Our Commitment: We aim to resolve any issues quickly and efficiently, minimizing impact on your timeline and budget. When you buy marble tiles online or any natural stone, you're not just buying a product; you're getting a partner committed to your project's success.
Post-Installation Considerations
Final Inspection and Touch-Ups
Once the mortar and grout have fully cured, it's time for the final walkthrough. This is your chance to catch any minor imperfections. Look for any grout haze left on the stone, uneven grout lines, or chips that might have occurred during installation. A professional installer will typically address these on the spot. If you're doing it yourself, a soft cloth and a pH-neutral cleaner can often remove grout haze. For any small chips or grout touch-ups, have a bit of leftover grout handy. This final check ensures your beautiful new marble, limestone, or travertine surface looks absolutely perfect.
Initial Cleaning and Maintenance Schedule
Your stunning new natural stone floor or wall is ready for its first real clean! Use a pH-neutral cleaner specifically designed for natural stone. Avoid harsh chemicals or abrasive scrubbers, as these can damage the stone's surface or the grout. Establishing a regular cleaning routine now will help maintain the stone's beauty for years to come. For marble, sealing is typically recommended every 12-18 months, while travertine might need it every 12-24 months. Wet areas like showers may need more frequent attention, perhaps every 6-12 months. Proper sealing is key to protecting your investment.
Understanding Material Variations
Remember, marble, limestone, and travertine are natural materials. This means each piece is unique, with its own subtle variations in color, veining, and texture. This is part of their charm and what makes them so special! Don't expect every tile to look identical. Embrace these natural characteristics; they add depth and character to your space. If you're considering buying marble tiles online in the USA, always look for reputable suppliers who can provide samples so you can see the variations firsthand before committing to a larger purchase. This understanding helps manage expectations and appreciate the natural beauty of your chosen stone.
Case Study: The Miller Residence
The Millers recently installed a beautiful travertine floor in their entryway. After the installation, they noticed a few small grout inconsistencies near a doorway. Their installer, part of a professional installation team, quickly addressed these during the final inspection, ensuring a flawless finish. They also received clear guidance on initial cleaning and a recommended sealing schedule, which they’ve followed diligently. Now, their entryway looks as stunning as the day it was laid, a testament to proper post-installation care.
Case Study: The Chen Project
For their kitchen backsplash, the Chens chose a striking white marble. Post-installation, they were thrilled with the overall look but were initially concerned about the slight color differences between some tiles. After a brief consultation with their supplier, they learned this was normal for natural marble and actually added to its unique appeal. They were also provided with a specific cleaning regimen and a reminder to seal the marble annually, ensuring its longevity and pristine appearance.
After you've finished setting up, there are a few important things to think about. Making sure everything is just right will help you get the most out of your new setup. For more tips and details, check out our website!
Wrapping Up Your Installation Project
So, we've gone over the whole process, from getting your materials ready to the final touches. Installing marble, limestone, or travertine can seem like a big job, and honestly, it takes some patience. But by taking your time, prepping right, and using the correct methods, you can get a beautiful result. Remember, Surfaces Galore is here to help with all your natural stone needs, whether you're picking out tiles or just have a question. Don't hesitate to reach out to us for quotes or to check out our stock. We ship nationwide, so no matter where you are, we can get you the stone you need to make your project shine.
Frequently Asked Questions
How long does it usually take to install marble, limestone, or travertine floors?
The time it takes to install these beautiful natural stones can vary a lot. For a typical room, it might take a few days. This includes getting the floor ready, laying the tiles, letting the glue and grout dry, and then sealing everything up. Bigger projects or really fancy designs will naturally take longer.
What's the first step before starting the installation?
Before anything else, you need to plan! This means figuring out exactly what look you want, how much stone you need (always buy a little extra for cuts and mistakes!), and making sure the place where the tiles will go is super clean, flat, and solid. Also, picking out your stone is a big part of the planning.
How important is preparing the floor or wall before laying the tiles?
It's super important! Think of it like building a house – you need a strong base. The surface must be perfectly level and free of any dirt, dust, or old glue. If it's not right, the stone might crack or come loose later on. We call this making sure the 'substrate' is ready.
What does 'dry-fitting' mean for stone tiles?
Dry-fitting is like a practice run. You lay out all the tiles on the floor without any glue or grout. This helps you see how the pattern looks, figure out where to make cuts, and make sure the colors blend nicely. Since natural stone can have slight color differences, this step is key to a great final look.
How long do I have to wait after the tiles are set before I can walk on them or grout them?
You can't walk on freshly laid tiles right away! The glue, called 'thin-set mortar,' needs time to dry and get strong. This usually takes about 24 to 48 hours. After that, you can apply the grout, which also needs a few days to dry before you can seal the stone.
Why do marble and travertine need to be sealed?
Marble and travertine are natural stones, which means they have tiny holes, making them 'porous.' Sealing fills these holes, like putting a protective shield on the stone. This helps stop spills from making stains and keeps moisture from getting into the stone, which can cause damage over time.
Can I speed up the installation process?
Sometimes, yes! Having experienced installers who know what they're doing can make a big difference. Also, making sure all your materials are ready to go and the site is prepped beforehand helps a lot. Ordering materials ahead of time is also a smart move.
What can cause delays during stone installation?
Lots of things can slow things down! Unexpected problems with the floor or walls, materials arriving late or damaged, or even bad weather can cause delays. Good communication with your installer and supplier is the best way to handle any issues that pop up.
Leave a comment