
How to Prevent Stains on Natural Stone Tile

TL;DR:
- Natural stone tile requires proper sealing and maintenance to prevent permanent stains and damage. Regularly reseal with impregnating sealers, use pH-neutral cleaners, and blot spills promptly to preserve its beauty. Adopting daily habits such as using mats, coasters, and squeegees greatly enhances long-term protection and stain prevention.
Natural stone tile is one of the most satisfying investments you can make in a home. Marble, limestone, and travertine bring a timeless quality that no manufactured material can replicate. But knowing how to prevent stains on natural stone tile is what separates a floor that stays beautiful for decades from one that looks tired within a few years. Stone is porous by nature, and without the right preparation, cleaning habits, and maintenance routines, it absorbs spills, dulls from wrong cleaners, and develops stains that are genuinely hard to reverse. This guide covers everything you need to protect your investment from day one.
Table of Contents
- Key takeaways
- How to prevent stains on natural stone tile: start with sealing
- Choosing the right cleaning products and tools
- Daily habits that protect your stone long-term
- Advanced stain prevention and troubleshooting
- My honest take on what actually protects stone
- Protect your stone with the right products and expertise
- FAQ
Key takeaways
| Point | Details |
|---|---|
| Seal before use and reseal regularly | Apply an impregnating sealer before first use and check effectiveness every six months using the water bead test. |
| pH-neutral cleaners only | Acidic products like vinegar permanently etch marble, limestone, and travertine even after a single use. |
| Blot spills immediately | Sealers give you roughly 30 minutes before liquid penetrates, so speed is everything when a spill happens. |
| Behavioral habits matter most | Mats, coasters, and daily sweeping protect stone finish more consistently than any single product choice. |
| Poultice method for embedded stains | Apply a baking soda paste covered with plastic wrap for 24 to 48 hours to draw out stubborn stains. |
How to prevent stains on natural stone tile: start with sealing
Why natural stone absorbs stains so easily
Marble, limestone, and travertine are all sedimentary or metamorphic rocks with a crystalline, porous structure. That porosity is exactly what gives them their unique veining and character. It is also the reason liquids, oils, and pigments absorb into the surface rather than sitting on top of it like they would on ceramic tile. Without protection, a glass of red wine or a splash of cooking oil left for just a few minutes can work its way below the surface and create a stain that no surface cleaner will fully remove.
The degree of porosity varies by stone type. Travertine is generally the most porous of the three, with visible holes and channels that form during its natural creation. Limestone falls in the middle range. Marble is denser but still highly reactive to acidic substances, which cause a chemical reaction known as etching that clouds and dulls the surface permanently if left untreated.
How sealing works and which type to choose
A sealer does not make stone waterproof. It creates a hydrophobic barrier within the pores that slows liquid absorption and gives you time to act. The best sealant for stone tiles in most residential settings is an impregnating sealer, also called a penetrating sealer. Unlike topical sealers that sit on the surface and can peel or discolor over time, impregnating sealers bond with the mineral structure below the surface, protecting from within without altering the stone’s appearance or texture.
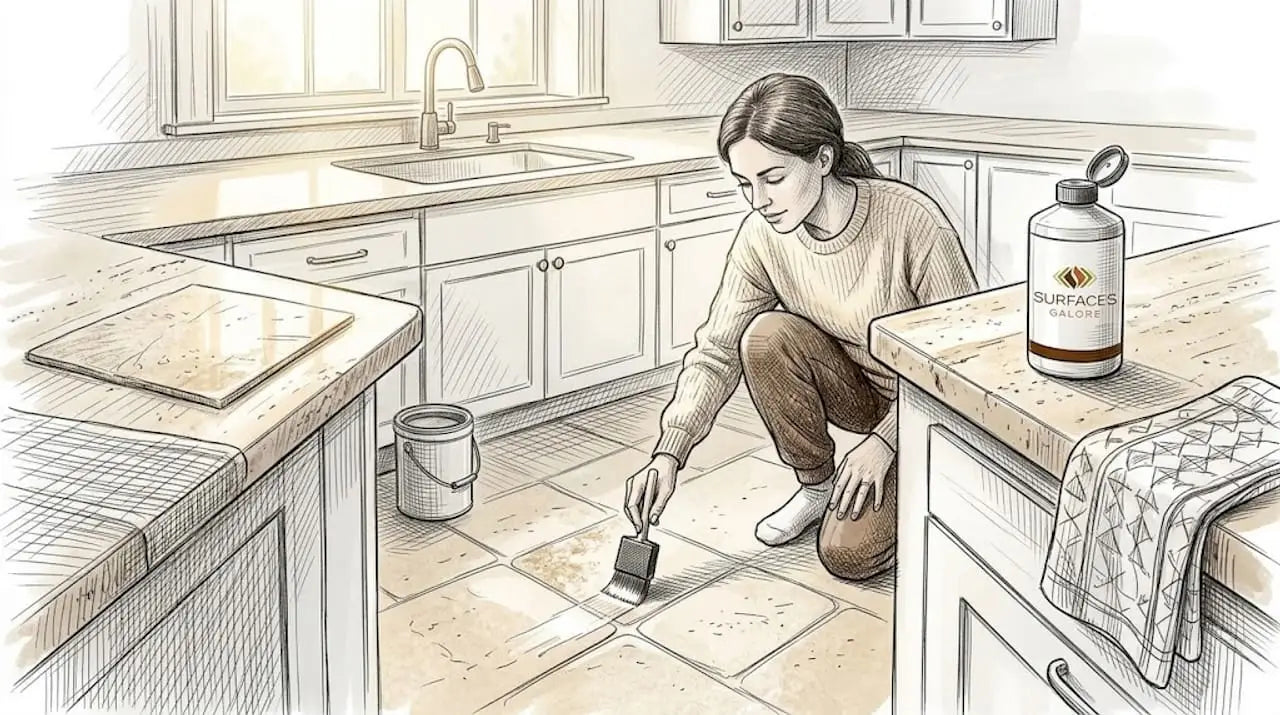
When choosing a product, look for one labeled specifically for marble, limestone, or travertine. General-purpose sealers may not provide sufficient protection for softer, more reactive stones. Always test in an inconspicuous area first to confirm the product does not darken or cloud the stone. For a deeper look at why this step matters so much, Surfacesgalore’s guide on sealing natural stone covers the full benefits for kitchens and bathrooms specifically.
Sealing frequency and how to verify protection
| Stone type and location | Recommended sealing frequency |
|---|---|
| Kitchen countertop (granite or marble) | Every 1 to 3 years |
| Bathroom stone tile | Every 3 to 5 years |
| High-traffic stone floors | Every 1 to 2 years |
| Outdoor stone surfaces | Annually |
The water bead test is the most reliable way to check whether your sealer is still active. Sprinkle a small amount of water on the stone surface and watch what happens. If the water beads up and rolls off, the sealer is working. If it absorbs and darkens the stone within a few minutes, it is time to reseal. Run this test every six months in high-use areas like kitchen floors and shower walls.
Pro Tip: Apply sealer to a completely dry and clean surface. If you seal over moisture or residue, the sealer bonds improperly and provides far less protection than it should.
Choosing the right cleaning products and tools
What never to use on natural stone
This is where the most common and most damaging mistakes happen. Vinegar and lemon juice are acidic and cause permanent etching and dullness on marble, limestone, and travertine, even with a single application. Many homeowners turn to these products because they seem natural and effective on other surfaces. On natural stone, they react chemically with calcium carbonate in the rock, dissolving the surface layer and leaving dull, rough patches that no polish fully restores.
The same warning applies to bleach-based cleaners, ammonia products, and anything marketed as a heavy-duty tile cleaner without stone-specific labeling. Acidic or harsh cleaners also break down the sealer itself over time, leaving the stone progressively more vulnerable with each cleaning cycle. Cleaning expert Robin Murphy puts it plainly: “natural” does not mean safe for stone. Only pH-neutral, stone-specific cleaners with a pH range of 6.5 to 7.5 protect stone integrity.
What to use instead
For everyday maintenance, look for products explicitly labeled for natural stone. These are typically pH-neutral, stone-safe formulas that clean without reacting with the mineral surface. A few practical guidelines:
- Use a flat microfiber mop for floors rather than string mops, which retain dirty water and spread it unevenly across the surface.
- Dilute concentrated stone cleaners exactly as directed. More product does not mean more cleaning power. It means more residue.
- Always rinse the surface with clean water after mopping to remove any cleaner residue, which can dull the finish if left to dry.
- Avoid abrasive scrubbing pads entirely. A soft cloth or a non-scratch sponge is all you need for most stone cleaning tasks.
Pro Tip: Keep a spray bottle of diluted stone-safe cleaner and a microfiber cloth near your kitchen and bathroom stone surfaces. Fast, low-effort cleaning immediately after cooking or bathing beats any deep-cleaning session later.
Grout lines around natural stone tiles require just as much care as the stone itself. Harsh grout cleaners often splash onto adjacent stone, and some products contain acids that etch stone on contact. Surfacesgalore’s article on cleaning marble grout safely walks through which tools and products to use without putting the stone at risk. For a broader approach to natural tile and grout cleaning, this guide on stone-safe cleaners covers effective options that protect rather than damage the surface.
Daily habits that protect your stone long-term
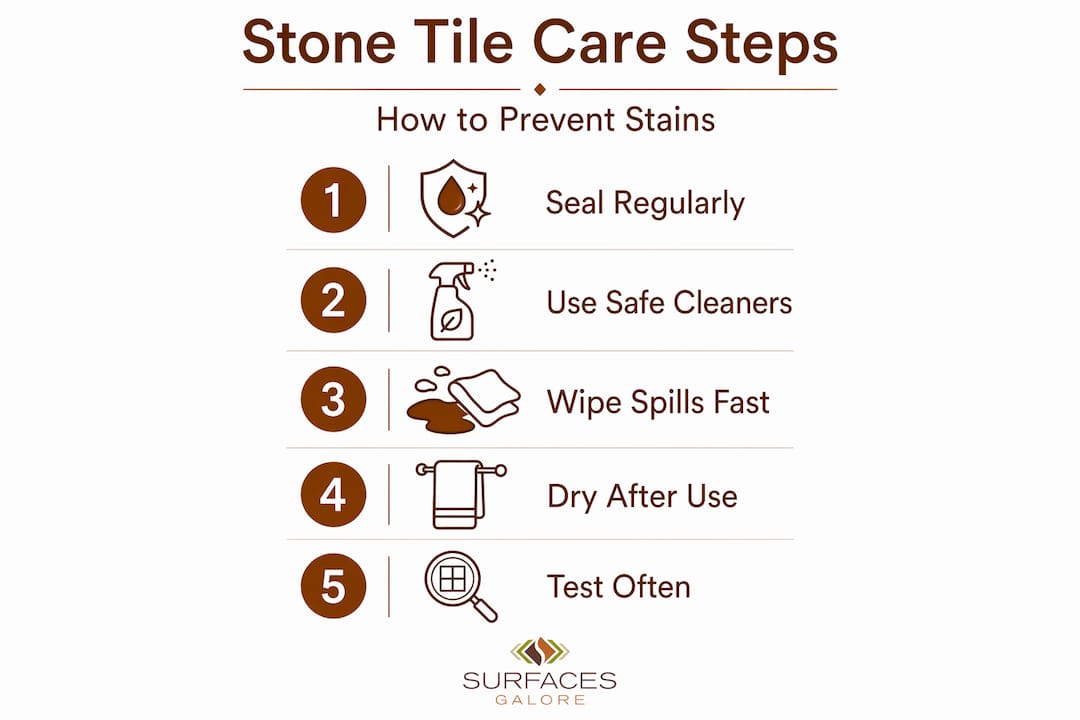
The most underappreciated part of how to protect stone floors has nothing to do with products. It has everything to do with behavior. The professionals at NextGen Surface Care make this point clearly: behavioral practices like using mats and coasters are often more effective at preserving finish than any sealer application. Here is how to build those habits into your daily routine.
-
Blot spills immediately, never wipe. Wiping spreads the liquid across a larger surface area and pushes it into adjacent pores. Blotting lifts it up. Penetrating sealers give you roughly 30 minutes before liquid penetrates, which sounds generous until you forget a spill and come back an hour later.
-
Place entry mats at every doorway. Dust, grit, and sand tracked in on shoes act like sandpaper on stone surfaces. A good mat catches most of this before it reaches your floor. Sweep or vacuum stone floors daily in high-traffic areas, using a soft-bristle attachment to avoid micro-scratches.
-
Use coasters under every drink container and trivets under metal objects. Standard household items like metal canisters, plant pots, and decorative objects can leave “ghost” mineral stains over time as metal residue migrates into stone in humid environments. A simple mat or coaster completely prevents this.
-
Use the squeegee method in stone showers. After every shower, run a squeegee across the stone walls and floor to remove standing water. The squeegee method physically removes the water that causes mineral buildup and hard water stains. Many homeowners assume those white cloudy deposits are permanent stains, but they are usually calcite deposits from standing water that prevention eliminates entirely.
-
Avoid setting hot items directly on stone surfaces. While thermal shock is less of a concern for stone than for some synthetic surfaces, the residue from the bottom of pots and pans is a real staining risk on kitchen stone countertops.
Pro Tip: Keep a small squeegee mounted inside every stone-tiled shower. The 10 seconds it takes after each use is the single most effective thing you can do to prevent mineral buildup without any cleaning products at all.
For a comprehensive look at daily cleaning practices specific to marble flooring, the Surfacesgalore guide on marble floor care is worth bookmarking alongside this article.
Advanced stain prevention and troubleshooting
Using the poultice method when a stain gets through
Even with perfect habits, stains happen. When they do, the poultice method is your most reliable tool for drawing embedded stains out of porous stone. The process works through capillary action: the paste draws the staining agent upward and out of the pores as it dries.
Here is how to apply it correctly:
- Identify the stain type. Oil-based stains respond to poultices made with baking soda and dish soap. Organic stains like coffee, wine, and food typically respond to hydrogen peroxide mixed with a white absorbent powder. Ink stains may require acetone-based poultice.
- Mix the poultice to a peanut butter consistency. Apply it in a layer approximately 1/4 inch thick over the entire stained area, extending slightly beyond the stain’s edges.
- Cover the paste with plastic wrap and tape down all edges to slow the drying process. This extends the drawing action.
- Leave undisturbed for 24 to 48 hours. Remove the dried paste with a plastic scraper, never metal. Rinse thoroughly with clean water and a stone-safe cleaner.
- Repeat if the stain is still visible. Some deep stains require two or three applications.
Resealing after stain removal and verifying ongoing protection
After using any chemical stain remover, the sealer in that area is compromised. The stone must dry for a full 24 to 48 hours before you apply fresh sealer to the affected area. Sealing over damp stone results in poor bonding and leaves the stone vulnerable again almost immediately.
Run the water bead test on that area specifically after resealing to confirm the product bonded correctly.
Common mistakes that undermine stone protection
| Mistake | Why it causes damage |
|---|---|
| Steam cleaning stone floors | High heat and moisture force water into pores and can compromise sealer bonds |
| Using general-purpose cleaners | Many contain acids or harsh detergents that etch and break down sealer |
| Skipping the water bead test | Sealer failure goes unnoticed until a stain occurs |
| Applying sealer to damp stone | Prevents proper bonding, leaving protection gaps |
| Wiping spills instead of blotting | Spreads liquid and pushes it into more pores |
| Using the same mop water for large areas | Dirty mop water re-deposits grime and residue on stone |
Natural stone tile care is not complicated, but the margin for error is smaller than most homeowners expect. A wrong product used once or a habit skipped for a few months can create damage that takes real effort to address. The prevention side is always easier than the restoration side.
My honest take on what actually protects stone
In my experience working with natural stone tile, the gap between what people know and what people do is the root cause of most stained and damaged stone surfaces. Homeowners spend real money on the right sealer, apply it once, and then reach for vinegar-based spray cleaners because they’re already in the cabinet. That single habit undoes months of protection.
What I’ve found actually works long-term is treating stone maintenance as two separate disciplines. The first is product discipline: knowing exactly which cleaners you’ll use, having them accessible, and removing anything from the home that could accidentally be used on stone. The second is behavioral discipline: the mats, the squeegee, the coasters, the immediate blotting. These habits cost nothing and provide more consistent protection than any product on the market.
I’ve also learned that most people skip the water bead test because it feels optional. It’s not. Running that test every six months catches sealer failure before a stain does. I’ve seen homeowners discover their sealer had broken down months earlier only after a spill stained a countertop they thought was protected.
The poultice method is genuinely effective when applied correctly, but I’ll be honest: it is slow and requires patience. The bigger lesson it teaches is that prevention is far less work than cure. A 30-second blot and a quick squeegee after a shower take a fraction of the effort that removing an embedded stain requires.
Surfacesgalore is a resource I point people toward not just for stone tile selection but for ongoing maintenance guidance. The depth of their content reflects genuine expertise in how these materials perform over time, and that perspective matters when you’re maintaining a significant investment.
— cihan
Protect your stone with the right products and expertise
Surfacesgalore has helped homeowners and property managers across the country source and maintain premium marble, limestone, and travertine tile for decades. Quality stone deserves quality care, and getting both right from the start is what makes the difference.

Whether you’re choosing your first natural stone installation or looking to refresh an existing surface, Surfacesgalore offers expert guidance on stone tile collections and maintenance resources to keep them looking their best. From selecting the right impregnating sealer to understanding which cleaning products are safe for your specific stone type, the team at Surfacesgalore is ready to help you make decisions that protect your investment for years to come. Browse the catalog or reach out directly for personalized advice.
FAQ
What is the best sealant for stone tiles?
An impregnating (penetrating) sealer is the best choice for marble, limestone, and travertine. It bonds within the pores rather than sitting on the surface, providing durable protection without altering the stone’s appearance.
How often should I reseal natural stone tile?
Kitchen stone typically needs resealing every one to three years, while bathroom stone can go three to five years between applications. Run the water bead test every six months to know exactly when your stone needs attention.
Can I use vinegar to clean natural stone floors?
No. Vinegar is acidic and causes permanent etching and dullness on marble, limestone, and travertine, even with a single use. Use only pH-neutral cleaners with a pH range of 6.5 to 7.5 that are labeled safe for natural stone.
How do I remove a stain from natural stone that has already set?
Apply the poultice method: mix an absorbent powder with a cleaning agent suited to the stain type, spread it 1/4 inch thick over the stain, cover with plastic wrap, and leave for 24 to 48 hours. Rinse completely and reseal the area once the stone is fully dry.
How can I prevent mineral buildup in a stone shower?
Use a squeegee on stone shower walls and floors after every use to physically remove standing water before it dries and deposits minerals. This prevents the white, cloudy buildup that is commonly mistaken for permanent staining.


Leave a comment