
Troubleshooting Marble Floors: Restore Shine and Strength

Most American homes in Southern California with marble floors experience some form of etching or discoloration within the first five years. This delicate stone can quickly lose its luster if exposed to acidic spills, harsh cleaners, or heavy foot traffic. Knowing how to assess and address marble floor problems is key for any homeowner tackling renovations. Learn the signs of common damage and discover practical ways to protect your investment and keep your floors looking pristine.
Table of Contents
- Step 1: Assess Marble Floor Damage And Issues
- Step 2: Prepare Workspace And Gather Necessary Supplies
- Step 3: Clean Marble Floors Using Recommended Methods
- Step 4: Repair Chips, Cracks, And Stains On Marble
- Step 5: Restore Marble Shine And Protect Surface
- Step 6: Verify Finished Results And Maintain Quality
Quick Summary
| Key Insight | Explanation |
|---|---|
| 1. Thoroughly Inspect for Damage | Conduct a detailed visual inspection to identify issues like etching, pitting, and discoloration prior to restoration. |
| 2. Use Appropriate Cleaning Supplies | Gather non-abrasive tools and pH neutral cleaners to protect marble surfaces during cleaning. |
| 3. Employ Effective Repair Techniques | Use specialized marble repair kits for cracks and stains, ensuring proper application for effective restoration. |
| 4. Polish and Seal Regularly | Apply professional-grade polishing powder and sealant to maintain shine and protection against stains after restoration. |
| 5. Maintain a Regular Cleaning Schedule | Develop a maintenance log and establish routine cleaning to preserve the marble’s condition and appearance over time. |
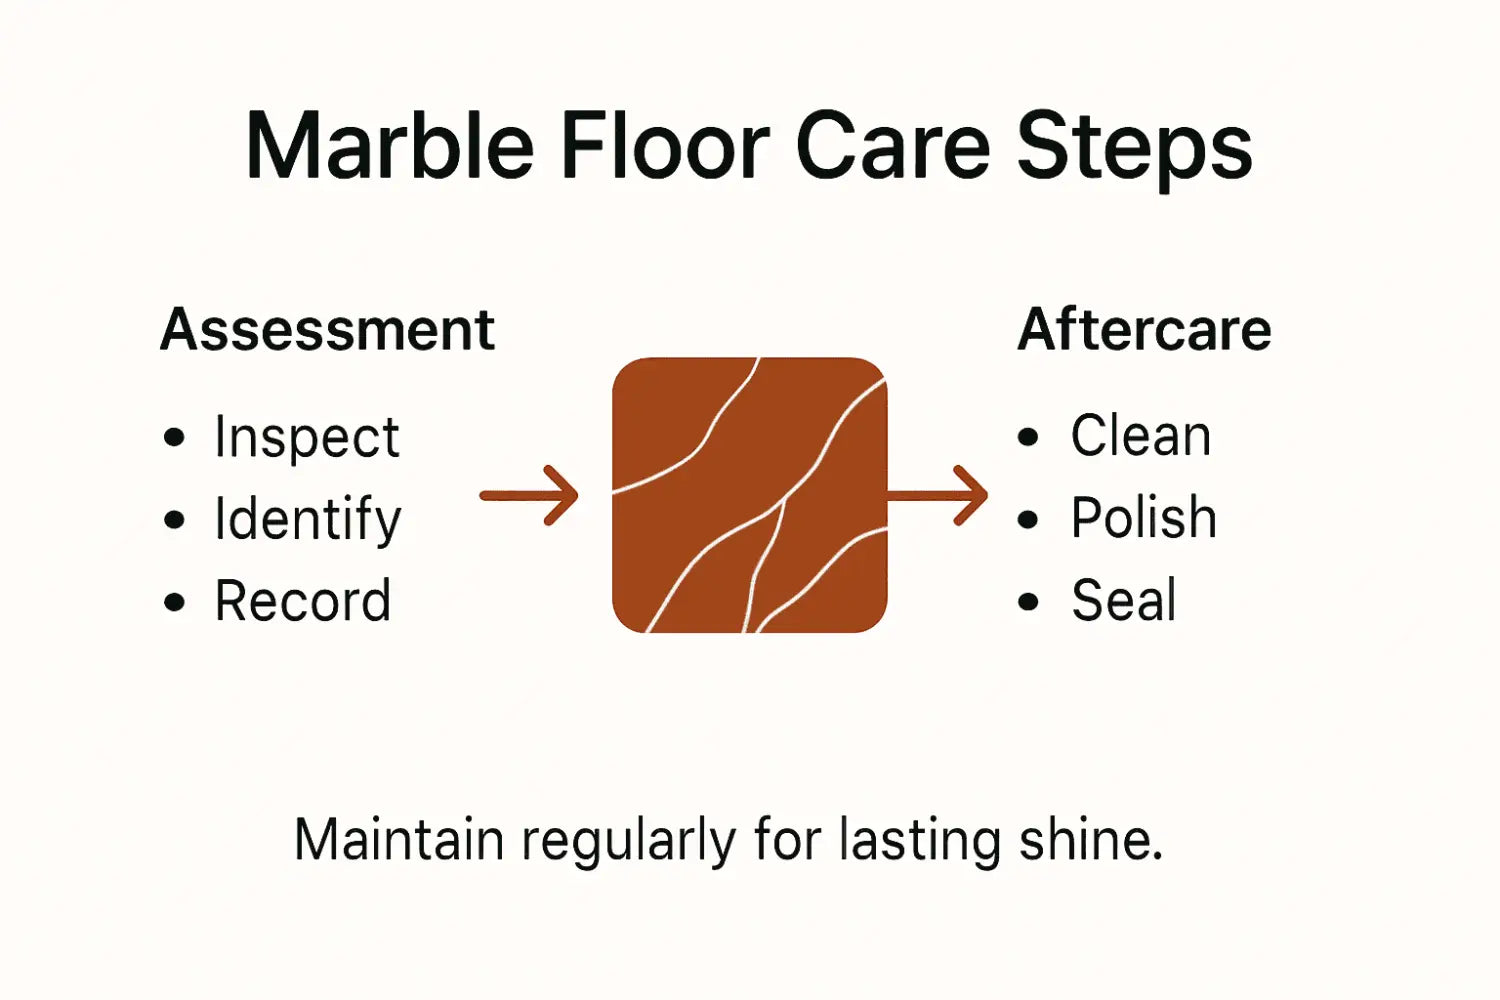
Step 1: Assess marble floor damage and issues
Evaluating the condition of your marble floors requires careful observation and understanding of potential damage types. Marble is a beautiful yet delicate natural stone that can suffer various forms of deterioration from environmental and chemical interactions.
Start by conducting a systematic visual inspection of your marble floors. Look for telltale signs of damage such as discoloration, etching, surface pitting, or unusual texture changes. Pay close attention to high traffic areas and spots near potential chemical exposure like entryways or kitchen spaces. Common deterioration patterns include surface dissolution and discoloration caused by atmospheric pollutants, which can gradually compromise your marble’s structural integrity.
Check for specific damage indicators like white powdery residue suggesting mineral breakdown, hairline cracks indicating structural stress, or dull patches revealing acid erosion. Acidic substances such as wine, citrus juices, or cleaning products can rapidly dissolve marble surfaces, creating permanent damage. Understanding these potential risks helps you develop a proactive maintenance strategy to preserve your marble floors.
Pro tip: Use a bright flashlight during your inspection to reveal subtle damage that might be invisible under normal lighting conditions.
Here’s a summary of typical marble floor issues and their potential causes:
| Damage Type | Visual Indicators | Common Causes |
|---|---|---|
| Etching | Dull or faded areas | Acidic spills, citrus, wine |
| Surface Pitting | Small depressions | Abrasion, chemical reactions |
| Discoloration | Yellow or gray stains | Water, cleaning residues |
| Cracking | Fine lines visible | Structural stress, impact |
| Mineral Breakdown | White powder residue | Moisture, environmental acids |
Step 2: Prepare workspace and gather necessary supplies
Before beginning your marble floor restoration project, you need a well-organized workspace and the right equipment. Proper preparation involves selecting appropriate cleaning supplies and ensuring a safe working environment that protects both your marble surfaces and personal safety.
Start by collecting specialized marble cleaning tools and protective gear. Essential supplies include soft microfiber cloths, non abrasive cleaning pads, pH neutral stone cleaners, protective gloves, safety glasses, and several clean buckets. Carefully select cleaning products that are specifically formulated for natural stone surfaces, avoiding harsh chemicals that might damage your marble. Organize your supplies in a clean staging area near your marble floor to minimize unnecessary movement and potential accidental spills.
Ensure your workspace is well ventilated and clear of furniture or obstacles that might interfere with your restoration process. Cover nearby surfaces with drop cloths to prevent accidental splashing or contamination. Group your cleaning solutions and tools systematically to create an efficient workflow that allows you to move smoothly between different restoration steps.
Pro tip: Always test new cleaning products on a small inconspicuous marble area first to verify compatibility and prevent potential surface damage.
Here’s a quick reference for marble restoration supplies and their function:
| Supply Item | Main Purpose | Key Benefit |
|---|---|---|
| Microfiber Cloths | Gentle cleaning | Prevents surface scratches |
| pH Neutral Cleaner | Safe stain removal | Maintains marble integrity |
| Marble Repair Epoxy | Filling chips/cracks | Restores structure |
| Polishing Powder | Shine restoration | Enhances reflectivity |
| Sealant | Protective coating | Guards against stains |
Step 3: Clean marble floors using recommended methods
Cleaning marble floors requires a gentle yet systematic approach to preserve their natural beauty and prevent potential damage. Effective cleaning involves using the right combination of soap, water, and gentle techniques to remove impurities without compromising the stone’s delicate surface.
Begin by sweeping or vacuuming the marble floor to remove loose dirt and debris. Create a cleaning solution using warm water and a pH neutral stone cleaner specifically designed for marble surfaces. Use a soft microfiber mop or cloth, ensuring it is damp rather than soaking wet to prevent water penetration into the stone. For persistent oil or fat based stains, specialized poulticing techniques can help extract embedded substances without causing additional discoloration.
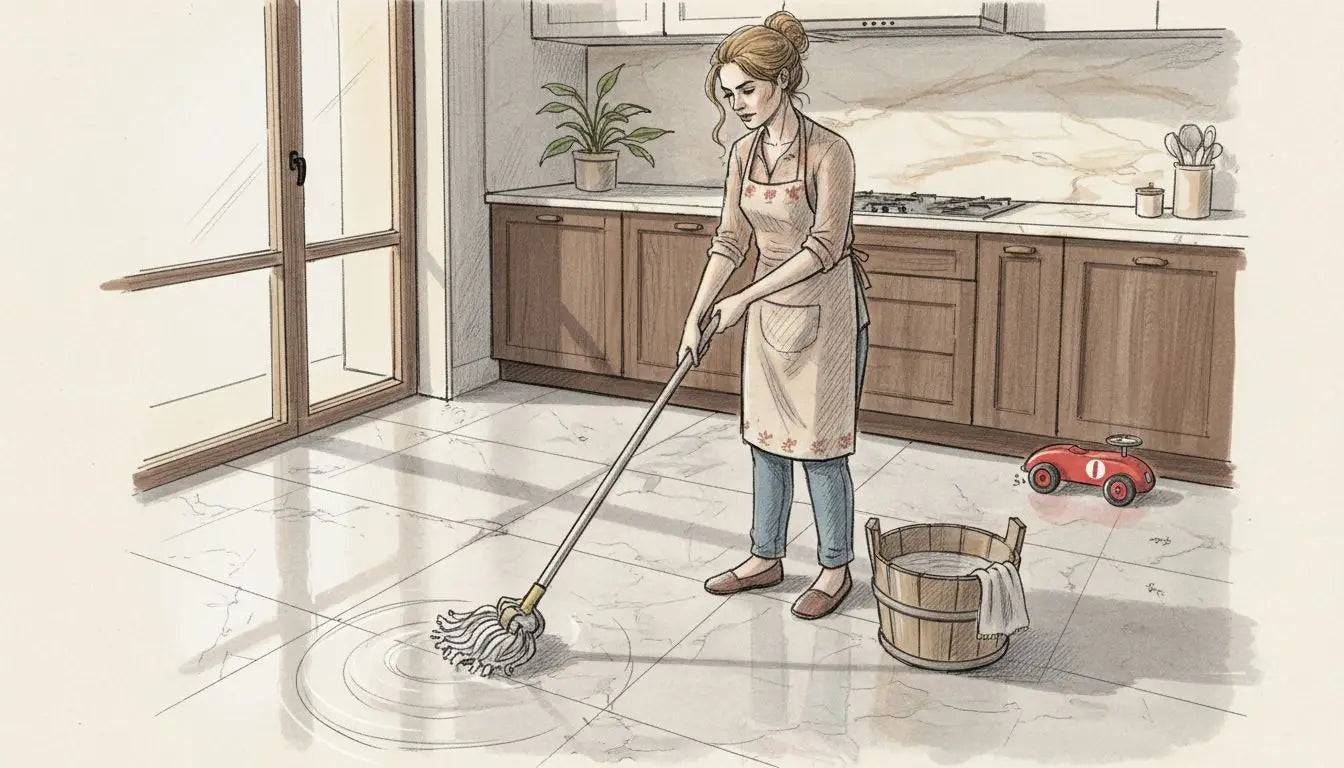
Work in small sections, moving your mop in gentle circular motions to lift dirt without scratching the surface. Rinse your cleaning tool frequently to prevent redistributing dirt. After cleaning, use a dry microfiber cloth to buff the marble and remove any remaining moisture, which helps prevent water spots and maintains the stone’s natural shine.
Pro tip: Always wring out your mop or cloth thoroughly to ensure it is only slightly damp, preventing water from seeping into marble’s porous structure.
Step 4: Repair chips, cracks, and stains on marble
Repairing marble surfaces requires precision and careful technique to restore their original beauty without causing additional damage. Understanding the underlying chemical processes that lead to marble degradation helps develop more effective repair strategies.
For small chips and minor cracks, use a marble repair kit with color matched epoxy designed specifically for natural stone surfaces. Clean the damaged area thoroughly with rubbing alcohol to remove any debris and ensure proper adhesion. Specialized crack repair techniques like epoxy injection can help restore structural integrity and prevent further damage progression. Apply the epoxy carefully using a small applicator or putty knife, ensuring you fill the entire damaged area without overfilling. Allow the repair material to cure completely according to manufacturer instructions before buffing the surface smooth.
For stain removal, create a poultice using baking soda and water to draw out embedded discolorations. Apply the mixture to the stained area, cover with plastic wrap, and let it sit for 24 to 48 hours. The poultice will help extract oils and other substances that have penetrated the marble surface. Once removed, clean the area with a soft cloth and inspect the results.
Pro tip: Always test repair materials on an inconspicuous area first to ensure color matching and compatibility with your specific marble surface.
Step 5: Restore marble shine and protect surface
Understanding the crystalline structure of marble is essential for effectively restoring its natural shine and protecting its delicate surface. Professional marble restoration involves a multi step process that goes beyond simple cleaning to rejuvenate the stone’s original luster.
Begin by using a professional grade marble polishing powder and a soft buffing pad to gently restore the surface shine. Work in small circular motions, applying moderate pressure to gradually bring out the marble’s natural reflectivity. Carefully address acid damage and surface deterioration by using specialized polishing techniques that do not compromise the marble’s structural integrity. After polishing, apply a high quality marble sealant to create a protective barrier against future stains and wear. This sealant helps prevent liquid penetration and maintains the stone’s pristine appearance.
Allow the sealant to dry completely according to manufacturer instructions, typically requiring 24 to 48 hours before returning furniture or experiencing heavy foot traffic. Periodic resealing every 6 to 12 months will help maintain the marble’s protective layer and preserve its beautiful shine.
Pro tip: Select a marble sealant specifically designed for your marble type to ensure maximum protection and optimal aesthetic results.
Step 6: Verify finished results and maintain quality
Systematic quality control processes are critical to ensure your marble floor restoration meets professional standards and maintains long lasting aesthetic appeal. Thoroughly inspect your restored marble surface under different lighting conditions to evaluate the overall finish and identify any potential imperfections.
Conduct a comprehensive visual assessment by examining the marble surface from multiple angles and distances. Check for uniform shine, consistent color, and smooth texture across the entire floor. Pay special attention to edges, corners, and high traffic areas where restoration might reveal subtle variations. Use a bright flashlight to highlight any remaining scratches, uneven polishing, or areas that might require additional treatment. Run your hand gently across the surface to confirm the smoothness and ensure no rough patches remain.
Establish a regular maintenance schedule to preserve your newly restored marble floor. This includes daily dust mopping, weekly damp mopping with pH neutral cleaner, and periodic professional inspection every 6 to 12 months. Document your restoration process and take before and after photographs to track the improvements and maintain a record of your marble floor maintenance.
Pro tip: Create a maintenance log to track cleaning dates, products used, and any professional treatments to help monitor your marble floor’s long term condition.
Restore Your Marble Floors with Confidence and Style
Struggling with marble floor damage like etching, surface pitting, or dullness can be frustrating and disheartening. The article “Troubleshooting Marble Floors: Restore Shine and Strength” highlights key challenges such as acid damage, cracks, and stubborn stains that threaten the beauty and durability of your marble surfaces. If you are aiming to bring back the natural shine, repair cracks and chips, and protect your floors long term, partnering with a trusted stone supplier is essential.
At Surfaces Galore, we understand the importance of using authentic, premium natural stone that not only looks elegant but stands the test of time. Whether you plan to replace damaged tiles or complete a new project, our extensive selection of marble and travertine tiles combined with expert advice empowers you to achieve stunning results. Let us help you turn your marble floor restoration goals into reality by providing durable, high-quality materials.

Don’t wait until minor chips or discoloration worsen. Visit Surfaces Galore now to explore our wide range of marble products that can transform your space and restore lasting beauty. Whether you are a homeowner, architect, or contractor, our team is ready to support your project with premium stone and dedicated service. Begin your journey toward flawless marble floors today.
Frequently Asked Questions
How can I assess marble floor damage effectively?
Evaluating your marble floors requires a thorough visual inspection. Look for signs like discoloration, etching, or cracks, especially in high-traffic areas and spots exposed to chemicals. Use a bright flashlight to highlight subtle damage.
What supplies do I need for marble floor restoration?
To restore your marble floors, gather soft microfiber cloths, pH neutral cleaners, and marble repair kits. Ensure you also have safety gear like gloves and glasses, and organize your supplies in a well-ventilated area for an efficient workflow.
How do I clean marble floors without damaging them?
Clean marble floors using a damp microfiber mop with a solution of warm water and a pH neutral cleaner. Avoid excessive moisture, and use gentle circular motions while cleaning to prevent scratches on the surface.
What steps should I take to repair chips and stains on my marble?
For small chips, use a color-matched epoxy to fill the damaged area after cleaning it properly. To treat stains, apply a poultice made of baking soda and water, cover it for 24 to 48 hours, and then clean the area with a soft cloth.
How can I restore the shine to my marble floors?
To restore shine, use a professional-grade marble polishing powder with a soft buffing pad in small circular motions. Follow this with a sealant application to protect the surface and enhance its luster.
What maintenance should I regularly perform on my marble floors?
Establish a maintenance routine that includes daily dust mopping and weekly damp mopping with a pH neutral cleaner. Also, schedule a professional inspection every 6 to 12 months to maintain the floors’ appearance and integrity.
Leave a comment