
Kitchen Backsplash Tips for a Stunning, Lasting Finish

TL;DR:
- Choosing sealed natural stone like marble or travertine ensures durability and easy maintenance for kitchen backsplashes. Proper layout planning, neutral grout, and use of thin-set mortar over properly prepared walls lead to a professional and long-lasting installation. Avoid unsealed porous materials and white grout to prevent staining and optimize the backsplash’s appearance and lifespan.
Kitchen backsplash tips are practical guidelines that help homeowners and DIY enthusiasts select materials, plan layouts, and install tile correctly the first time. A well-executed backsplash protects your walls from grease and moisture while defining the visual character of your kitchen. The difference between a backsplash that looks professional and one that looks rushed comes down to four decisions: material, layout, grout, and installation prep. Get those right, and you have a surface that holds up for decades. Get them wrong, and you are looking at a redo within a few years.
1. What are the best materials for kitchen backsplashes?
Material choice is the single most consequential decision in any backsplash project. The wrong material looks dated quickly, stains permanently, or demands constant maintenance that most homeowners never signed up for.

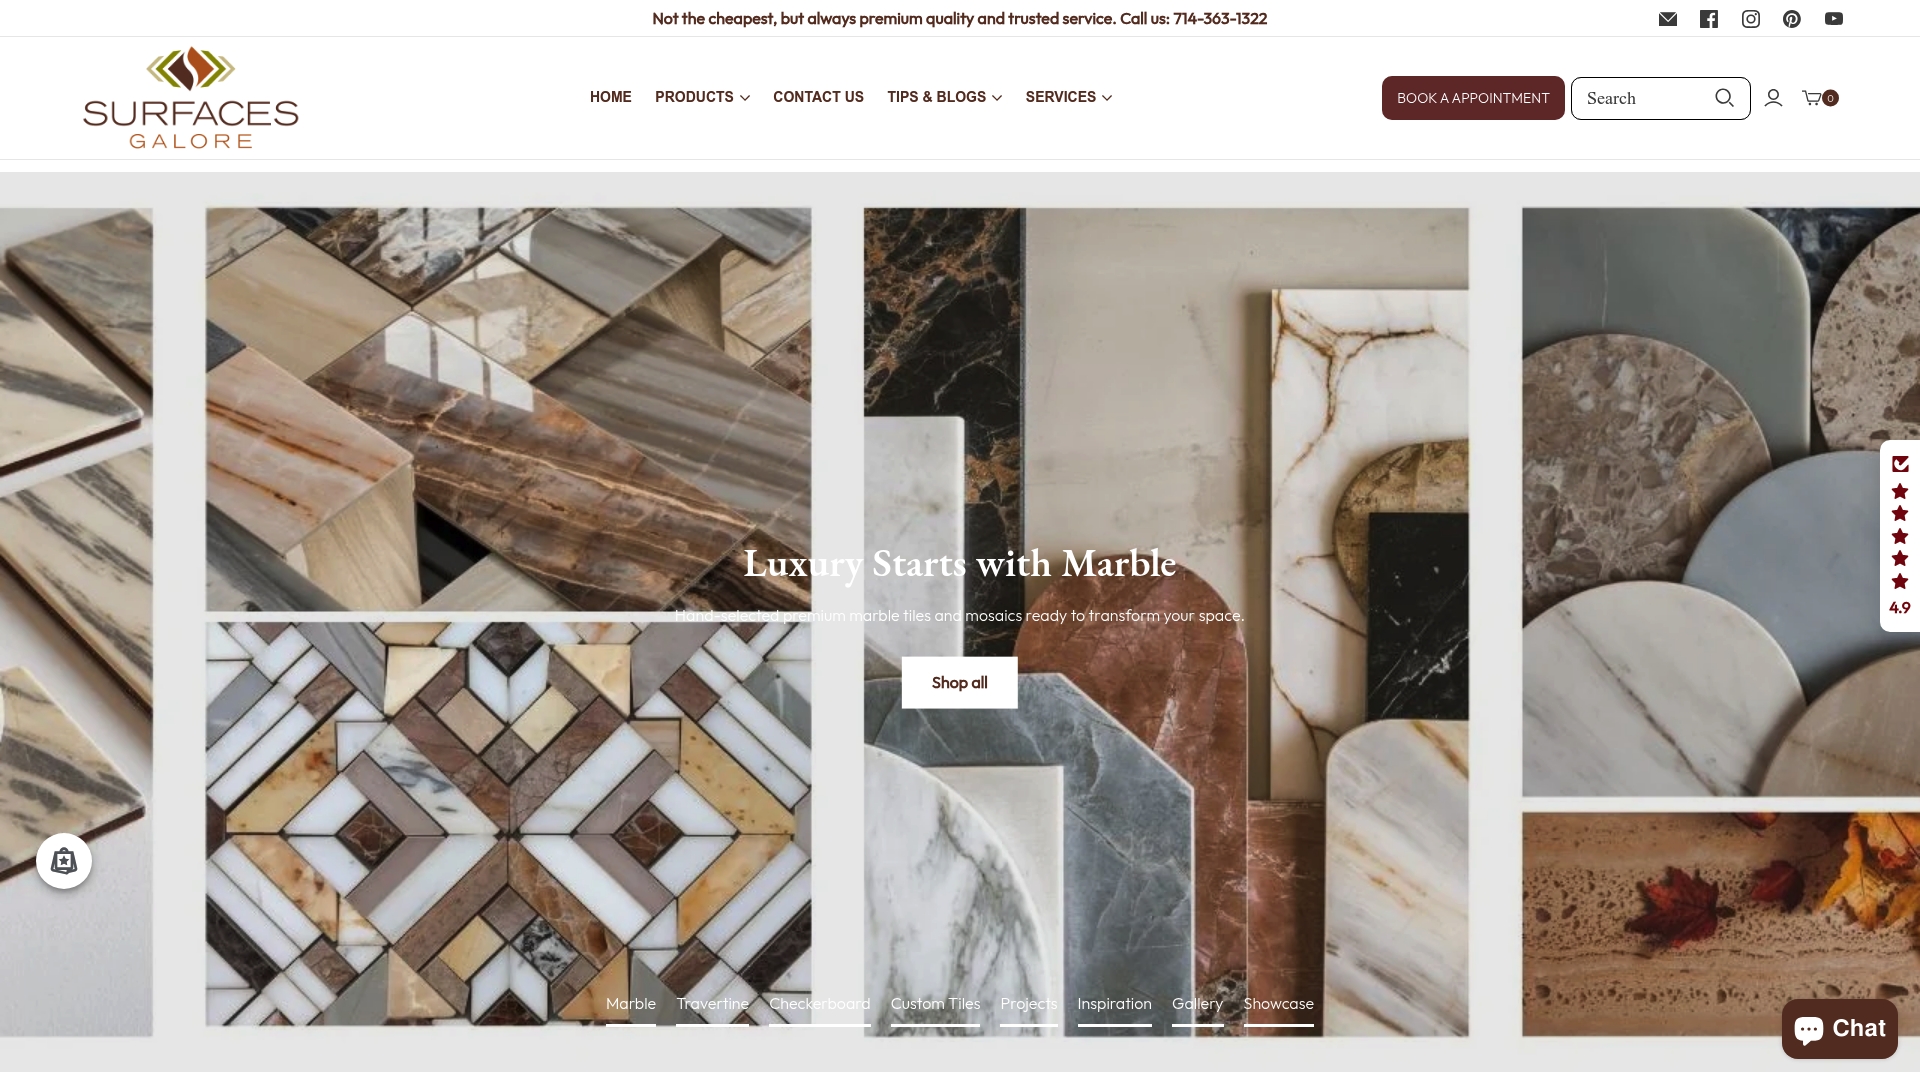
Natural stone is the gold standard for kitchens that need to balance beauty and durability. Marble delivers a classic, veined look that works in both traditional and contemporary kitchens. Travertine adds warmth and texture, making it a strong choice for Mediterranean or transitional styles. Sealed limestone offers a matte, earthy finish that pairs well with wood cabinetry. Surfacesgalore specializes in all three, sourcing directly from quarries to keep prices accessible without sacrificing quality.
Glass and metal tiles are popular for their reflective quality, but they show fingerprints and water spots more than stone does. They also chip more easily along edges. If you choose glass, plan on wiping it down more frequently than you would a honed marble or travertine surface.
Avoid porous backsplash materials like unsealed cement or raw limestone. These absorb cooking oils and steam, and the staining becomes irreversible over time. Sealing is not optional with natural stone. It is the step that separates a surface that ages gracefully from one that looks neglected within a year.
Slab backsplashes are one of the strongest high-end backsplash trends in 2026. A continuous stone slab eliminates grout lines entirely, which means fewer places for grease to collect and a cleaner visual line from counter to cabinet. Marble and quartzite slabs are the most common choices for this application.
- Marble: Elegant, veined, and timeless. Requires sealing every 1–2 years.
- Travertine: Warm, textured, and forgiving of minor imperfections. Seal before grouting.
- Limestone: Matte finish, earthy tones. Must be sealed before installation.
- Glass tile: Reflective and modern. Shows smudges easily.
- Metal tile: Industrial look. Prone to scratching and water spotting.
- Cement tile: Avoid in kitchens. Absorbs grease and stains permanently.
Pro Tip: Match your backsplash material to your countertop’s visual weight. A dramatic countertop calls for a simple backsplash. Neutral countertops give you room to use a bolder tile pattern or texture.
2. How to plan the backsplash layout for a professional look
Layout planning separates DIY projects that look professional from those that look amateur. The most common mistake is starting at one corner and tiling straight across. That approach almost always produces thin, awkward cuts at the opposite end.
The correct method starts at the center of the wall or at the most visible focal point, such as the area directly behind the range. From there, you work outward in both directions. This keeps the largest, most symmetrical tiles at the center of attention and pushes any necessary cuts to the edges where they are less visible.
Step-by-step layout planning
- Measure the wall area. Calculate square footage and add 10% for cuts and breakage. Professional installation costs $15–$40 per square foot, so accurate measurement protects your budget whether you hire out or DIY.
- Mark the center line. Use a level and pencil to draw a vertical center line on the wall. This is your starting point.
- Do a dry layout on the counter. Lay tiles flat on the countertop before applying any adhesive. This lets you visualize the pattern and spot any awkward cuts before they are permanent.
- Place tile spacers. Use consistent spacers (typically 1/16 inch for natural stone) to maintain even grout joints throughout.
- Plan around outlets. Mark outlet locations on your dry layout. You will need outlet box extenders to bring electrical boxes flush with the new tile surface.
- Identify where trim pieces go. Bullnose tiles or metal edge trim finish exposed edges cleanly. Plan these before you start cutting.
| Layout Step | Why It Matters |
|---|---|
| Center-line marking | Keeps symmetry and avoids thin edge cuts |
| Dry layout on counter | Catches pattern problems before adhesive is applied |
| Tile spacers | Maintains consistent grout joint width |
| Outlet planning | Prevents costly rework after tiles are set |
| Trim piece placement | Creates a finished, professional edge |
Pro Tip: If your tile pattern includes a mosaic or herringbone design, lay out the tile on the floor first to confirm the pattern direction before committing to the wall.
3. Choosing grout color and type: tips to enhance durability and aesthetics
Grout is not an afterthought. It covers roughly 15–20% of the visible backsplash surface, and the wrong color or type will undermine even the most beautiful tile selection.
Color choice matters more than most homeowners expect. White grout discolors quickly in kitchens because of cooking grease, steam, and daily splatter. Neutral grays, warm beiges, and charcoal tones hide stains far better and require less frequent deep cleaning. Matching your grout color to the tile creates a uniform, expansive look. Contrasting grout draws attention to the tile pattern and individual tile shapes.
Sanded vs. unsanded grout is a practical decision based on joint width. Use unsanded grout for joints under 1/8 inch. Use sanded grout for joints 1/8 inch and wider. Using the wrong type causes cracking or shrinkage over time.
- Unsanded grout: Best for narrow joints and polished stone. Will not scratch delicate surfaces.
- Sanded grout: Best for wider joints and textured tile. More durable under movement.
- Epoxy grout: Highly stain-resistant and waterproof. Harder to apply but worth it near the range.
Sealing grout after installation is non-negotiable for kitchens. A penetrating sealer applied within 72 hours of curing protects the grout from oil and moisture absorption. Reapply the sealer annually for best results. For mosaic grout selection on premium stone, a color-matched epoxy grout often delivers the cleanest long-term result.
Homeowners who choose white grout for kitchen backsplashes consistently report regret within the first year. Neutral and darker grout tones are the practical choice for any surface near a cooking area.
How to clean backsplash tiles and grout: Wipe tile surfaces weekly with a pH-neutral cleaner. Avoid vinegar or citrus-based cleaners on natural stone. They etch the surface. For grout lines, a soft-bristle brush with a baking soda paste removes buildup without damaging the sealer.
4. Installation essentials: preparation and techniques to ensure success
Wall preparation is where most DIY backsplash projects fail before the first tile goes up. A clean, flat, and primed surface is the foundation of a tile installation that holds for decades.
Preparing the wall surface
Start by removing all grease, paint residue, and loose material from the wall. Kitchen walls near the range accumulate invisible grease films that prevent adhesive from bonding properly. Wipe the entire surface with a degreasing cleaner and let it dry completely before proceeding.
Check the wall for flatness using a long level or straightedge. Dips or bumps greater than 1/4 inch over 10 feet need to be filled or sanded before tiling. Tiling over an uneven surface causes tiles to crack or pop off within months.
Installation steps that matter most
- Use thin-set mortar, not peel-and-stick. Peel-and-stick tiles fail within 1–3 years in kitchen environments because heat and humidity break down the adhesive. Thin-set mortar creates a permanent mechanical bond.
- Mix thin-set to the right consistency. It should hold a peak without slumping, similar to peanut butter. Too wet and tiles slide. Too dry and coverage is poor.
- Apply thin-set with a notched trowel. Use the notch size recommended for your tile format. Larger tiles need deeper notches for full coverage.
- Press and twist each tile into place. This collapses the ridges of thin-set and creates full contact across the tile back. Partial contact causes hollow spots that crack under impact.
- Install outlet box extenders before tiling. Substrate prep and outlet extensions are the most overlooked steps in DIY installations. Without them, your electrical boxes will sit recessed behind the tile surface, which is both a code violation and a visual problem.
- Use caulk, not grout, at expansion joints. Anywhere two surfaces meet at a change of plane, such as the counter-to-wall joint or inside corners, use flexible caulk. Grout cracks at these points because the surfaces move independently.
- Cut tiles with a wet saw. A wet saw produces clean, chip-free cuts on natural stone and ceramic. A score-and-snap cutter works for straight cuts on ceramic but will shatter stone tiles.
Pro Tip: For a step-by-step stone installation reference, review Surfacesgalore’s DIY guide before you start. It covers natural stone-specific details that generic tile guides miss, including sealing schedules and mortar selection by stone type.
Key takeaways
The most durable and visually successful kitchen backsplash projects combine sealed natural stone, center-out layout planning, neutral grout, and thin-set mortar installation over properly prepared walls.
| Point | Details |
|---|---|
| Material selection | Choose sealed natural stone like marble or travertine. Avoid unsealed porous materials. |
| Layout planning | Start from the center and do a dry layout before applying any adhesive. |
| Grout color | Use neutral or dark grout in kitchens. White grout discolors quickly near cooking areas. |
| Installation adhesive | Use thin-set mortar. Peel-and-stick adhesives fail within 1–3 years in kitchen conditions. |
| Wall preparation | Clean, degrease, and level the wall before tiling. Poor prep causes tiles to crack or detach. |
What I have learned from watching backsplash projects go wrong
Most backsplash regrets come from one of three decisions: choosing the wrong material, skipping the dry layout, or using white grout. I have seen all three play out in real kitchens, and the pattern is consistent.
The material mistake usually involves cement tile or unsealed stone. Both look stunning in the showroom and become maintenance nightmares within six months of daily cooking. The oils and steam from a working kitchen are relentless. Sealed marble or travertine handles that environment without complaint. Cement tile does not.
The dry layout skip is the most avoidable mistake. Homeowners get excited and want to start sticking tiles immediately. Then they reach the far edge and discover a two-inch sliver that looks completely wrong. Spending 30 minutes on a dry layout on the counter prevents hours of rework.
On grout color, the pull toward white is understandable. White feels clean and fresh. But in a kitchen, white grout is a daily reminder of everything you cooked last week. A warm gray or a greige tone that is close to the tile color is almost always the better long-term choice.
The trend toward slab backsplashes makes a lot of sense to me for exactly this reason. No grout lines means no grout maintenance. A continuous marble or quartzite slab behind the range is easier to wipe down than 200 individual tiles with joints between them. If your budget allows it, the slab approach is worth serious consideration.
Plan thoroughly. Buy 10% more material than you think you need. Seal everything before grouting. Those three habits will save you more time and money than any single product choice.
— cihan
Natural stone backsplash options at Surfacesgalore
Surfacesgalore carries a curated selection of marble, travertine, and limestone tiles, mosaics, and slab materials sourced directly from quarries and shipped nationwide from Anaheim, California. Whether you are planning a classic subway tile installation or a full natural stone backsplash for a kitchen renovation, the collection covers a wide range of formats, finishes, and price points.
Designers, contractors, and homeowners all shop Surfacesgalore for the same reason: authentic stone at direct-import prices. The team also provides installation guidance and material recommendations for projects of any scale. Browse the 2026 backsplash collections at Surfacesgalore to find the right stone for your kitchen.
FAQ
What is the best material for a kitchen backsplash?
Sealed natural stone, including marble, travertine, and limestone, delivers the best combination of durability and aesthetics for kitchen backsplashes. Avoid unsealed porous materials like cement tile, which absorb cooking oils and stain permanently.
How do I start a backsplash installation as a DIYer?
Start by cleaning and degreasing the wall, then mark a vertical center line and complete a dry layout on the counter before applying any adhesive. Use thin-set mortar rather than peel-and-stick tiles for a lasting bond.
What grout color works best for a kitchen backsplash?
Neutral or darker grout tones, such as warm gray or greige, hide stains far better than white grout in kitchen environments. White grout discolors quickly from cooking grease and requires frequent deep cleaning.
How much extra tile should I buy for a backsplash project?
Buy at least 10% more tile than your measured square footage to account for cuts, breakage, and pattern matching. Complex layouts or diagonal patterns may require up to 15% extra material.
How do I clean natural stone backsplash tiles?
Use a pH-neutral cleaner weekly and avoid vinegar or citrus-based products, which etch stone surfaces. Reseal grout lines annually and the stone itself every 1–2 years to maintain stain resistance.
Leave a comment