
Custom Tile Mosaic Creation Workflow for Stunning Results

Over half of american homeowners believe that a custom mosaic can instantly change the character of any room. Creating a stunning mosaic masterpiece depends on much more than artistic inspiration. From choosing premium materials to precise cutting and expert finishing, every step matters if you want a professional result. This guide simplifies the process and reveals how you can achieve a timeless design that stands out in any american space.
Table of Contents
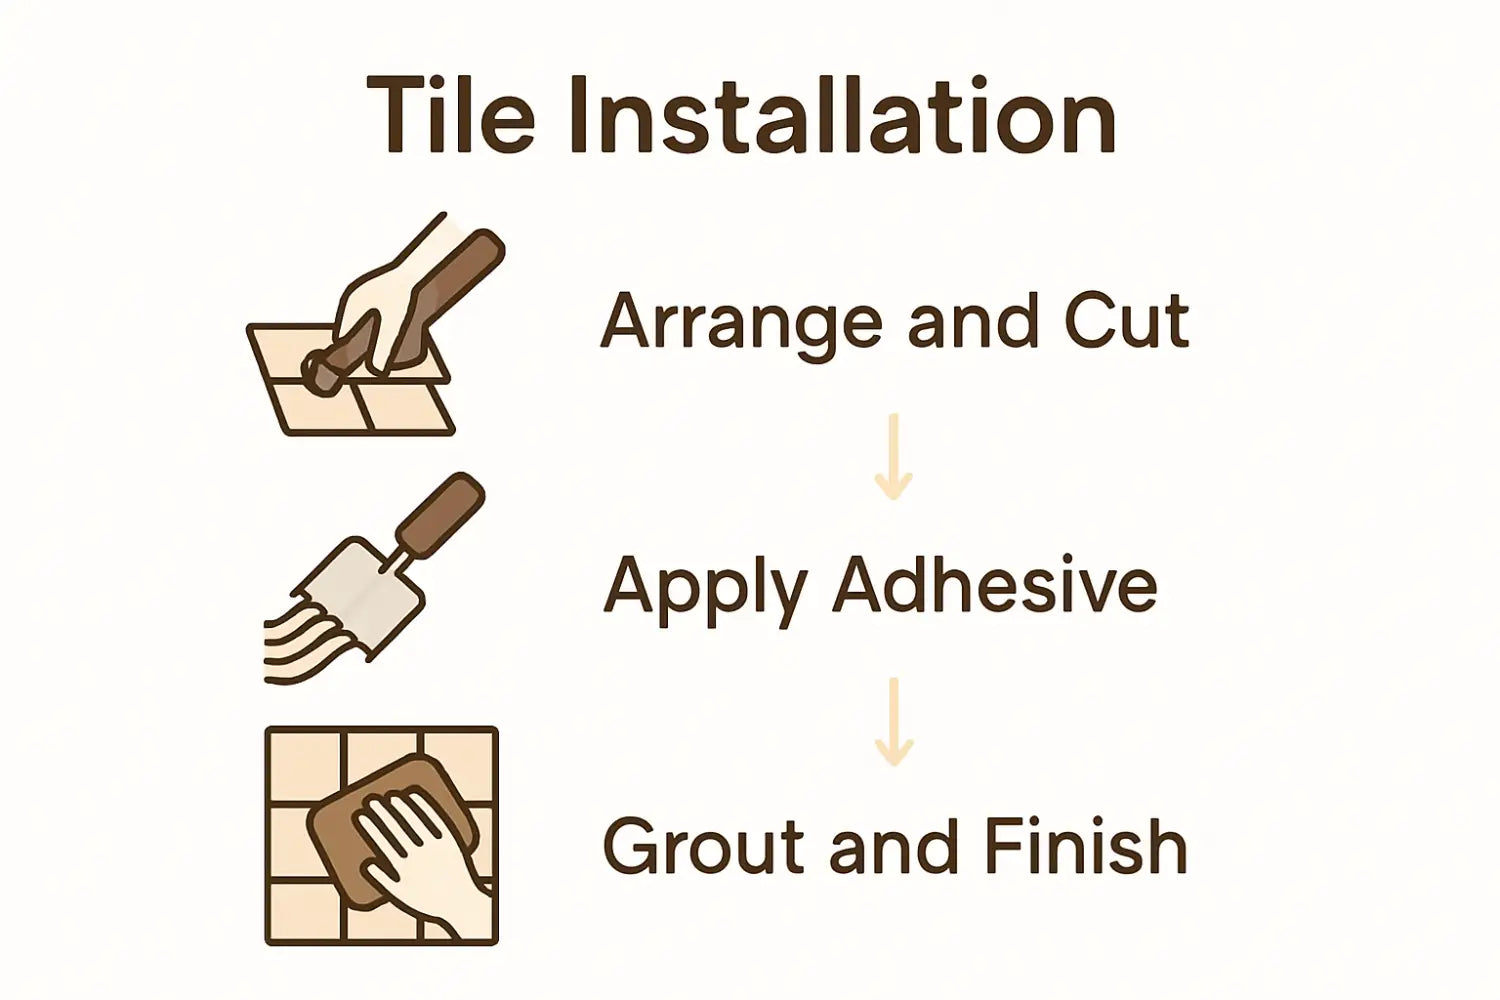
- Step 1: Select and Prepare Premium Tiles
- Step 2: Design and Lay Out Mosaic Patterns
- Step 3: Cut and Arrange Tiles Accurately
- Step 4: Adhere and Grout Mosaic Securely
- Step 5: Inspect and Finish the Mosaic Professionally
Quick Summary
| Key Point | Explanation |
|---|---|
| 1. Select high-quality tiles | Choose tiles with exceptional durability and color stability for an enduring mosaic. Inspect them for uniformity and cleanliness before use. |
| 2. Plan your mosaic design | Sketch your design on graph paper and arrange tiles loosely to visualize patterns. Maintain consistent spacing for a cohesive look. |
| 3. Cut tiles with precision | Use quality tile cutting tools and practice cutting techniques to ensure accuracy. Keep consistent spacing while arranging the cut pieces. |
| 4. Apply adhesive and grout carefully | Use specialized adhesive suited for your materials. Follow proper techniques for even application and cleanliness during grouting to protect your mosaic. |
| 5. Inspect and finalize the mosaic | Perform a thorough inspection for flaws, maintain uniform grout lines, and seal the mosaic to enhance its longevity and appearance. |
Step 1: Select and Prepare Premium Tiles
Selecting the right tiles is crucial for creating stunning custom mosaic designs that transform spaces with timeless elegance. Your tile selection will determine the overall aesthetic, durability, and visual impact of your final mosaic artwork.
When choosing premium tiles for your mosaic project, focus on materials with exceptional color stability and durability. Natural stone tiles like marble offer remarkable versatility and richness. Look for tesserae pieces that are uniform in thickness, clean, and free from dust or grease to ensure optimal adhesion. Cornell University recommends carefully inspecting each tile piece to guarantee high quality and consistent performance.
Pro tip: Before beginning your mosaic, organize your selected tiles by color, size, and texture. This preparation allows for smooth workflow and helps you visualize potential design patterns. Arrange your tiles on a flat surface, grouping similar pieces together and identifying any that might require additional preparation or trimming. By investing time in meticulous tile selection and preparation, you set the foundation for a truly exceptional custom mosaic that will captivate viewers and elevate your design aesthetic.
Step 2: Design and Lay Out Mosaic Patterns
Designing a custom mosaic requires strategic planning and thoughtful arrangement to transform individual tiles into a cohesive artistic statement. Your goal is to create a visually compelling pattern that harmonizes color, shape, and texture while expressing your unique creative vision.
Begin by understanding geometric principles for mosaic design. The Open University emphasizes the importance of systematic tile arrangement to achieve aesthetically pleasing compositions. Start by sketching your design on graph paper, which helps maintain precise tile alignment and proportional spacing. Consider creating a preliminary layout using temporary adhesive or arranging tiles loosely to visualize the final pattern before permanent installation.
Pro tip: Always leave consistent spacing between tiles and plan for grout lines that will complement your overall design aesthetic. Test different tile orientations and color combinations before committing to a final layout. Some designers recommend creating a small sample section first to ensure your pattern translates effectively from concept to reality. By carefully planning your mosaic design, you set the stage for a stunning visual transformation that will captivate viewers and showcase your artistic craftsmanship.
Step 3: Cut and Arrange Tiles Accurately
Precision is the hallmark of exceptional mosaic design, transforming raw materials into a seamless artistic composition. Cutting and arranging tiles requires patience, skill, and the right techniques to create a visually stunning and structurally sound mosaic.
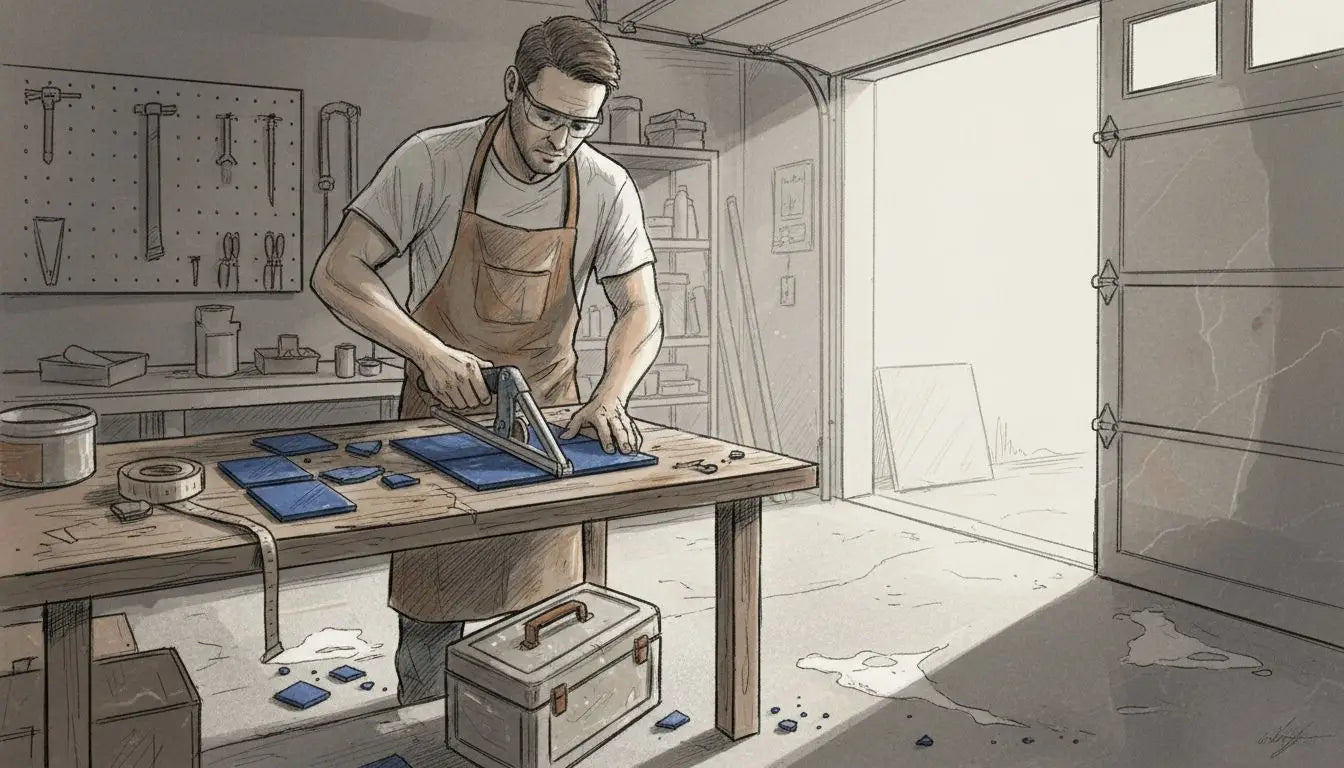
Cornell University recommends using specialized tile cutting tools to achieve precise tessellae shapes. Invest in quality tile nippers that allow for controlled cutting and minimize tile waste. Work slowly and deliberately, making small incremental cuts rather than attempting to remove large sections at once. When arranging your cut tiles, maintain consistent spacing and alignment by using temporary guidelines or cardboard templates to help you visualize the final design.
Pro tip: Always wear safety glasses and work on a stable surface when cutting tiles. Practice your cutting technique on spare tiles to develop precision and confidence. Test fit each piece before applying adhesive, ensuring tight and even spacing that will create a professional looking mosaic. By focusing on careful cutting and meticulous arrangement, you transform individual tile fragments into a cohesive artistic expression that tells a unique visual story.
Step 4: Adhere and Grout Mosaic Securely
The final stages of mosaic creation transform your carefully arranged tiles into a lasting artistic masterpiece. Proper adhesion and grouting are critical to ensuring your mosaic remains structurally sound and visually stunning for years to come.
Cornell University recommends selecting specialized adhesives that match your base material and tile composition. Apply the adhesive evenly using a notched trowel, working in small sections to prevent premature drying. Press each tile firmly into the adhesive, maintaining the consistent spacing you established during the design phase. Once the adhesive has set completely allow 24 to 48 hours for full curing before grouting.
Pro tip: Choose a grout color that complements your tile design rather than competing with it. Mix grout to a consistent peanut butter like thickness and use a rubber float to press it carefully between tile spaces. Clean excess grout immediately with a damp sponge to prevent hardening on tile surfaces. Allow the grout to cure fully before sealing to protect your mosaic from moisture and potential staining. Your meticulous attention to adhering and grouting will transform your tile fragments into a professional quality artistic installation that showcases your creative vision.
Step 5: Inspect and Finish the Mosaic Professionally
The final stage of mosaic creation transforms your intricate work from a collection of carefully placed tiles into a polished artistic masterpiece. Meticulous inspection and finishing techniques elevate your project from good to extraordinary.
Carefully examine each tile and grout line for precision and consistency during the final review process. Helen Miles emphasizes the importance of thorough surface cleaning and ensuring every tesserae is securely adhered. Use bright natural light to highlight any imperfections and gently clean the entire surface with a soft cloth to remove dust or residue. Check that grout lines are uniform and tiles sit flush with each other, making small adjustments as needed.
Pro tip: Take periodic breaks during the inspection process to prevent eye strain and maintain your focus. Step back periodically to view the mosaic from different angles and distances, which helps identify subtle irregularities that might be missed during close examination. Seal the mosaic with an appropriate stone sealer to protect your artwork and enhance its longevity. Your patient attention to detail will transform your mosaic from a collection of tiles into a professional quality art piece that reflects your skill and creative vision.
Elevate Your Mosaic Creations with Premium Natural Stone from Surfaces Galore
Crafting a stunning custom tile mosaic demands careful tile selection, precise cutting, and flawless installation to capture timeless beauty and artistic expression. We understand the challenges of finding durable, high-quality materials that truly bring your creative vision to life while assuring consistent performance and elegant finishes. Whether you are preparing your tile layout or perfecting grout lines, having access to authentic natural stone mosaics is essential for outstanding results.

Experience the difference with Surfaces Galore, your trusted source for premium marble and travertine mosaics. As a leading importer based in Anaheim, we ship nationwide to designers, architects, and homeowners seeking authentic materials that enhance every step of your mosaic workflow. Discover our extensive collection and start transforming your mosaic designs into lasting masterpieces today by visiting Surfaces Galore. Unlock professional quality and style that elevates your project now.
Frequently Asked Questions
What are the key steps in the custom tile mosaic creation workflow?
The key steps in the custom tile mosaic creation workflow include selecting and preparing premium tiles, designing and laying out mosaic patterns, cutting and arranging tiles accurately, adhering and grouting the mosaic securely, and finally inspecting and finishing the mosaic professionally. Follow each step closely to achieve stunning results in your mosaic project.
How do I choose premium tiles for my mosaic project?
To choose premium tiles, focus on materials that offer exceptional color stability and durability, such as natural stone tiles like marble. Inspect each tile for uniformity in thickness and cleanliness to ensure optimal adhesion.
What should I consider when designing mosaic patterns?
When designing mosaic patterns, consider color harmonization, geometric principles, and maintaining consistent spacing between tiles. Start by sketching your design on graph paper to help visualize the layout and ensure precise tile alignment.
How can I ensure accurate tile cutting and arrangement?
To ensure accurate cutting and arrangement, use quality tile cutting tools and practice your cutting technique. Work slowly, make incremental cuts, and use temporary guidelines to maintain consistent spacing and alignment during assembly.
What are the best practices for adhering and grouting a mosaic?
For adhering and grouting a mosaic, choose specialized adhesives suitable for your tile type. Apply adhesive evenly, press tiles firmly, and select a grout color that complements your design; clean excess grout immediately to maintain a polished look.
How do I inspect and finish my mosaic for a professional look?
Inspect your mosaic by checking for precision in tile and grout lines, ensuring all pieces are securely adhered. Use bright lighting for clarity, clean the surface, and consider sealing your mosaic to protect it and enhance its longevity.
Leave a comment