
Master the Outdoor Marble Tiling Process for Luxury Spaces

Weathered decks and sunlit patios in California demand more than basic finishes. High-end properties rely on outdoor marble surfaces that balance visual elegance with long-term durability. For residential architects and luxury home designers, mastering the art of thorough surface assessment and precise preparation lays the groundwork for installations that endure climate extremes, seasonal moisture, and daily foot traffic. Discover expert methods that help your projects stand apart in both performance and sophistication.
Table of Contents
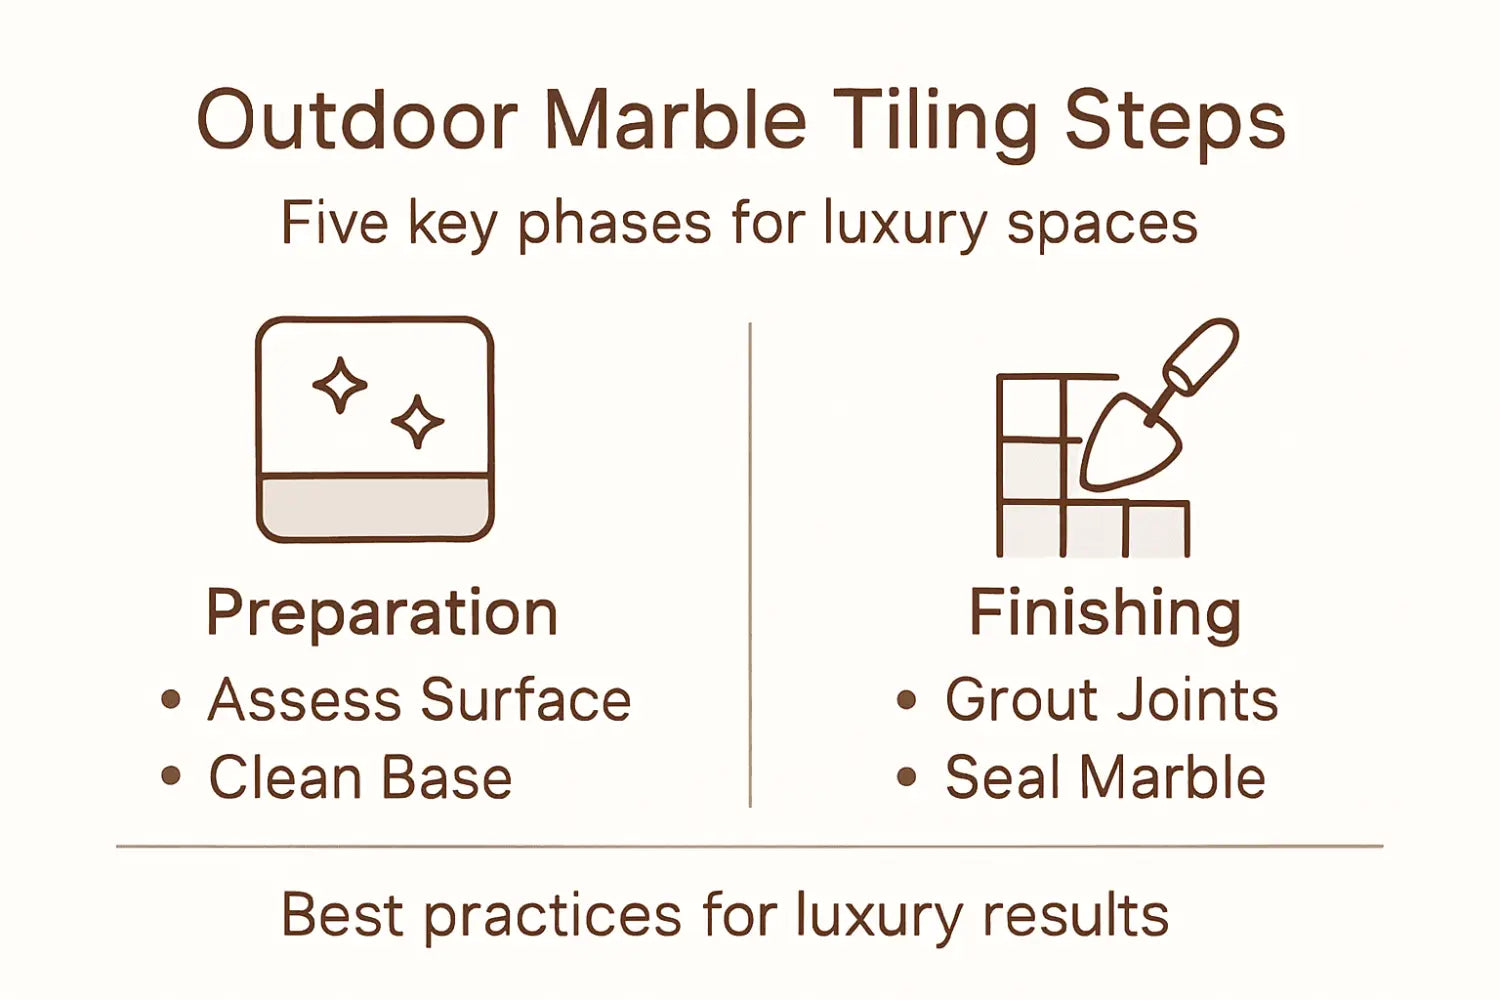
- Step 1: Assess And Prepare The Outdoor Surface
- Step 2: Select And Layout Premium Marble Tiles
- Step 3: Install Marble Tiles With Professional Adhesives
- Step 4: Grout And Seal The Marble For Lasting Protection
- Step 5: Verify Quality And Finish For Outdoor Durability
Summary
| Important Insight | Explanation |
|---|---|
| 1. Thoroughly Assess the Surface | Inspect for cracks, moisture, and contaminants to ensure a solid base before installing marble tiles. |
| 2. Select Quality Marble Tiles | Choose outdoor-appropriate tiles with consistent color and thickness while ordering extra for repairs and cuts. |
| 3. Use Proper Adhesives | Select polymer-modified thin-set mortar for superior bonding and flexibility under outdoor conditions. |
| 4. Grout and Seal Correctly | Wait for adhesive to cure, then use polymer-modified grout and a penetrating sealer for lasting protection. |
| 5. Conduct a Final Quality Check | Inspect installation for alignment and joint consistency to ensure that the marble will perform well and look luxurious. |
Step 1: Assess and Prepare the Outdoor Surface
Before you lay a single marble tile, your outdoor substrate needs a thorough evaluation. A clean, level, and structurally sound base determines whether your installation lasts decades or fails within a few years.
Start by removing any existing surface coverings, coatings, or debris that could interfere with adhesion. This includes old sealant, paint, algae buildup, and loose material. Your substrate must be bare and ready to bond with mortar.
Next, inspect the surface structure itself. Walk across the area and feel for soft spots, excessive deflection, or cracks that suggest underlying problems. Outdoor spaces endure freeze-thaw cycles, moisture fluctuation, and UV exposure—your substrate must handle these stresses without movement.
Key inspection steps:
- Check for cracks, spalling, or structural damage that requires repair before tiling
- Assess drainage patterns to ensure water flows away from the installation area
- Test for moisture intrusion using appropriate moisture testing methods recommended for outdoor marble work
- Verify the substrate is level within 1/8 inch per 10 feet (or follow local building standards)
- Remove all contaminants including dust, oil, algae, and efflorescence
Cleaning is non-negotiable. Use pressure washing or appropriate chemical cleaners depending on what you’re removing, but allow the surface to dry completely before proceeding. Moisture trapped beneath marble tiles will compromise your mortar bond and create long-term problems.
Once cleaned, prepare the surface following professional installation guidelines that address outdoor conditions. Mark your layout lines using chalk or a laser level so your tiles install straight and true. In California’s coastal or desert climates, proper surface preparation prevents the cracking and shifting that plague poorly prepared outdoor installations.
A properly assessed and prepared surface is the foundation of luxury marble work that withstands California weather for 20+ years.
Pro tip: Test moisture one final time after surface preparation is complete—wait 24 hours after cleaning, then use a calcium chloride or moisture meter to confirm the substrate is dry enough for marble adhesive.
Step 2: Select and Layout Premium Marble Tiles
Selecting the right marble tiles and planning their layout determines whether your outdoor space looks cohesive or chaotic. This step combines aesthetics with practical geometry to maximize material usage and minimize wasteful cuts.
Start by evaluating your marble options based on color consistency, finish quality, and thickness uniformity. Outdoor marble experiences temperature swings and moisture exposure, so you need tiles that can handle these stresses without fading, spalling, or warping. Work directly with your supplier to understand how different marble varieties perform in California’s coastal salt air or desert heat.
Color selection matters more than most designers realize. Lay out sample tiles across your entire project area at different times of day. Morning light and afternoon sun reveal color shifts you won’t see indoors. Consistent color throughout creates luxury; mismatched tones read as cheap.
Key selection criteria:
- Verify thickness meets outdoor requirements (typically 12mm or thicker for exterior applications)
- Check for structural integrity, consistent finish, and no hidden cracks or soft spots
- Assess premium marble tile comparisons suited to your project’s climate exposure
- Confirm the marble’s porosity level and whether sealing is required for your region
- Order extra tiles (10-15%) for inevitable cuts, breaks, and future repairs
Now for layout planning. This is where amateur installations fail and professional ones shine. Begin by creating a balanced tile layout that minimizes small slivers around edges. Small cuts compromise durability and look unprofessional in luxury work.
Measure your space carefully and determine where full tiles naturally sit. Mark reference lines using chalk, then dry-lay tiles to preview the pattern. Adjust your starting point until you achieve balanced margins on opposite sides. In California’s high-end residential market, symmetry signals quality craftsmanship.
A thoughtful layout using full tiles wherever possible transforms marble installation from functional to truly luxurious.
Pro tip: Create a detailed layout drawing with measurements and tile numbers before installation begins—this prevents costly repositioning mid-project and ensures your team executes your vision consistently.
Step 3: Install Marble Tiles with Professional Adhesives
The adhesive you choose determines whether your marble tiles stay bonded for decades or fail within years. This step requires precision mixing, proper application technique, and patience for curing.
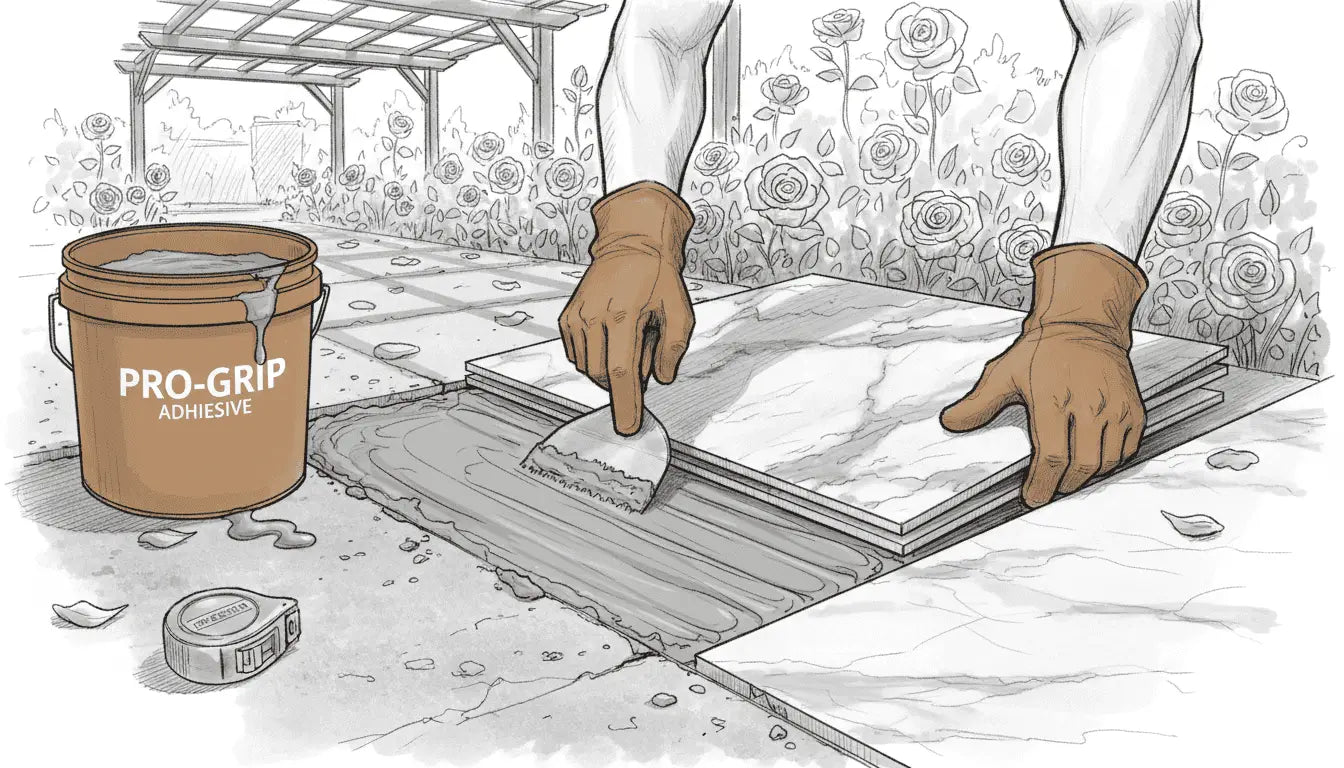
Select a polymer-modified thin-set mortar specifically formulated for natural stone and outdoor environments. Standard cement-based adhesives won’t cut it for marble exposed to freeze-thaw cycles, temperature swings, and moisture. Your adhesive must offer superior bonding strength, flexibility, and water resistance to handle California’s climate demands.
Read the manufacturer’s instructions carefully. Different products have different mixing ratios, curing times, and application temperatures. Mixing the wrong ratio weakens the bond and creates future failure points.
Adhesive selection and application steps:
- Choose a high-performance adhesive suited for outdoor marble installations with documented weather resistance
- Mix only the amount you’ll use in 30 minutes, as most thin-sets begin setting quickly
- Add water gradually while mixing until you reach a consistency like creamy peanut butter
- Use a notched trowel held at 45 degrees to create uniform ridges on the substrate
- Press each tile firmly with a slight twisting motion to ensure full coverage and eliminate voids
Spread adhesive on the substrate, not on the tile back. This gives you better control and ensures complete contact. Work in small sections—marble’s weight and outdoor heat accelerate curing, so you’ll lose workability fast.
Maintain consistent grout joint width as you set tiles. Use spacers to keep gaps even and aligned. Crooked joints telegraph poor craftsmanship, even if the adhesive is perfect underneath.
Check your work frequently with a level. Tiles must sit flat and true. Rocking tiles or adhesive voids will cause cracking once traffic and weather stress the installation.
Proper adhesive application is invisible in the final product but essential to its longevity—this is where luxury installations prove their value.
Pro tip: Allow full curing time before applying grout or exposing tiles to foot traffic—typically 24-48 hours depending on temperature and humidity, and always verify with your specific adhesive’s technical data.
Step 4: Grout and Seal the Marble for Lasting Protection
Grouting and sealing complete your marble installation and lock in its durability. These final steps protect marble from moisture intrusion, staining, and weathering that would otherwise degrade your luxury surface.
Wait for adhesive to cure fully before grouting. Typically 24-48 hours, but always verify your specific adhesive’s technical data. Grouting too early compromises the bond and creates future failures.
Select a polymer-modified grout formulated for outdoor applications. Standard grout won’t handle freeze-thaw cycles or constant moisture exposure. Your grout must match the durability standards of your adhesive and marble.
Here’s how different outdoor marble adhesives and grouts compare in critical performance areas:
| Product Type | Key Attribute | Outdoor Suitability | Maintenance Needs |
|---|---|---|---|
| Polymer-modified thin-set | High flexibility | Excellent for freeze-thaw | Low, requires proper mixing |
| Standard cement-based mortar | Brittle composition | Not suitable outdoors | Prone to cracking, repairs needed |
| Polymer-modified grout | Enhanced durability | Resists weather extremes | Minimal with regular sealing |
| Standard grout | Limited resilience | Poor outdoor performance | Frequent repairs needed |
Grouting and sealing process:
- Mix grout according to manufacturer specifications to achieve proper consistency
- Apply grout diagonally across tiles using a grout float, pressing firmly into joints
- Remove excess grout with a damp sponge before it sets, revealing clean joints
- Allow grout to cure per specifications before sealing—typically 48-72 hours
- Test marble absorbency with water droplets to determine sealing requirements for your marble type
- Apply penetrating sealer with a brush or roller in thin, even coats
Sealing is critical for outdoor marble. Even marble varieties marketed as “dense” benefit from protection. A quality sealer creates an invisible barrier that repels water, salt spray, and staining agents without altering the marble’s appearance.
The table below summarizes how climate factors in California impact outdoor marble installation:
| Climate Factor | Impact on Marble | Best Practice |
|---|---|---|
| Coastal salt air | Increases corrosion risk | Use denser stone, seal often |
| Desert heat | Causes expansion/contraction | Select UV-resistant marble |
| Freeze-thaw | Promotes cracks and spalling | Ensure flexible adhesives |
| UV exposure | Causes color fading | Pick light-stable varieties |
Allow sealer to cure fully—typically 24-48 hours—before exposing the surface to foot traffic or moisture. Different sealers have different requirements, so read the label carefully.
Choose a penetrating sealer designed for natural stone exteriors. Surface sealers look glossy but don’t provide the protection outdoor marble demands. Penetrating sealers soak into the stone and protect from within.
Proper grouting and sealing transform marble from beautiful but vulnerable into a protected investment that withstands California’s coastal and desert climates for decades.
Pro tip: Reapply sealer every 1-3 years depending on traffic, weather exposure, and your sealer type—annual inspection helps you catch diminished protection before staining or damage occurs.
Step 5: Verify Quality and Finish for Outdoor Durability
Before declaring your marble installation complete, conduct a thorough quality inspection. This final verification catches problems while they’re still fixable and confirms your investment will perform as expected.
Walk the entire surface systematically with good lighting. Inspect tile alignment, joint consistency, and surface finish from multiple angles. Uneven tiles catch light awkwardly and telegraph poor workmanship, even in luxury spaces.
Press down on random tiles to check for movement or hollow spots beneath the surface. A properly installed tile should feel completely solid with zero deflection. Rocking tiles indicate inadequate adhesive coverage or voids that will eventually fail.
Quality verification checklist:
- Check tile alignment and levelness using a straightedge across multiple directions
- Inspect grout joints for uniform width, complete fill, and smooth finish without voids
- Test for durability of tile assemblies by verifying adhesion strength and freeze-thaw resistance compliance
- Look for lippage (uneven edges between tiles) that indicates installation problems
- Verify sealer application was even with no missed spots or pooling
- Confirm no cracks, chips, or damage to marble surfaces
Document everything with photos and detailed notes. Keep records of materials used, installation dates, and warranty information. This documentation becomes invaluable if issues arise later.
Outdoor marble faces quality standards requiring skilled installation and premium materials. Your inspection verifies both components were executed properly. Small details separate luxury installations from mediocre ones.
Test water behavior on sealed surfaces. Water should bead up on properly sealed marble, not absorb or spread. If water soaks in, reapply sealer.
A meticulous final inspection transforms doubt into confidence that your marble installation will perform beautifully for decades.
Pro tip: Create a maintenance schedule and set calendar reminders to reseal every 18-24 months, inspect grout condition quarterly, and document any changes—preventive care is far cheaper than emergency repairs.
Elevate Your Outdoor Marble Project with Premium Stone from Surfaces Galore
Mastering the meticulous steps of outdoor marble tiling means overcoming challenges like substrate preparation, tile selection, and specialized adhesive use to protect your investment against California’s coastal and desert climates. Whether you need thick durable marble that withstands freeze-thaw cycles or expertly matched color and finish for a truly luxurious look, sourcing the right materials is critical for lasting beauty.
Avoid costly mistakes with uneven tiles, cracking grout, and moisture damage by choosing authentic natural stone from a trusted supplier. Surfaces Galore, based in Anaheim, California, offers a wide selection of premium marble tiles and mosaics specially suited for outdoor applications. Our expert team helps you navigate sealing options, thickness standards, and color consistency so your installation reflects the highest craftsmanship.
Start your journey toward a stunning outdoor marble space today. Explore our premium marble collection and discover how quality natural stone elevates every phase of your tiling project.

Don’t settle for less in luxury outdoor design. Visit Surfaces Galore now for durable marble choices and expert guidance that guarantee your marble installation stands the test of time. Take action now to ensure your project meets professional standards and lasting elegance.
Frequently Asked Questions
What are the key steps to master the outdoor marble tiling process?
To master outdoor marble tiling, you should assess and prepare the substrate, select and layout the tiles effectively, install the tiles using professional adhesives, grout and seal the marble, and conduct a thorough quality inspection. Start by evaluating the surface and ensure it’s clean and level to prevent future issues.
How do I choose the right marble tiles for outdoor use?
Select marble tiles based on color consistency, finish quality, and thickness, ensuring they meet the outdoor requirements. Lay out samples in your project area during different times of day to check how lighting affects the colors.
What kind of adhesive should I use for outdoor marble tiles?
Use a polymer-modified thin-set mortar specifically designed for natural stone in outdoor environments. This adhesive should provide superior bonding strength and flexibility to withstand temperature changes and moisture exposure.
How long should I wait before grouting after laying the tiles?
You should typically wait 24-48 hours for the adhesive to cure fully before applying grout. Check the manufacturer’s specifications for your specific adhesive to confirm the curing time needed.
How can I ensure my outdoor marble installation lasts?
To ensure durability, follow proper installation guidelines, use quality materials, and perform regular maintenance, including sealing every 1-3 years. Inspect the grout condition quarterly to address any issues before they escalate.
What should I do if I notice uneven tiles during the quality inspection?
If you find uneven tiles during your inspection, they may need to be reset to ensure a flat surface. Use a straightedge to check for lippage and, if necessary, remove and reapply the affected tiles with fresh adhesive for a proper bond.
Leave a comment